The first mention of tomatoes in Europe’s botanical reference book dates back to 1544, however, people started to eat them only in the end of the 18th century. Until then, tomato bushes were only grown as decorative plants and their fruits were considered poisonous and making those who eat them go crazy. Actually, this is not far from the truth, as tasty, juicy tomatoes can indeed make even the pickiest eater “lose his mind”.
So, what exactly is a tomato? When on a table, it is a vegetable, however, botanical scientists say that it is a berry. Anyway, whatever you want to call it, its taste won’t change, so let’s just “lose our minds” or, in other words, enjoy eating them.
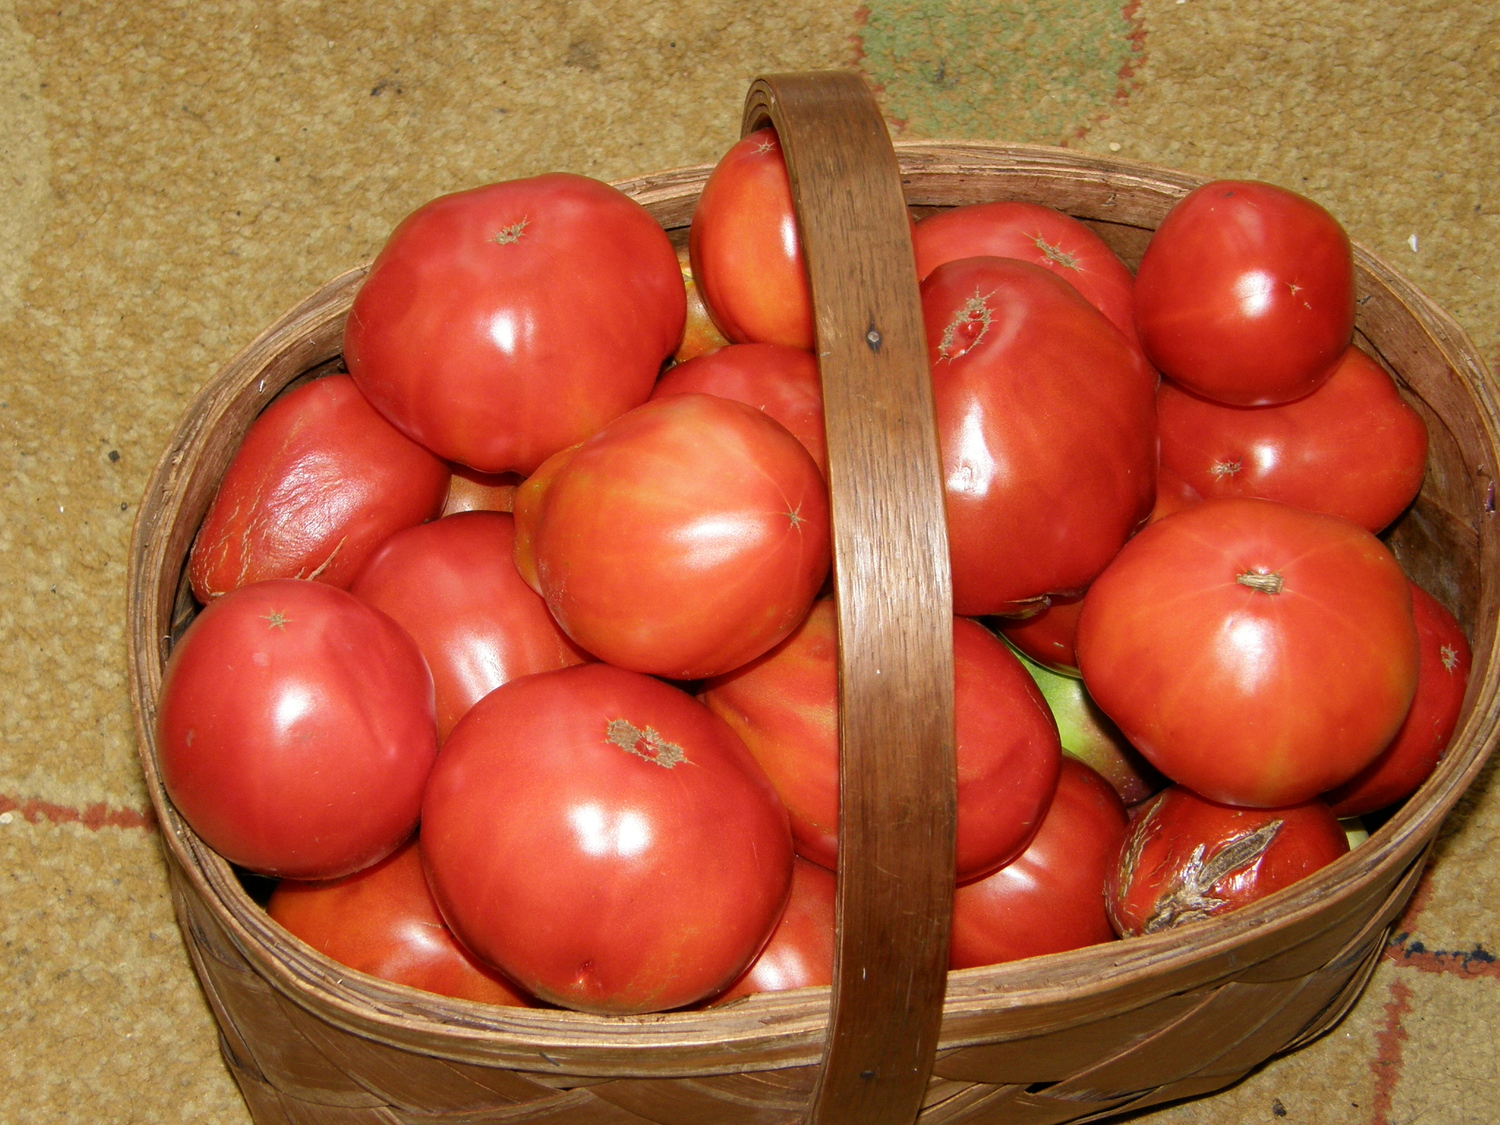
Right now, the supply for different breeds of tomatoes is large - from cherry-sized all the way to a fruit weighing more than 0.5 kg. The spectrum for growing tomatoes is very wide - there are hundreds of breeds for outside growing, greenhouses or even on the window sill or in the balcony. However, growing tomatoes is not an easy task. You need to be familiar with their qualities, growing technology, ways and methods. This is what this article is about.
Growing tomato sprouts
When choosing tomato seeds, don’t pick weak or unfamiliar tomato breeds, but rather buy stained seeds with the right characteristics. The purchasing of unknown tomato seeds is a mistake - experimenting with a beautiful description or a pretty image on the packaging isn’t worth it. Some amateur gardeners soak, cultivate the seeds before planting them, however, it isn’t necessary as it usually doesn’t make a big difference. When planting the seed, it’s best to use special plastic containers that have been used before. They need to be disinfected before planting. The containers need to have special drainage holes on the bottom, otherwise, the tomato seeds will be susceptible to anthrax. In addition, it’s not worth it to cheap out on soil, as you won’t save anything here. You can use substrates made for growing tomatoes or any universal ones, you can also use a 50-50 mix of sand and peat, however, before planting, heat the substrate in the oven, and wet it just before planting.
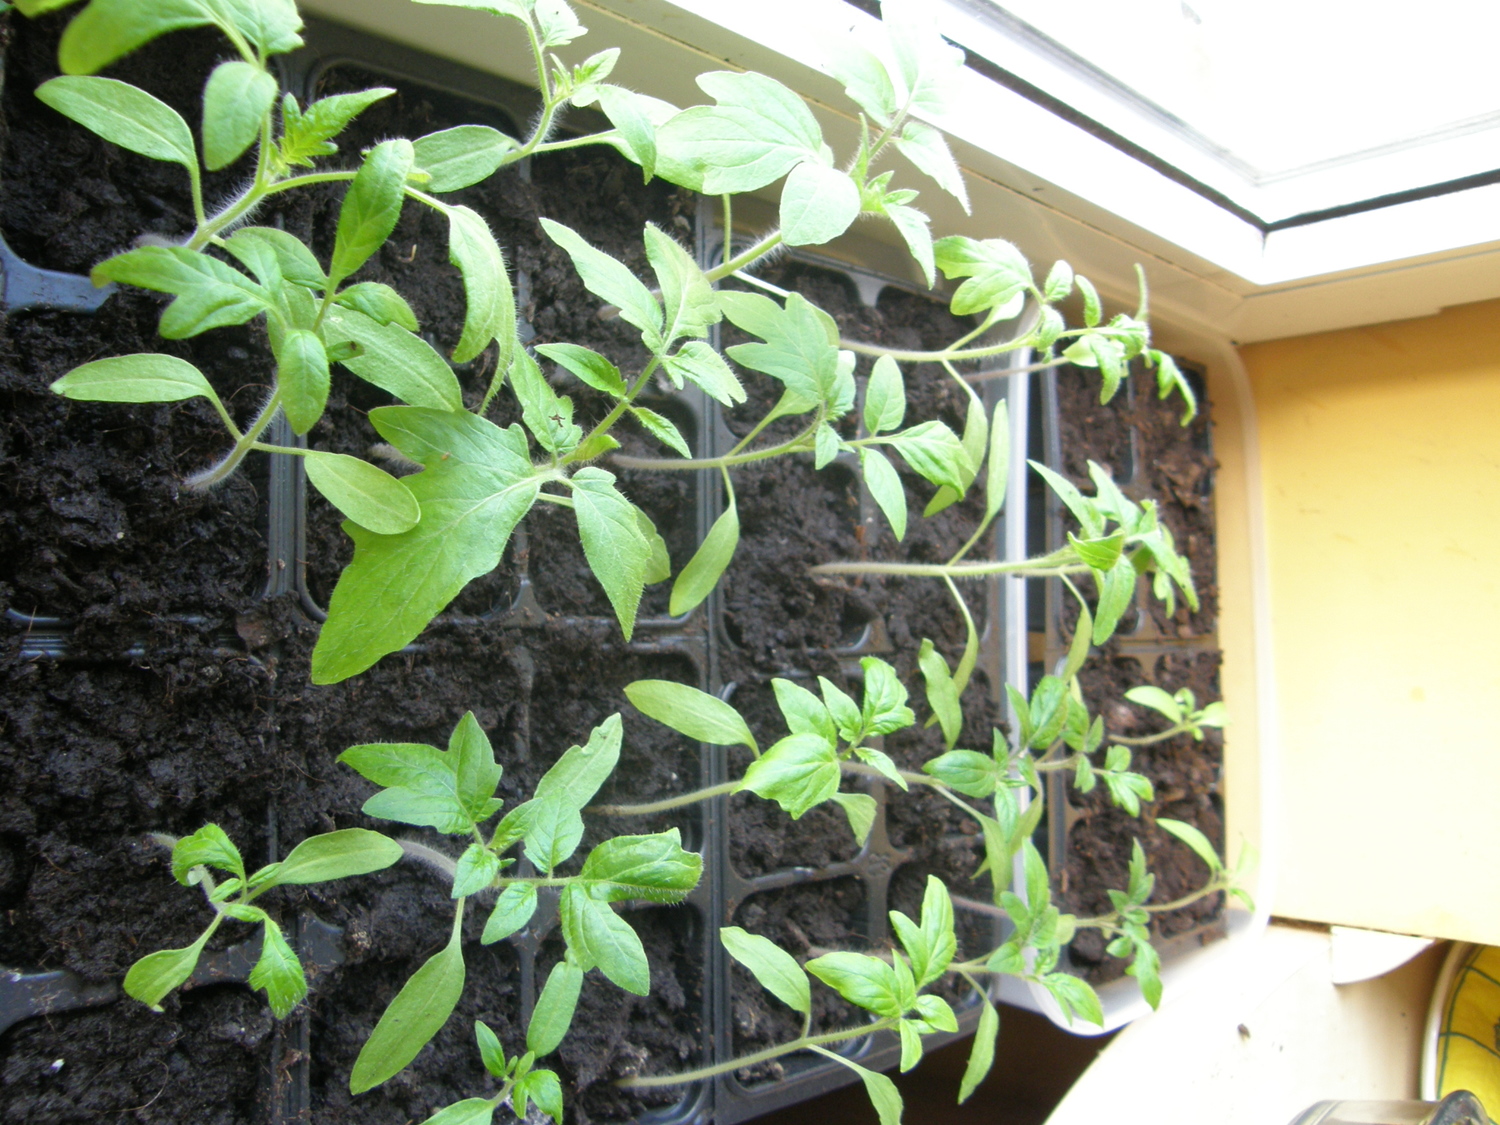
Until tomato seeds sprout, lighting doesn’t make a big difference, however, for a better microclimate, you can cover the containers with seeds with a membrane. Seeds germinate best at a temperature of at least 20 °C. After the seeds sprout, it is necessary to ensure a good daytime lighting, a regular temperature and ventilation, thus, the containers with the sprouts can be put on the window sill and the membrane can be taken off.
If you wanted to grow a large amount of tomato sprouts, you would need a greenhouse with heating. If you wanted to grow tomatoes outside, you could grow sprouts in a non-heated greenhouse first, however, indeterminate tomatoes won’t work in this situation. For planting outside, you will need determinate tomatoes suited for your region. The tomatoes don’t need to be fertilized before pricking out, however, watering them is necessary.
Pricking out of sprouts. Approximately 7-10 days after planting, 2 leaves grow, thus, in order for the root system to strengthen, it is necessary to single the tomatoes, or in other words, the sprouted out tomatoes need to be transferred to a spacier container.
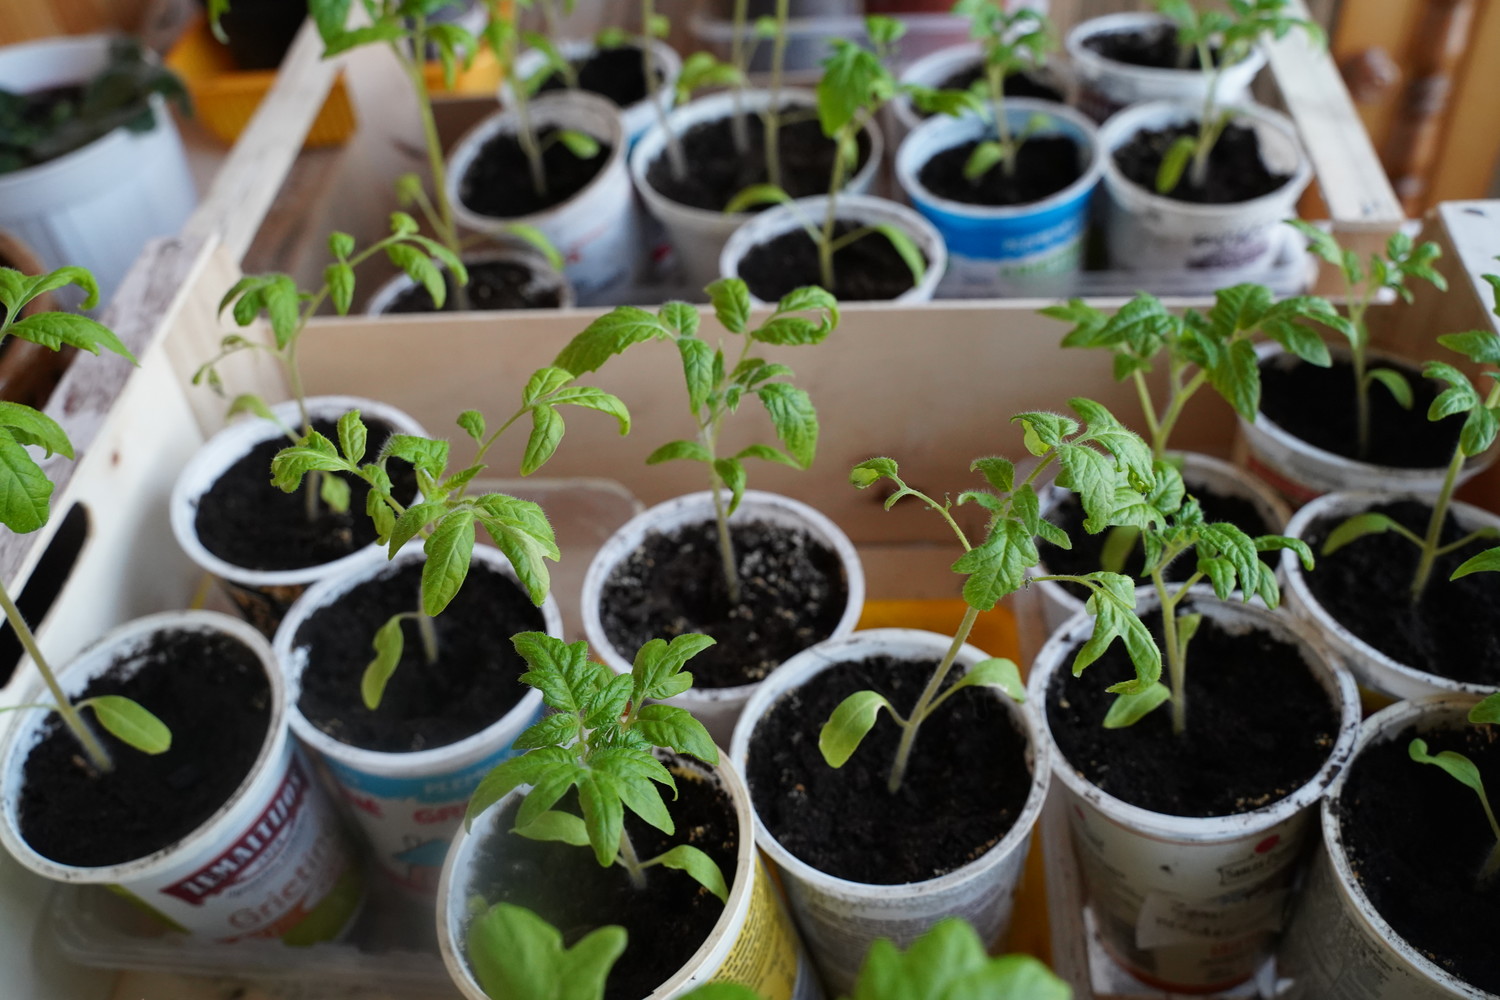
Before pricking out, you need to water the sprouts, so that less substrate crumbles off the roots. Then, carefully separate each sprout and, together with the roots and the substrate sticking on them, plant them in a bigger container. While the sprouts are growing, keep track of the temperature and the lighting. 10 days before replanting into the permanent growing space, start familiarizing the sprouts with the upcoming growing temperature: if you are growing them on a window sill - open the windows or take them out into the balcony. If possible, you can even take the containers with sprouts and put them into the greenhouse.
Tomato sprout selection for planting
Tomato sprouts that are mature enough are planted into non-heated greenhouses when the average day temperature is high enough and the cold is rare. It is best to plant the sprouts in a cloudy day, as planting them in a hot day might make them get burned.
If you grew more tomato sprouts than you need, then before planting you can choose the highest quality sprouts with rich dark green leaves that are no shorter than 25-30 cm. Don’t plant ones that have started blossoming, as after replanting, such sprouts become weaker and grow less leaves on their stems. You will get a much lesser harvest from such sprouts overall. However, if you have already planted them and your stems have blossomed, you should just pick them and don’t let them blossom. When replanting stems that have not yet blossomed, keep in mind that they will get stronger soon and will start growing additional leaves, which will make them more resistant, florescent and they will provide a bigger tomato harvest.
When buying tomato sprouts in the market, this should be a rule. Don’t trust the merchant that tries to sell you blossomed tomato sprouts, or even ones that have fruits already. The promised fast and plentiful harvest will never happen.
Growing tomatoes in a greenhouse
Preparing the greenhouse. You need to properly prepare the greenhouse for the season if you want the tomatoes to be healthy and yield a good harvest. As tomato sprouts are usually planted in early May, when nights are quite cold, the greenhouse needs to be quite airtight, keep heat well and not get cold by the morning. Polycarbonate greenhouses, which have become very popular lately, are great for this purpose. The polycarbonate cover is twofold, with an air gap, which means that it stores heat very well. When covering greenhouses with a polyethylene film and wishing for an earlier harvest, it is advised to cover twofold. Even a small air gap between the layers will serve as an air cushion and will accumulate heat during nights better than a greenhouse with a single layer film cover. Before planting tomatoes into any greenhouse, remember that tomatoes don’t like frost, so don’t rush to plant them while there is still a risk of it.
A big factor for tomato growth is ventilation, so before the start of the season, make sure that ventilation holes can be closed and opened sufficiently, as they ensure the ventilation of the greenhouse from all sides.
Before the start of each season, disinfect the surface of the greenhouse soil. For this purpose, a bluestone solution is usually used. On average, dilute 1 spoon of bluestone in 10 l of water and pour it on the greenhouse soil surface. This will protect the plants from bacteriosis, rotted roots, fusarium wilt and other fungal infections. You can prophylactically disinfect the greenhouse constructions and cover with the use of sulfur smoke fumigators.
However, if you grow tomatoes in your greenhouse for multiple years, change the top 10-12 cm of surface soil from time to time in order to ensure a better harvest.
Prepare the greenhouse soil on average 10 days before planting: weed it out, fertilse, mellow and water the soil so that the fertiliser is spread more equally throughout the ground.
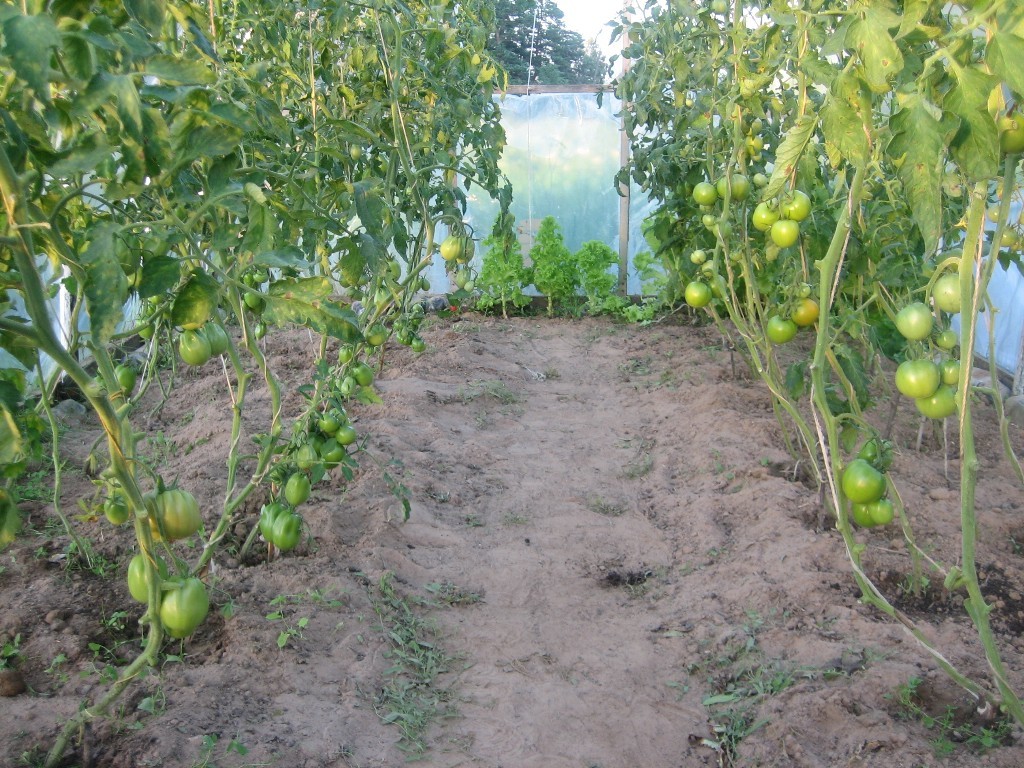
Planting tomato sprouts. Tomatoes are usually planted in rows across the greenhouse. If the width of the greenhouse is quite big, passages for passing and care are made every 60-90 centimeters. Depending on the breed of the tomatoes and the chosen tying method, the distance between the plants is determined, i.e. dwarf tomatoes need 30-40 cm and the usually grown popular breeds need 60-70 cm. However, if you don’t plan to trim the tomatoes, you can leave as much as a meter between the sprouts. The tomato leaves will have space to expand and will get more sun exposure in the process. In addition, the roots won’t compete for humidity with their neighbors. This option, however, is only possible by having a large greenhouse and not limiting space for the plants. It isn’t advised to plant tomatoes too densely - more sprouts doesn’t mean a bigger harvest. If you plant them too densely, you will get a much smaller harvest than expected.
Tomato sprouts don’t mind replanting, and if you replant with as large a soil dump as possible (in which the plant used to grow), it will very easily deal with the negative effects of replanting and quickly activate its protective growing functions in the new place. Plant the sprouts into soil holes modified beforehand (with compost, peat, well rotten manure). Plant the sprouts as widely as possible, i.e. if the stem is elongated, you can trim its bottom leaves and lay it into the soil. Don’t worry if after replanting, the stem part above the soil is leaning towards it - it will straighten in a few days and will start rising above, and the covered part of the stem will start releasing additional roots, thus increasing the nutrient intake from the deeper and wider layers. You should water the sprouts after planting so that the soil parts can fill the empty spaces.
Growing tomatoes outside
The metabolism of most tomato breeds slows down from draught and growing in the shade, so you should choose an open, sunny spot for planting tomatoes. Keep in mind that it is not recommended to plant tomatoes near potatoes or even where they grew the year before as these plants have the same diseases. Tomatoes can grow and have a good yield if planted where carrots, leguminous plants or onions grew.
Before planting tomatoes, prepare and fertilise the soil. When preparing the soil for growing tomatoes in Autumn, put in phosphorus and potassium fertiliser. However, if you haven’t done it yet, you can do it even when preparing the soil for planting the tomatoes. Insert nitrogen fertilser right before planting the sprouts: divide the calculated nitrogen amount in half and insert one part right before planting the sprouts and the other half when additionally fertilising. Figuring out what amount of nitrogen and other elements is required for your soil would be hard on your own, thus you should have an agrochemical soil test for either planting outside or in the greenhouse. Only then you will know the real situation. No matter the results of the test, tomatoes are first fertilised 10-12 days after planting. During vegetation, tomatoes are additionally fertilised every 7-14 days.
Tomato care
Tomato care consists of loosening, hilling, watering, additional fertilising, etc. However, when growing tomatoes, keep in mind that additional harvest is directly correlated with the microclimate of the greenhouse, proper watering and disease prevention. If the air temperature in the greenhouse rises above 30 °C, the tomato blossoms sterilise and don’t yield fruits.
Loosening. The soil between the tomato plants needs to be loose for the whole vegetation period, so every ~10-12 days, the soil needs to be mellowed. It’s best to do it after each watering session, but not less often than a few times a season. If you grow tomatoes in heavier soil, a deeper loosening is needed than when growing them in light soil.
Hilling. The tomatoes are first hilled 9-11 days after replanting, however, before earthing up, water the tomatoes: hilling in a humid soil will induce a faster appearance of additional roots. The tomatoes are hilled a second time 16-20 after the first hilling.
Watering. The tomatoes need to be watered timely and regularly. Tomato sprouts that are just planted need to be watered plentifully. During the vegetation period, it is recommended to water the tomatoes 1-2 times a week. The best time for watering is either the second part of the day or the eventide. 0,7-0,9 liters of water is recommended per young sprout, however, you should use 10 liters per mature and ready-to-yield bushes.
Fertilising. During vegetation, tomatoes have to be additionally fertilised a few times. They are first fertilised 10-12 days after replanting the sprouts into the permanent growing place. The second and third time, the tomatoes are fertilised with an interval of a couple weeks, right after loosening or hilling of the soil. Keep in mind that when fertilising with nitrogen fertiliser only, it will stimulate the greenness of the leaves but the tomatoes will get ripe slower. It is not recommended to fertilise with nitrogen fertiliser for the first occassion, as the first fertilising needs compound phosphorus and potassium fertilising. Tomatoes don’t like chlorine, which is why, when choosing a potassium fertiliser, chloride is not an option. It is best to choose a compound fertiliser made exclusively for tomatoes. Out of all trace elements, magnesium and boron are the most important for tomatoes. You can recognise a magnesium deficit by motley leaves whose fibres are green.
You can recognise a lack of fertilising by some visual cues on tomatoes. If the tomato leaves turn yellowish and their borders become bright yellow - there is a lack of nitrogen. If the tomato stems and grafts get a little brown-purple shade - they lack phosphorus. When there is a lack of phosphorus, the tomatoes will take in nitrogen slower, so both of these signs usually show up together. When tomatoes lack potassium, they grow stems slower and the borders of the leaves bend inwards, the fruit embryos fall down, and yellow and green spots remain even on mature tomatoes.
Lately, it has become popular to fertilise tomatoes with organic fertilisers, which cost nothing, but have loads of potassium, calcium, magnesium, vitamins A, B, E, K, organic acids, tannins, and phytoncides. You, too, can make such a fertiliser:
- For such a fertiliser, you need cut grass (mulched into a bag works best), which you need to put in a polyethylene black bag, tie it, put light pressure on it and leave it in a warm place (could even be in direct sunlight) for a few days. Any young grass that hasn’t produced seeds yet will work, even weeds. During these few days, the grass starts to ferment, gets a unique smell and changes its color.
After fermentation, the grass needs to be diluted with lukewarm water, i.e. the grass needs to be put in a plastic container and then diluted with an amount of water twice the mass of the grass. After one to two hours, the fertiliser is prepared for additionally nourishing the tomatoes. The grass mass that remains after fertilising can be diluted with water again and the tomatoes can be additionally fertilised with it.
- One of the most effective organic fertilisers is nettle extract. Mulch young, seedless nettles and put them in a plastic container. This mulched nettle mass should take up half of the container’s space. Then, the container should be filled with water and left to ferment for a couple weeks. The extract is ready when it stops foaming. Then, dilute the extract with water with a 1:10 ratio and additionally fertilise the tomatoes with it.
When additionally fertilising using these extracts, use 0,5 liters per each young sprout and 1 liter per each mature one. However, if, when taking care of the tomatoes, you see that the plants are quite weak, pour this “tea” on them once more.
Trimming. When growing tomatoes, you need to pay a lot of attention to the forming of the bush. When trimming tomatoes, the bush is formed by leaving 2-3 stems in one trunk. It is necessary to remove the armpit shoots that are longer than 5 cm and that really exhaust the plant. At first, only pick leaves that are either touching the soil surface, are harmed or are growing near forming tomato clusters, however, when the tomatoes have thrived, you can easily remove a larger portion of leaves, even all of them from the bottom up to the first tomato clusters.The harvest won’t be worse because of this, as the aggregate of mature leaves spread diseases. In addition, in well-trimmed tomatoes, the energy of the plant concentrates into growing fruits. At the same time, the air circulation improves and the plant gets more daylight.
Tying up. Since we usually grow tall tomato breeds in greenhouses, in order for the tomato sprouts to not lay down, they need to be tied up. What’s more, tying up the tomatoes is necessary in order to protect them from diseases and pests. The tomatoes are tied up 2-3 weeks after planting. Start tying from the tomato stem, make an eyelet, throw the second part of the string over the wire on the top part of the greenhouse (or over any other thing made for this purpose) and after bringing the string down, fixate it to the string holding the tomato stem with an eyelet. As the tomatoes grow, pull the eyelet down from time to time until the string holding the stem is stiffened. When growing tomatoes outside, fixate them on pegs made for this purpose, however, make sure that they don’t take away the sunlight - stick them into the soil 8-10 cm north of the stem. Tomato stems are tied to the pegs twice. First after planting them and additionally as they have grown and are starting to bend towards the ground.