Door Installation
To properly install a door will take you 2-4 hours. The case presented in the article is a non-typical one, as the manufactured door is too long for the existing door opening and the opening itself is wider than the frame.
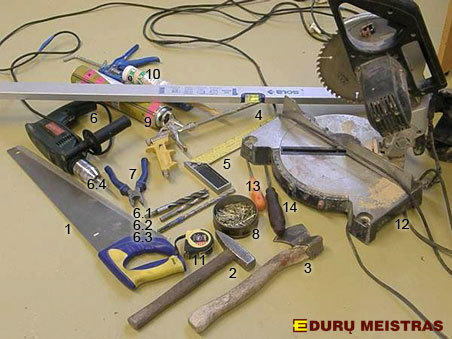
Before you start, make sure you have the right equipment:
1.Saw
2. Hammer
3. Sharp hatchet to make shims
4. Long and short level
5. Angle ruler
6. Electric and cordless drill
6.1- 14 mm,
6.2 - 10 mm,
6.3 - 10 mm drill bit for concrete,
6.4 - 1,6 mm drill bits for wood
7.Pliers
8.1,6x32 finishing nails for the door finish
9.Expanding foam (one for one door)
9.1 expanding foam gun
10.Silicone sealant matching the door color
11.Tape measure
12.Miter saw
13.Screwdriver
14.Chisel
15.Screws for the door frame (if not fastened by the manufacturer)
16.6 anchors for the frame 10x80-110
Assembling a door frame
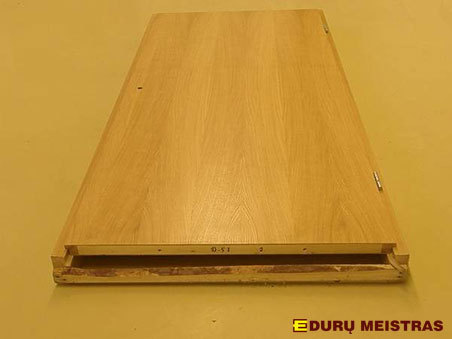
Measure and cut vertical parts of the frame taking into account the necessary height of the frame above the floor. For most residential settings, it is recommended to leave 1 cm from the frame bottom to the floor. Fasten separate parts of the frame with anchors (if not fastened by the manufacturer)
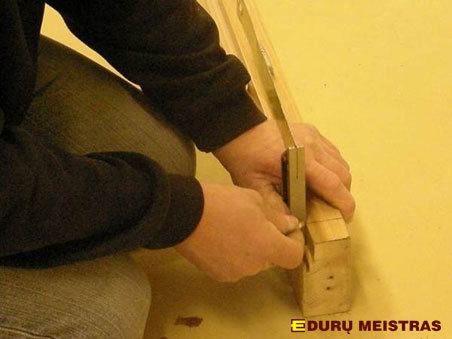
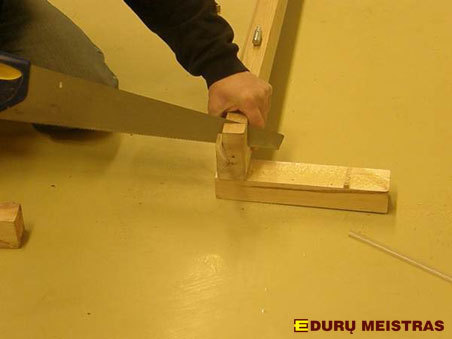
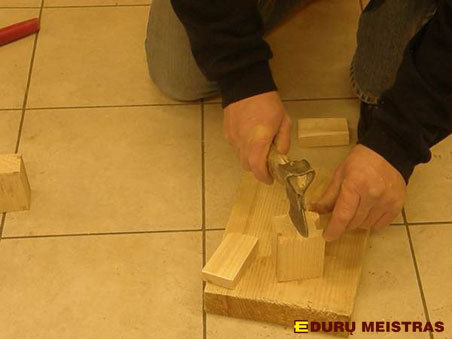
Making shims
The easiest way to make a shim is to use a piece of dry wood (7x10). Cut pieces that are of the same width as the frame, then cut it into smaller blocks. Use a chisel or hatchet to trim a block to the necessary width.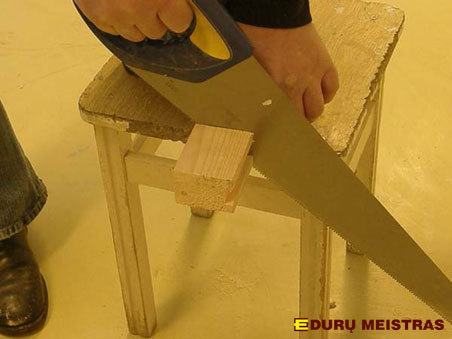
Installing the door frame
Using shims, fix the frame heading applying shims to the spot where the frame heading meets the jambs.
Level the frame with a level and prepare shims for the bottom.
Seeking to fix the bottom part of the frame, level the hinge jamb with shims. Use a level to make sure it is even in both directions.
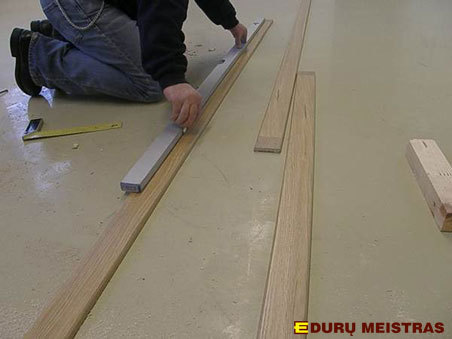
Measure the distance at the top and bottom of the frame, taking into account 5 mm gap between the frame and the door. For example, if the frame is 900 mm wide, the distance should be 905 mm.
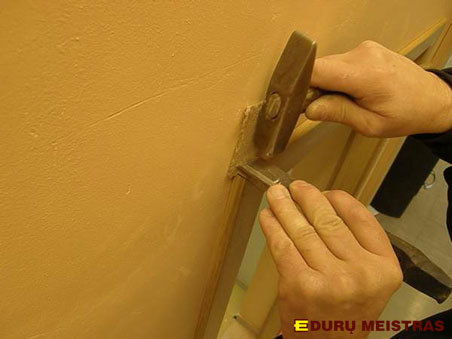
Fastening the frame
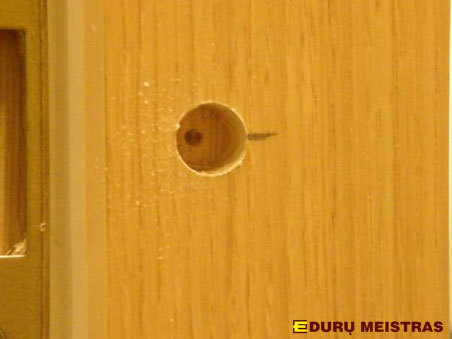
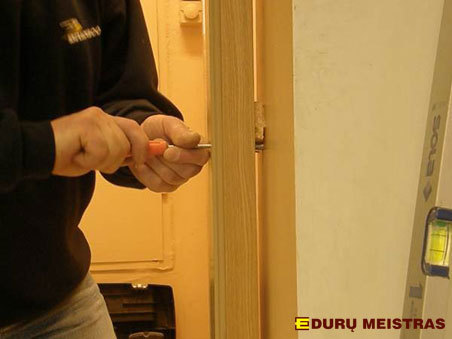
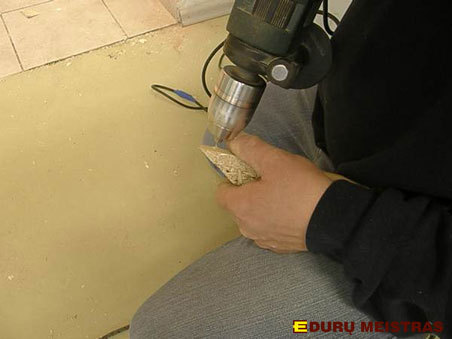
You can either screw the door frame to the wall or use expanding foam. If the door is going to be used often, it can get crooked, so it is better to fasten the door with screws. Make holes (10 mm x 80-110 mm) for frame anchors at the distance of 10 cm from the top, 1 meter from the top and 10 cm from the bottom. Make sure the holes are located at the center of the frame. First, drill a 14 mm wide and 15 mm deep hole. Drill through the frame using a 10 mm drill bit for wood.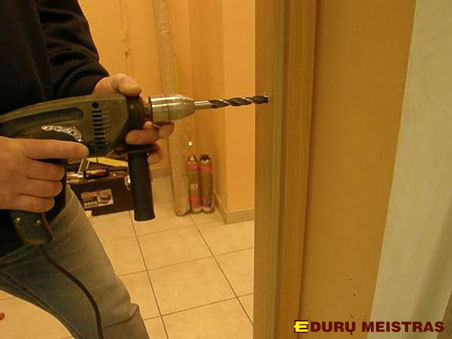
First, use a 10 mm diameter drilling bit for concrete to drill a hole in the upper corner of the hinge jamb.
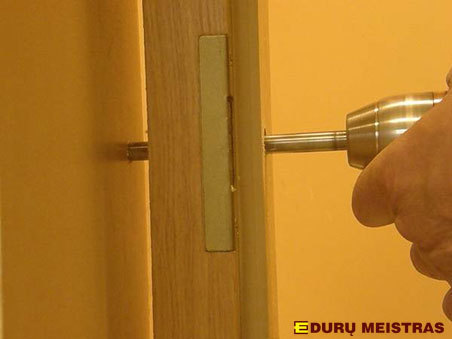
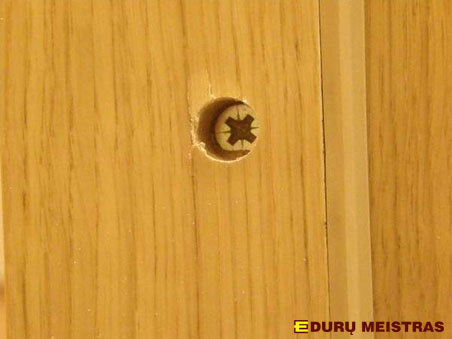
Put in an anchor and screw it in tightly. Use the level again to make sure all parts of the frame are level, then drill and fasten the lower jamb corner.
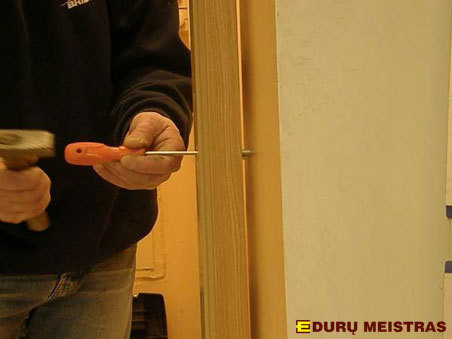
Put in the shim you have near the hole in the middle part of the jamb. It will hold the jamb firmly not to let it get crooked.
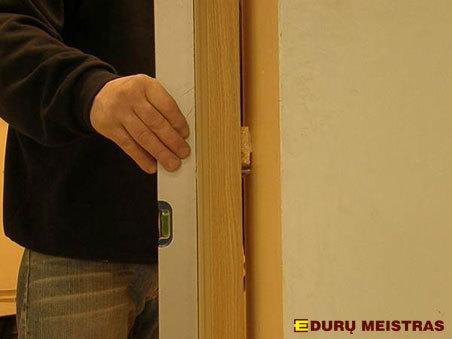
Use the level to see if the jambs are plumb, then fasten the lock plate jamb in the same way: first at the top, then at the bottom, and finally at the center of the jamb.
Installing the door
Hang the door, make sure it is closing evenly.
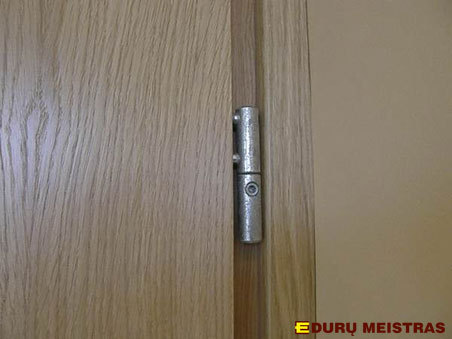
You can shift the door by adjusting the hinges:
the door can be raised up, let down or pulled closer to a jamb.
A hole at the bottom part of this hinge can lower the door, the one on the upper hinge can push the door closer or further apart, and the one on the other side can raise it.
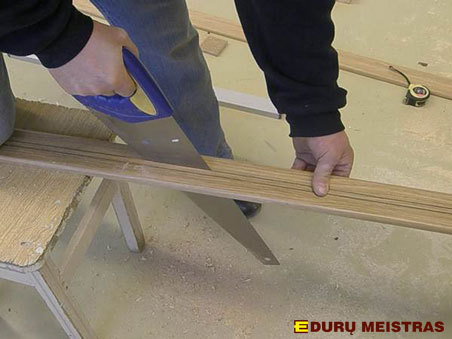
In our case, the door has to be reduced in height. The best way to achieve this is to cut its bottom. Mark the cutting line and cut off the bottom using a small-tooth saw. Then, sand it with p100 sandpaper.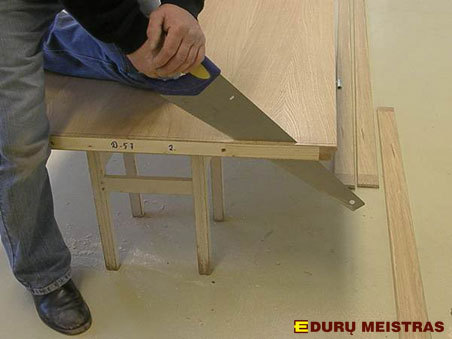
Make sure there is no dust left on the door opening, clean it with a water spray if there is any.
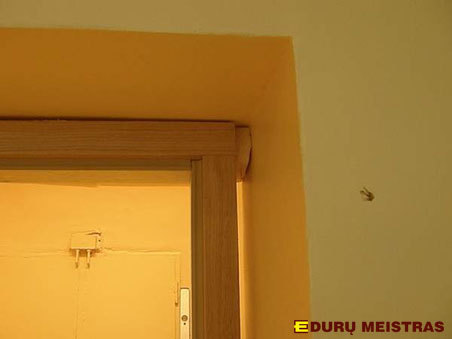
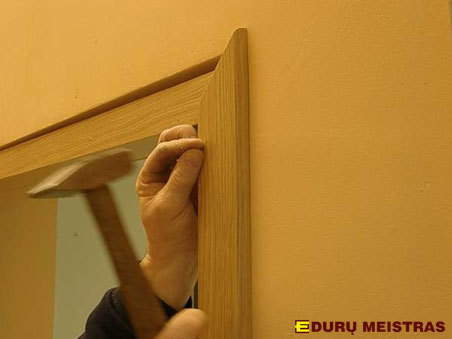
Installing the door casing
Start by installing casing on one side of the door. There are different types of casings: some are built-in to the door frame, some require special grooves to be prepared prior to installation, and some are nailed in the traditional way.
Measure the casing pieces to leave 10mm from the edge. First, prepare vertical trim pieces.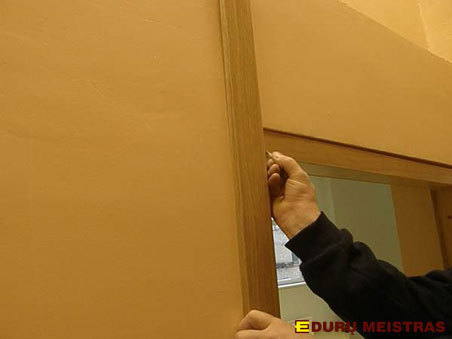
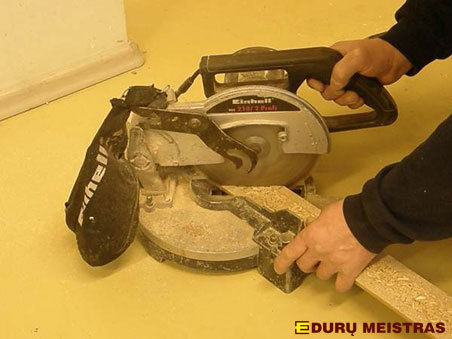
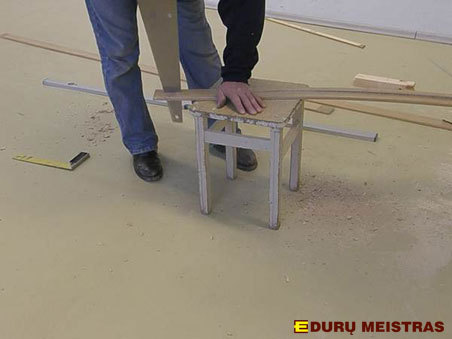
It is recommended to use a miter saw to cut the corner where the side piece meets the top piece. The corners made with it are just perfect. If you have no possibility to purchase or rent it, try a hand saw, but first measure a 45 degree corner with an angle ruler.
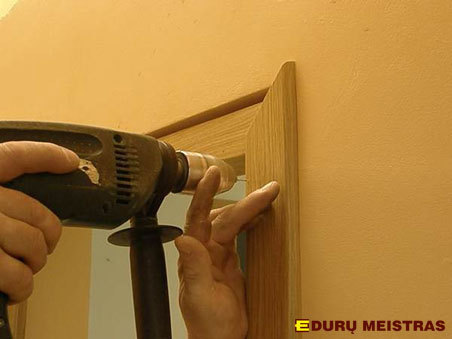
Place the pieces at the frame, drill holes with a drill bit of 1,6 mm diameter and nail them using 1,6x32 mm finishing nails. First nail the top and the bottom, then put in a nail every 30-40 cm in the central part of the trim piece. When nailing the pieces, leave 1 cm from the piece edge.
Measure the necessary length of the top piece, cut and nail it up. It is recommended to nail up the top piece to the vertical ones. Drill holes at the edges of the top piece for nails to be hammered into the side pieces.
Installing trim at the inner side of the door
If you are installing your door into the opening that is wider than the frame, the trim has to be measured and cut separately. First, determine the necessary width of the trim piece. Take the width so as to leave 1 cm from the edge of the frame. 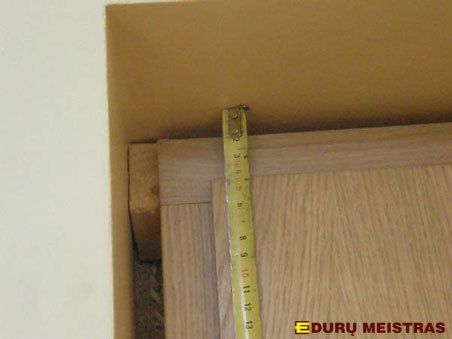
Fill the slot with expanding foam from bottom to top. Use low-expansion foam (30-40 %). It is recommended to use special equipment to control application pressure: set low pressure to fill small lots, and higher pressure when filling larger ones. Apply expanding foam directly at the center of the frame.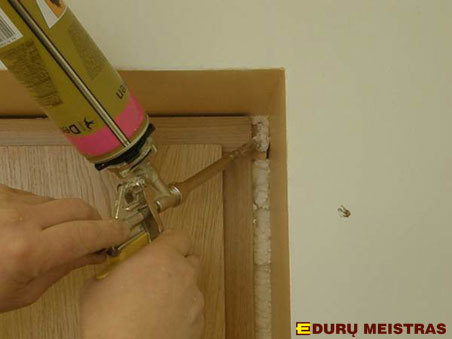
In case you use non-professional equipment that cannot control application pressure, the foam can get on the door and damage its surface. Make sure you use protective film for the places of possible contact.
First, fill the vertical slots and adjust vertical trim members.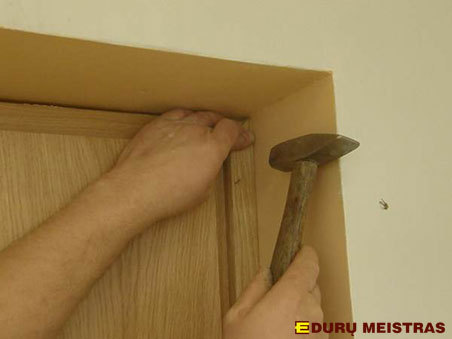
Then measure and cut trim piece for the header part. Apply expanding foam and nail the trim.
We thank UAB DURU MEISTRAS for the advice provided