Choice of tiles is the first step towards the fitting of a new bathroom. However, your dream will come true only if you properly prepare a base, choose suitable materials and glue the tiles at the highest quality possible.
Base preparation
The glued surface should be steady, dry, rigid and smooth, all the layers that reduce adhesion especially dust, filth, lime, grease, polish, oleaginous paint, emulsions or bituminous mastic as well as other remainders of materials that reduce cohesion should be removed. Bigger base bumps should be fixed with smoothing aggregates. If you are about to glue a surface that has a strong absorbtion to moisture, you should make sure you have it primed.
If the tiles are glued on a painted plastic surface, you should indurate it with a sandpaper. A concrete surface should be covered in no sooner than one month.
Glue
For each type of tiles there is a different type of glue manufactured. One can be for ceramic wall tiles, other for ceramic floor tiles or even for stone mass tiles, glass mosaics. It is more reliable to go for special type of glue to make sure the tiles do not get unglued for a longer amount of time. Universal glue can also be found, though it is recommended to go for the special ones.
Whilst gluing on stable, stiff and water resistant wooden surfaces or just on old ceramic tiles, specialists recommend to use the glue solution for an increased cohesion and elasticity or to mix elastic emulsion into the glue solution.
Dry glue is poured in to a cool, clean water and mixed till a smooth mass is achieved. Large quantities should be mixed with an electric stirrer whereas the small ones manually. The time after which the mass should be remixed and suitable for gluing can be always found on the packaging of the product.
Filler for gaps in tiles
Fillers can be used for fixing the gaps in newly covered surfaces or maintained old surfaces. Small gaps between ceramic tiles, ceramic mosaic are filled with a coloured mass. The fillers of tiles gaps are divided according to the gap width that is needed to be filled, mechanic and chemical resistance, elasticity. Fillers for narrower, 1-4 mm gaps are of a smaller fraction and the surface fixed with those is smoother, however the level of moisture absorbtion is bigger, they are more brittle and less resistant to mechanic effects. Fillers for wider gaps (with a larger surface facture) are normally more elastic, rigid and with a smaller absorbtion of water. It is recommended to use them outside, i.e for heated floor and pools.
Manufacturers define where to use the fillers, e.g. for decoration of walls, floor or universal tiles gaps. They also offer a wide choice of colours to fill the gaps between the tiles, choosing the colour according to the colour of the tiles. In order to avoid a difference between the shades, it is recommended to go for the filler colour of the same number and the same manufacturing date.
A special seam filler is used for the fixing of concrete and lightweigh walls, to join wall and floor corners, to fill gaps between different materials as well as the separation of large areas in walls or floor in to the smaller ones.
Area temperature
During the working process as well as two days after the tiles gluing, the temperature of solution and tiles should be no higher that +10 C. A low temperature and high moisture can extend the drying time of glue.
Tools
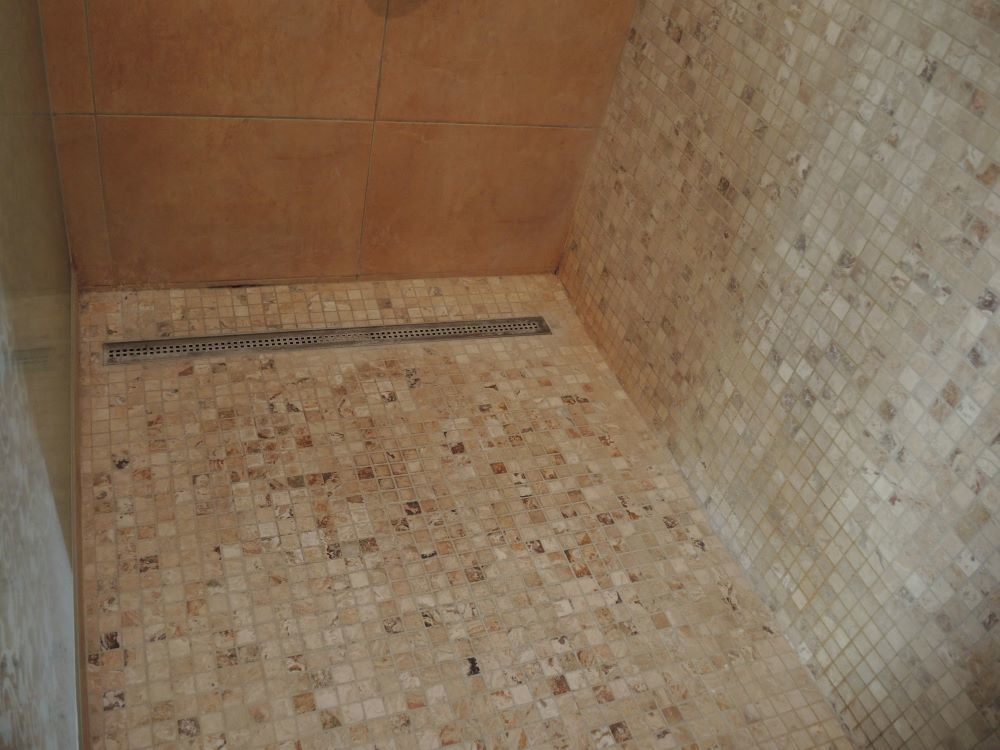
A castellated pallet should be purchased for the tiles pasting. A 4,0 mm serration size pallet is most suitable for small tiles ( up to 10 x 10 cm with a smooth or easily profiled bottom side). A pallet of 6,0-8,0 mm size is most suitable for average tiles ( bigger than 25x25 cm). Another item that you will require is a cross (1 mm to 8mm width), a putty knife to fix the gaps between the tiles, a sponge to clean the remainders of the filler. A level will be required to ensure a required position of the tiles. Regardless of the chosen tiles gluing method, specialists recommend to glue the tiles with backlashes. Crosses are used to make sure that the backlashes between the tiles are of the same width. The purpose of the crosses is not only to equalize the backlashes between the tiles but also to compensate the differences of tiles dimensions of the same size. If the dimesions of the tiles are 300 x 300 mm, the crosses chosen for gluing should be no smaller than 3mm in width.
Gluing
A thin and continuos glue layer is applied on a prepared gluing surface with a use of a pallet with a smooth edge. Then, you apply a thicker layer whereas the area which is to be covered with tiles is trenched with a castellated pallet.
It is not recommended to cover a large surface straight away as the solution gluing properties depending on the base type are kept up to 15-30 minutes. It is always recommended to check if the tiles can still be glued. This can be done by pressing the fingers of a hand on the already applied solution; if the solution remains on the fingers - the tiles can still be applied whereas if the fingers remain clean, the old layer should be removed and the new one should be applied.
The adjustment time of tiles positioning can vary as it depends on the used glue. Specialists gluing the wall tiles have their own methods of doing it geometrically regularly. Here is one of the methods - whilst using a level, a regular horizontal line is to be drawn of the botton of a wall, a straight wooden line hammered according to it and the tiles glued straight.
Luting of thread
Once you glue the tiles, you should immediately remove the surplus of glue which has taken more than half seam depth of the surface.
The backlash surface filled with filler should be of the same depth, smooth, the glue in between the tiles which remained after the tiles pressing should be cleaned.
The wall tiles seams can be filled within 1-2 days, the floor tiles seams can be filled 2-3 days after the gluing. Before filling the gaps, they should be moistened with a damp spounge. It is very much important that the tiles gaps are luted with fully dried glue or during maintenance whilst gluing on an old surface.
The prepared filler should be deeply and densely infixed between the gaps of tiles with a rubber pallet of shredder. If you want to secure the luted seam from pigment and fresh filler washing off, you should not moisten the filler between the backlashes too much. After the filling, ceramic tiles should not be cleaned in a dry method, as dry details, rubbed into a fresh filler can change its colour.
It is recommended to moisten the backlashes two days after filling by sprinkling or washing with clean water. The real colour of the filler establishes approximately in 2- 3 days after it totally dries.
Decoration stripes are used for the backlashes present in special places (inner and outside corners, heated seams) or the blacklashes are filled with elastic material (for example, silicone sealant). If you want to reduce the water absorbtion of the filler as well as increase its resistance to pollution, when it gets totally dry, approximately within two weeks, it is recommended to impregnate it with protective agents.
Use of glued surfaces
The time when you can start using the glued surface depends on the glue, tiles and weather conditions. If standard glue was used for the gluing, it is possible to walk on the glued floor in within 1-2 days after its been applied, however on such floor you cannot run, work or load them in other ways. Manufacturers recommend to wait at least 3 days. If you use fast consolidation glue, you can walk after three hours already. You can fully upload the floor only after two weeks.