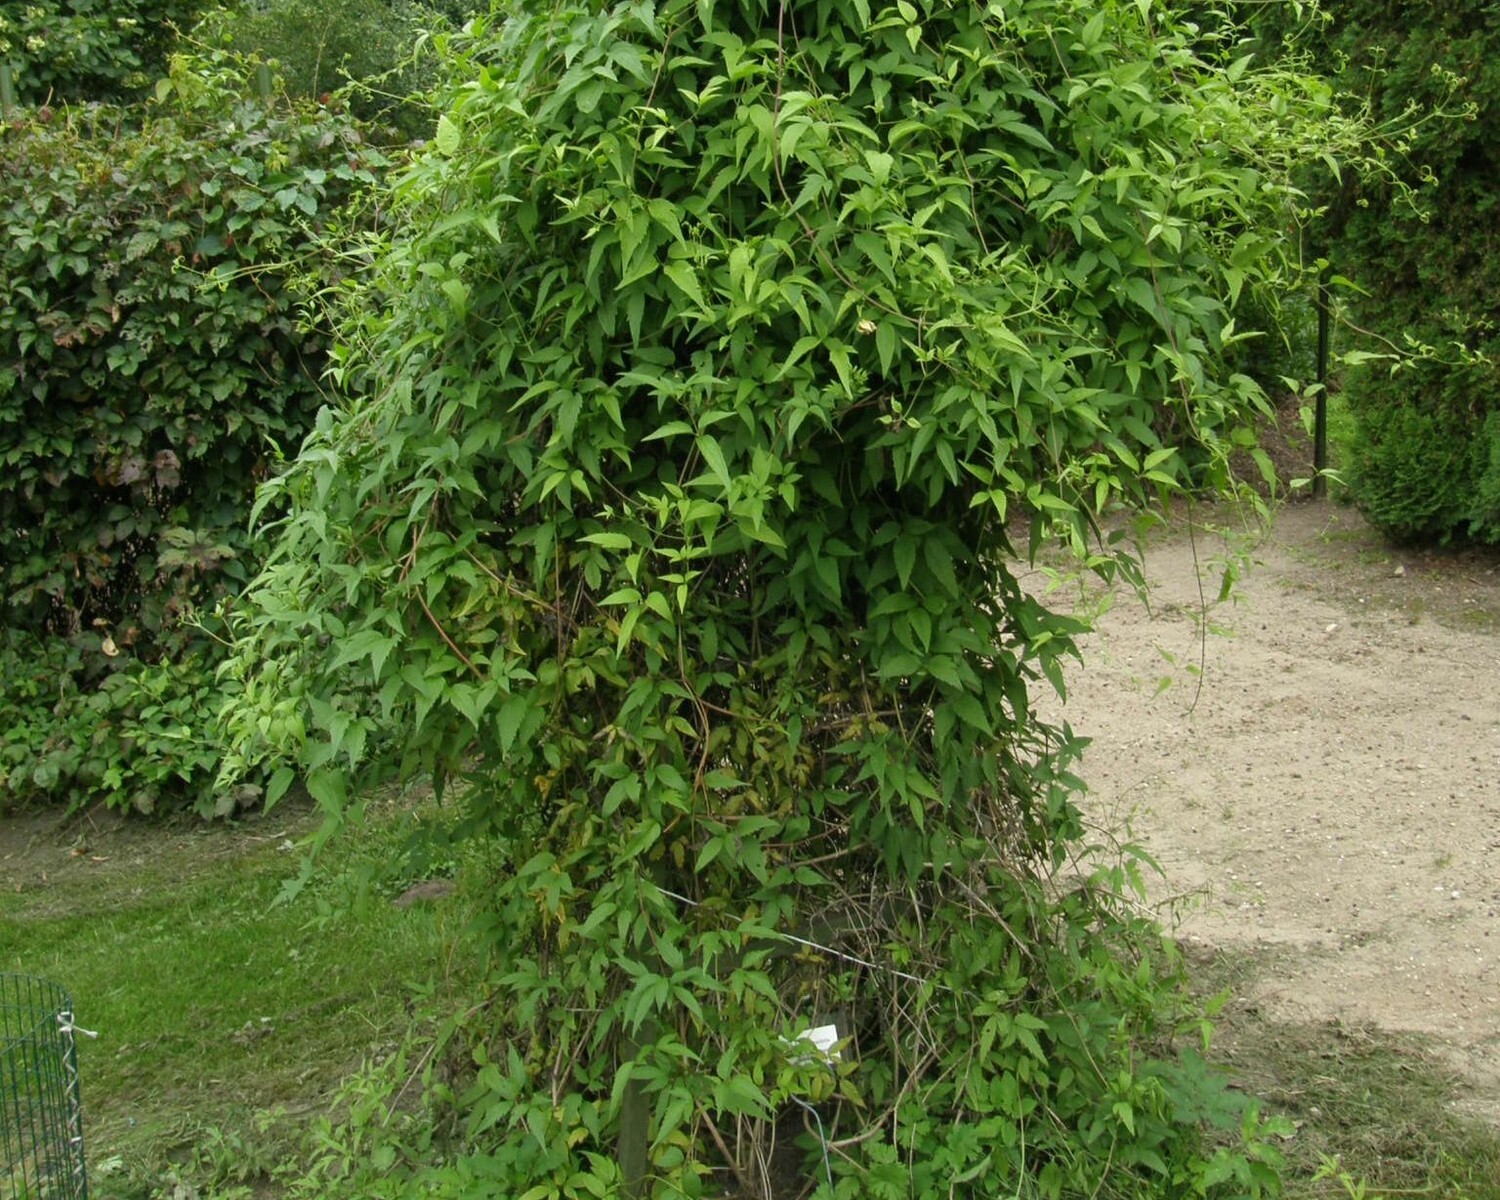
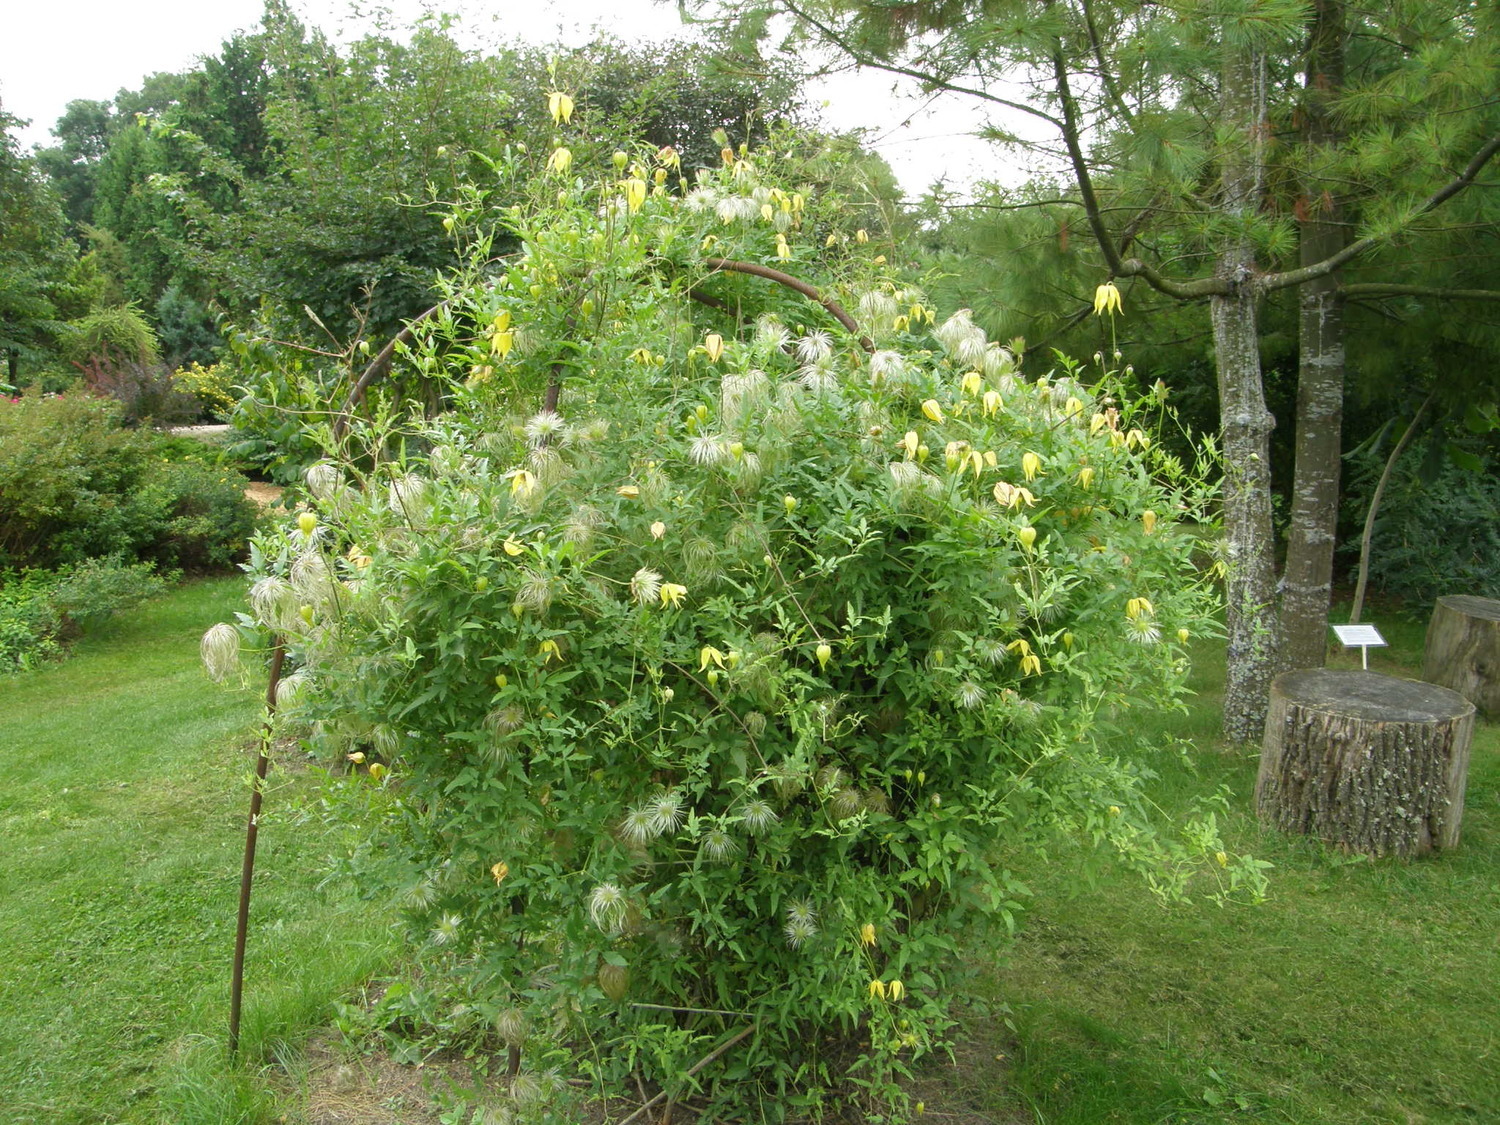
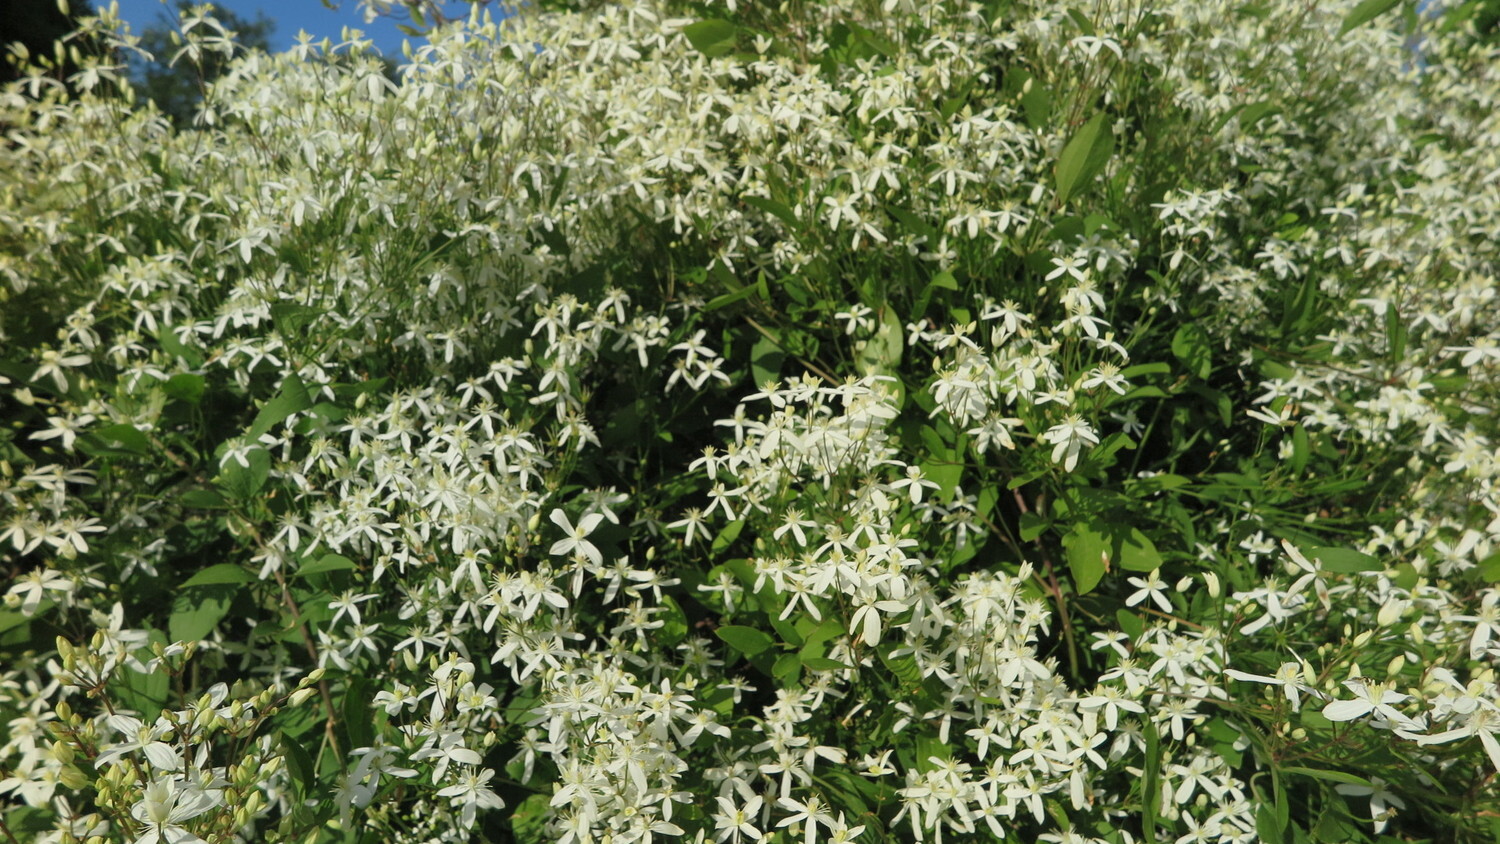
Clematis are perennial semi-shrubs or shrubs belonging to the buttercup family (Ranunculaceae). They naturally grow in temperate climate zones, but are most commonly found in the Northern Hemisphere. In our region, these plants are cultivated for ornamental gardening and are used to green buildings, fences, and balconies. Clematis not only beautifies the environment with its foliage and flowers, but also helps to cover and conceal unsightly structures, stored building materials, or other objects. Among climbing plants, clematis can be considered the crown jewel of the garden, as no other climber can match its flowering beauty and colour variety. Clematis blooms abundantly and for an extended period – from late July until the autumn frosts.
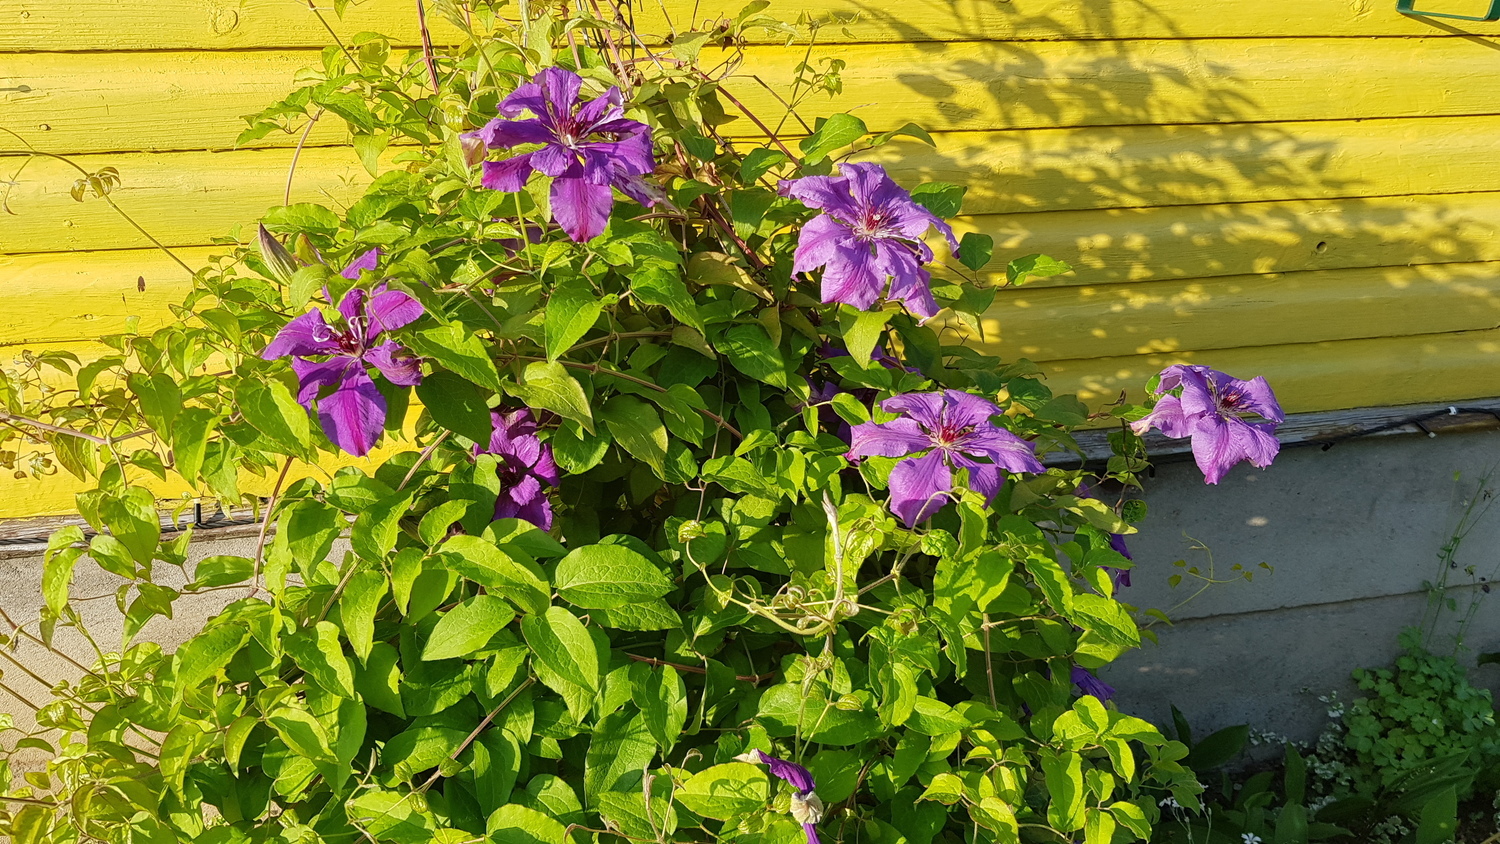
Most clematis species are hardy enough to overwinter, but some varieties are more delicate. Therefore, when purchasing a plant, it’s important to check its cold hardiness, and such sensitive varieties should be protected during winter. Clematis grow well in sunny locations, but thrives best in areas shielded from the harsh midday sun. If you want abundant blooming, avoid planting clematis in shady spots.
Soil for Clematis and Its Preparation
Clematis are not particularly demanding when it comes to soil – they can grow in almost any cultivated garden soil. However, they do not tolerate heavy clay soil, nor do they like excess moisture, especially in spring and autumn when standing water can freeze and damage the roots. Clematis grow best and blooms abundantly in loose, humus-rich, and well-moistened soil. If your soil is clay-heavy, it is recommended to improve it with compost soil, well-rotted manure, and sand, at a ratio of 20 kg/10 kg per square meter. If your soil is light, it’s enough to simply enrich it with compost or well-rotted manure.
Planting and Care of Clematis
The best time to plant clematis is spring, as they establish better during this season. However, if you miss that window, don’t worry – autumn planting is also possible, as long as it’s not too late. The plants need enough time to develop roots before winter. If planting in autumn, aim for early September. Before planting, inspect the roots of the clematis: trim off any dried, rotting, or diseased parts using pruners. You should also shorten the above-ground part of the plant before placing it in the ground. At the planting site, make sure to loosen the soil well, removing clumps or compacted chunks so the roots can spread easily and be covered with the finest layer of soil possible. Clematis should be planted 5–10 cm deep and watered immediately after planting. If planted correctly, you won't have to wait long to see results – new shoots will appear quickly. As soon as they do, guide them toward a support structure and tie them gently.
When growing clematis, remember that their ornamental value largely depends on proper and timely pruning. If the plants are not pruned, they tend to develop a single main stem with flowers forming only at the top part of the plant. With correct pruning, it's even possible to encourage a second wave of flowering, as cutting off the fading blooms prompts the plant to prepare for a repeat bloom almost immediately.
Propagation of Clematis
Clematis can be propagated by seeds, root cuttings, division of clumps, and layering. When propagating by seeds, they can be harvested until the next spring, as clematis do not naturally disperse their ripe fruits. The seeds on the plant can be collected from March to April. Even seeds harvested in spring germinate just as well as certified seeds purchased from a specialised store. It is recommended to sow the seeds in trays, and then prick them out once the first true leaves appear. Use light soil and choose a location that is shady during the day for the seedlings. Plant the seedlings 20-25 cm apart. During the summer, it's necessary to fertilise the seedlings two to three times. After two years, the seedlings will be ready to be transplanted into their permanent growing location.
When propagating by root cuttings, the best time for propagation is late June to early July. The cuttings root better in a warm propagator, greenhouse, or on a windowsill. However, to ensure that your cuttings root quickly, it is recommended to soak them for 8-10 hours in a rooting hormone solution. Cuttings soaked in this way will root much better, faster, and more abundantly.
When propagating by division of clumps, the best plants for this method are 5-6-year-old clumps. The optimal time for division is in spring or autumn. Before dividing, the plant's clump is dug up, separated into several parts, and then replanted in its new location.

If you want to divide only a portion of the clump while leaving the mother plant to continue growing in place, simply cut off a section of the clump from one side using a spade and then dig it out. This method is superior to the previously described propagation methods because the divided section will soon send out new shoots and flowers quickly. However, it may inherit any diseases from the mother plant. Therefore, before propagating in this way, you should ensure the clump is disease-free.
When propagating by layering, in early summer, a trench is dug next to the plant, the shoot is straightened and secured. The secured area is then covered with soil. During the summer, it's important to ensure layers do not dry out. This method allows the layering to root quite quickly. By spring, the rooted layers can be transplanted into their permanent location.
Clematis Diseases
One of the main and most dangerous clematis diseases is stem wilt. The affected stems wilt, leaves turn yellow and dry out, and the entire plant may die. What should be done in such cases? The damaged stems should be removed. The plants should also be sprayed with fungicides, which is best done prophylactically several times during the season.