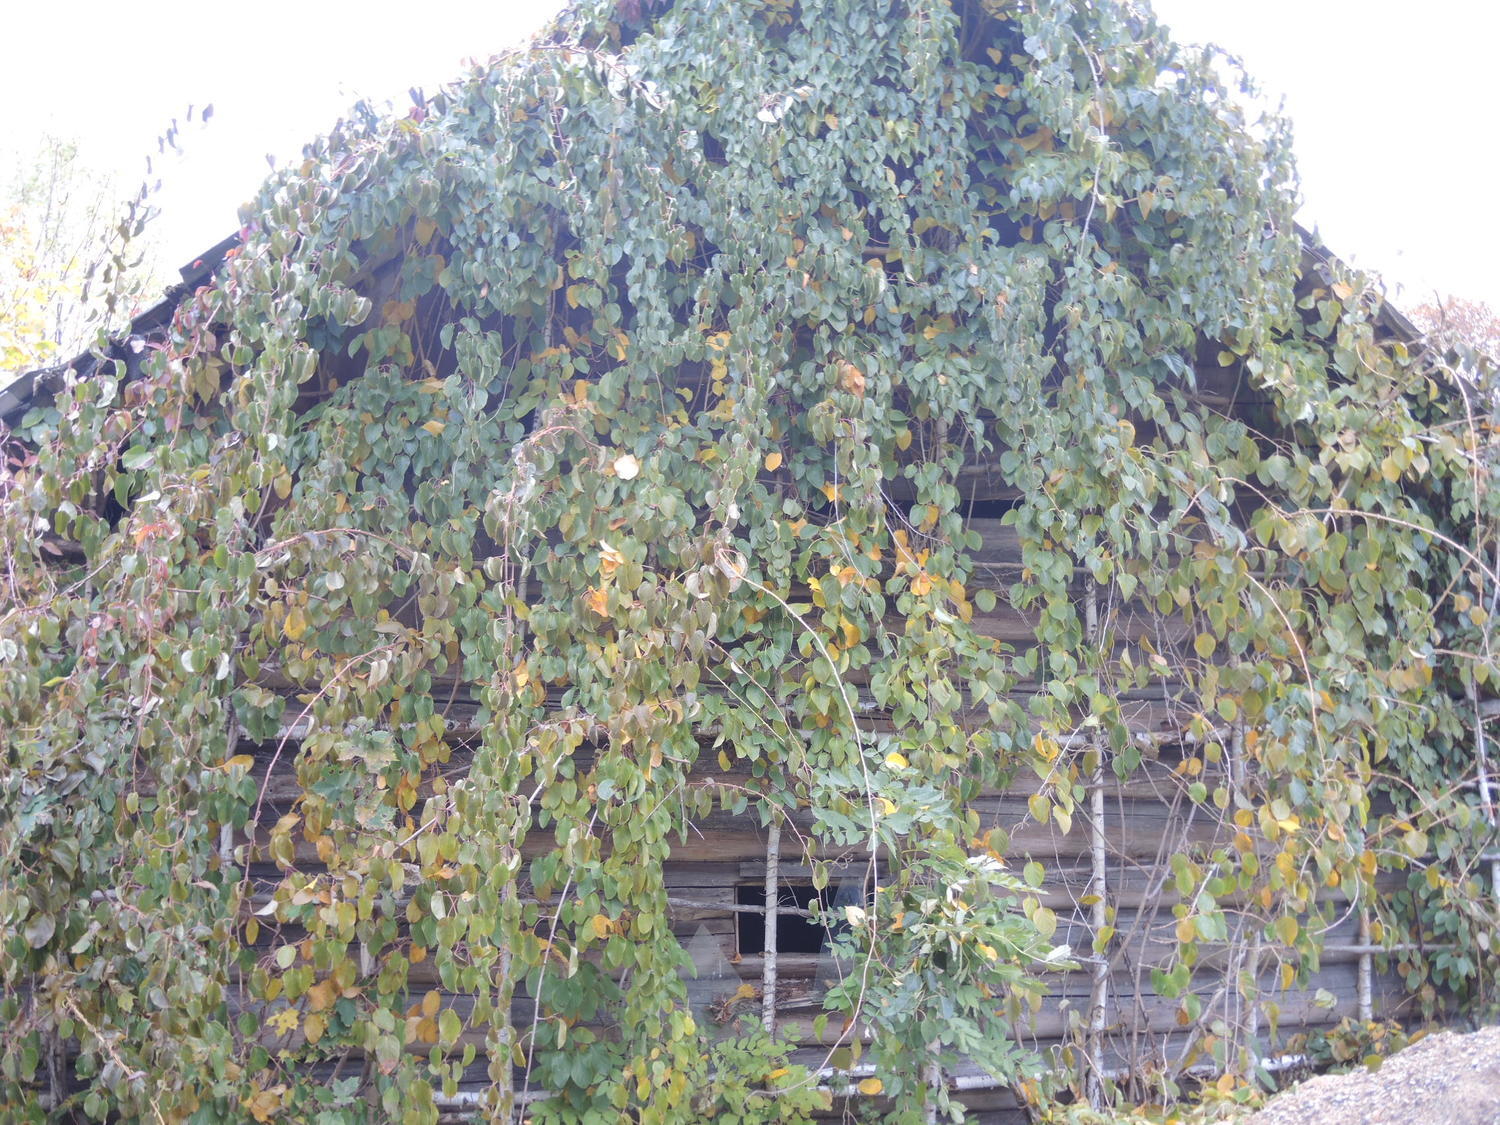
The ornamental fruit shrub and climbing plant Actinidia can easily be called the kiwi of the northern latitudes. These wide-spreading, tall vines decorate house walls and produce fruit—small green sweet-and-sour berries that taste very similar to kiwis, though their skin is smooth and hairless. Some actinidia varieties are known for their surprisingly high vitamin C content.

This southern plant wouldn’t normally thrive in colder climates, but plant breeders have developed cold-hardy varieties that can withstand harsh winters. The most commonly grown species is the variegated-leaf actinidia (Actinidia kolomikta). Another species, the sharp-leaved actinidia (Actinidia arguta), can also tolerate frost reasonably well.
When to Plant Actinidias
In spring or autumn. When planting in spring, it's best to do so in early April while the seedlings are still dormant and their buds haven’t opened yet. For autumn planting, the ideal time is before the first frosts—between September and early October—so the actinidia has enough time to establish its roots and prepare internally for winter dormancy.
Location for Actinidia Growing
- The ideal location is warm but not hot. Moderate light is best—avoid planting on the south side, as intense heat can be harmful to young actinidias. Eastern and western exposures are suitable, and the plant can adapt well to northern sides.
- Poor locations include the scorching heat of the south side, especially near sun-heated walls. Deep, shady areas or low-lying spots that never receive sunlight are also unsuitable.
Good companions for actinidias are plants that interact positively with them—or at least do not have any harmful effects. These include all legumes, flowers and plants from the aster family, citrus plants, raspberries, and blackcurrants.
Actinidia Seedlings
When searching for and selecting actinidia seedlings, prioritize 2-3-year-old specimens. One-year-old seedlings lack the potential of two-year-olds, while older ones may not be as strong. The most vulnerable part of actinidia seedlings is the roots. Choose healthy, undamaged roots and protect them from heat and cold drafts by wrapping them in soft material.
Before planting, it is highly beneficial to soak the seedlings' roots in a disinfecting copper sulfate solution. It is important not to overdo the concentration to avoid burning the seedlings' roots. For actinidias, prepare a 1% copper sulfate solution, adhering strictly to the proportions 100 g of copper sulfate to 10 liters of water.
Preparation for Planting Actinidias - The Hole and the Mixture
Actinidia roots grow relatively shallow underground, which allows you to save time and effort by digging a relatively shallow hole—50 cm deep and 50 cm wide. Only in very heavy clay soil should you dig a slightly deeper hole to create a 10 cm drainage layer of gravel at the bottom.
When planting a row of Actinidias, the recommended spacing is 1.5–2.5 meters for the variegated-leaf species or 2–2.5 meters for the sharp-leaved species.
The fertile mixture used to fill the hole is prepared from compost and fertile soil. To improve one bucket of this mixture, add a tablespoon of superphosphate (15-20 g). After placing the mixture in the hole, compact it.
The mixture in the hole can be pre-watered with a bucket of water if planting a seedling with a closed root system (roots in a soil ball), allowing the water to absorb before planting.
Planting Actinidias
In the center of the hole's mixture, it would be helpful to form a small indentation where the actinidia seedling's roots can fit.
Hold the actinidia seedling upright and place it into the prepared indentation at the center. If the root system is open (without a soil ball), carefully straighten each root to ensure there is a space between them so they do not interfere.
Cover the roots with soil, filling in all gaps. Gently tamp the soil to ensure compactness. The root collar of the planted actinidia should be 2-3 cm below the soil surface.
After covering the roots, water the actinidia seedling, applying 2-3 buckets of water to the freshly planted soil. After watering, mulch using hay, neutral peat, or sawdust. Cover the mulch layer with black plastic film to protect against weeds and frost.
Outdoors, actinidias may face negative environmental factors such as nighttime frosts, hail, drought, and midsummer heat.
When planting Actinidias, it is crucial to consider their unique pollination characteristics. Some actinidia varieties are self-pollinating, while others are not. These varieties have plants of different genders—male and female, often referred to as boys and girls by growers.
Therefore, they need to be planted near each other, following the recommended ratio of 1:4 or 1:10—meaning one boy for every 4 or 10 girls (the exact ratio depends on the specific actinidia variety, so it’s best to check with the seller).
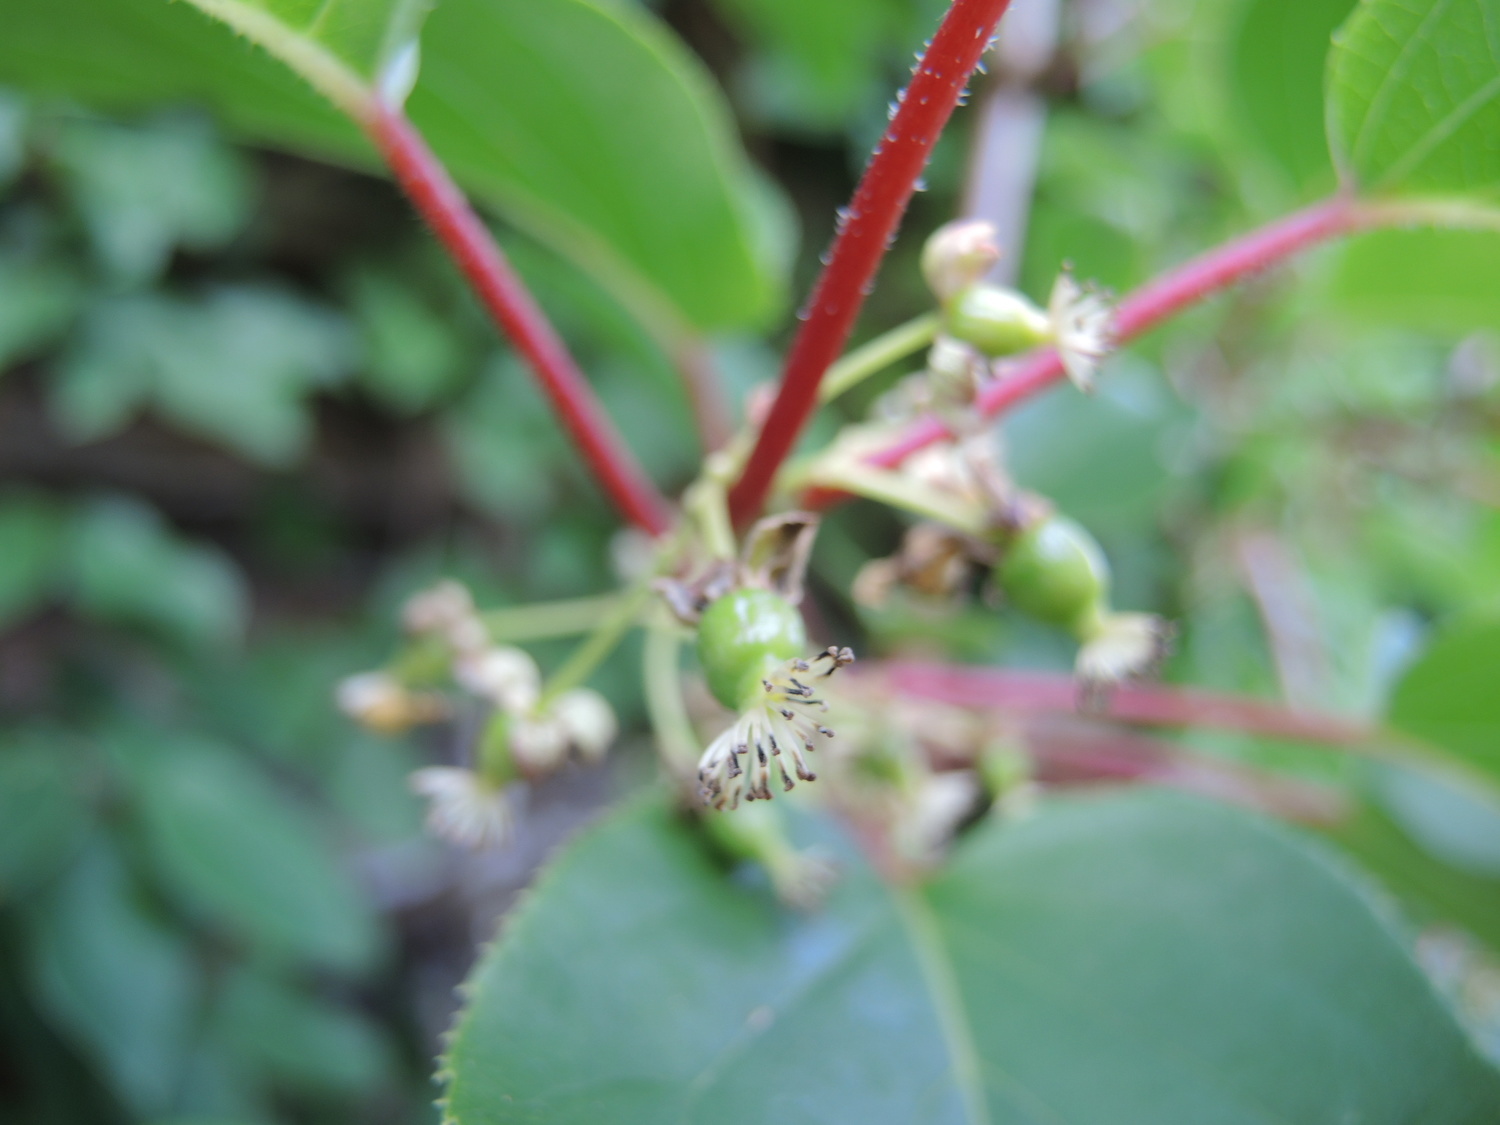
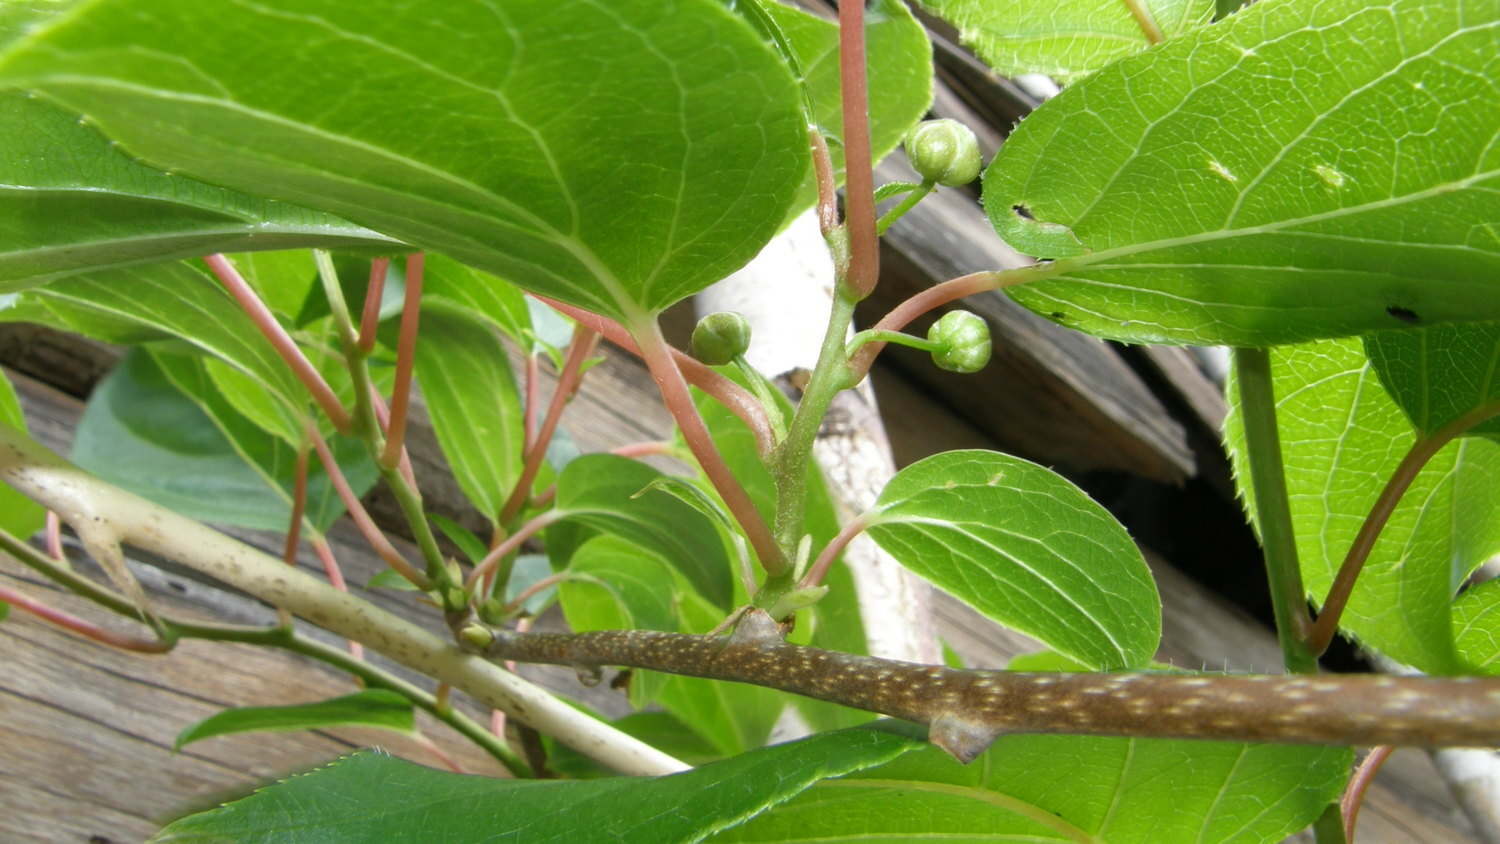
A female actinidia with white pistils.
Young Actinidia seedlings may later be affected by heat, especially when exposed to the scorching sun. Experienced gardeners protect them with clothing that mitigates the negative effects of radiation, such as covering them with soft, thin paper or a breathable semi-transparent plastic film. These materials allow the necessary amount of light to pass through.
Another issue with actinidia seedlings is cats, which are strongly attracted to the plant's scent. Cats are very drawn to the smell and often nibble on the tips of shoots and roots. Researchers have found that they get a similar effect of valerian as they become intoxicated by the plant. Tigers in Asia behave the same way with local actinidia varieties. Therefore, if you have a cat, it’s advisable to build a small enclosure around the plant using metal or plastic mesh before it’s too late.
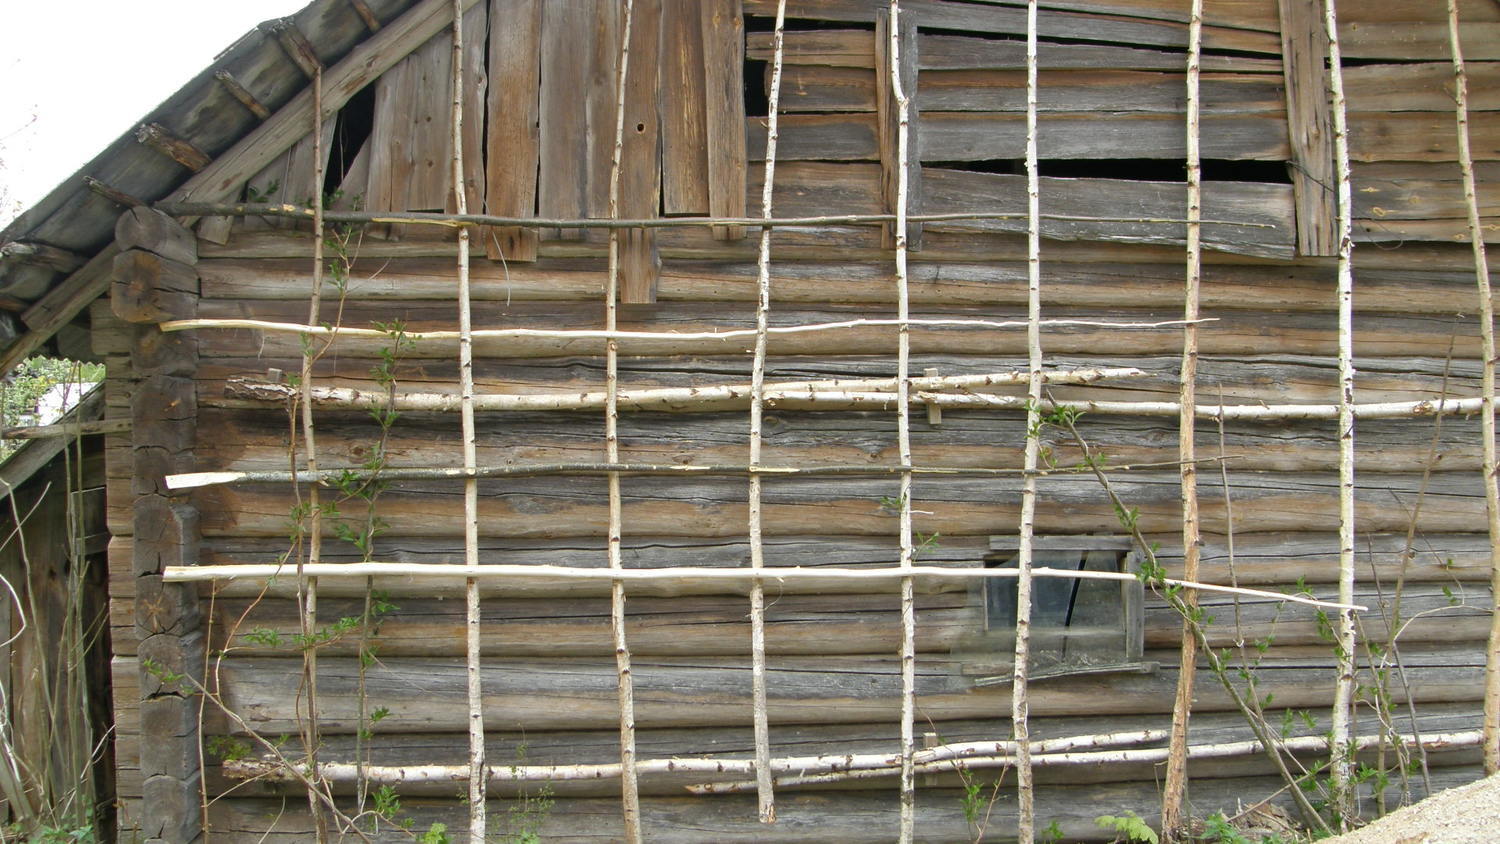
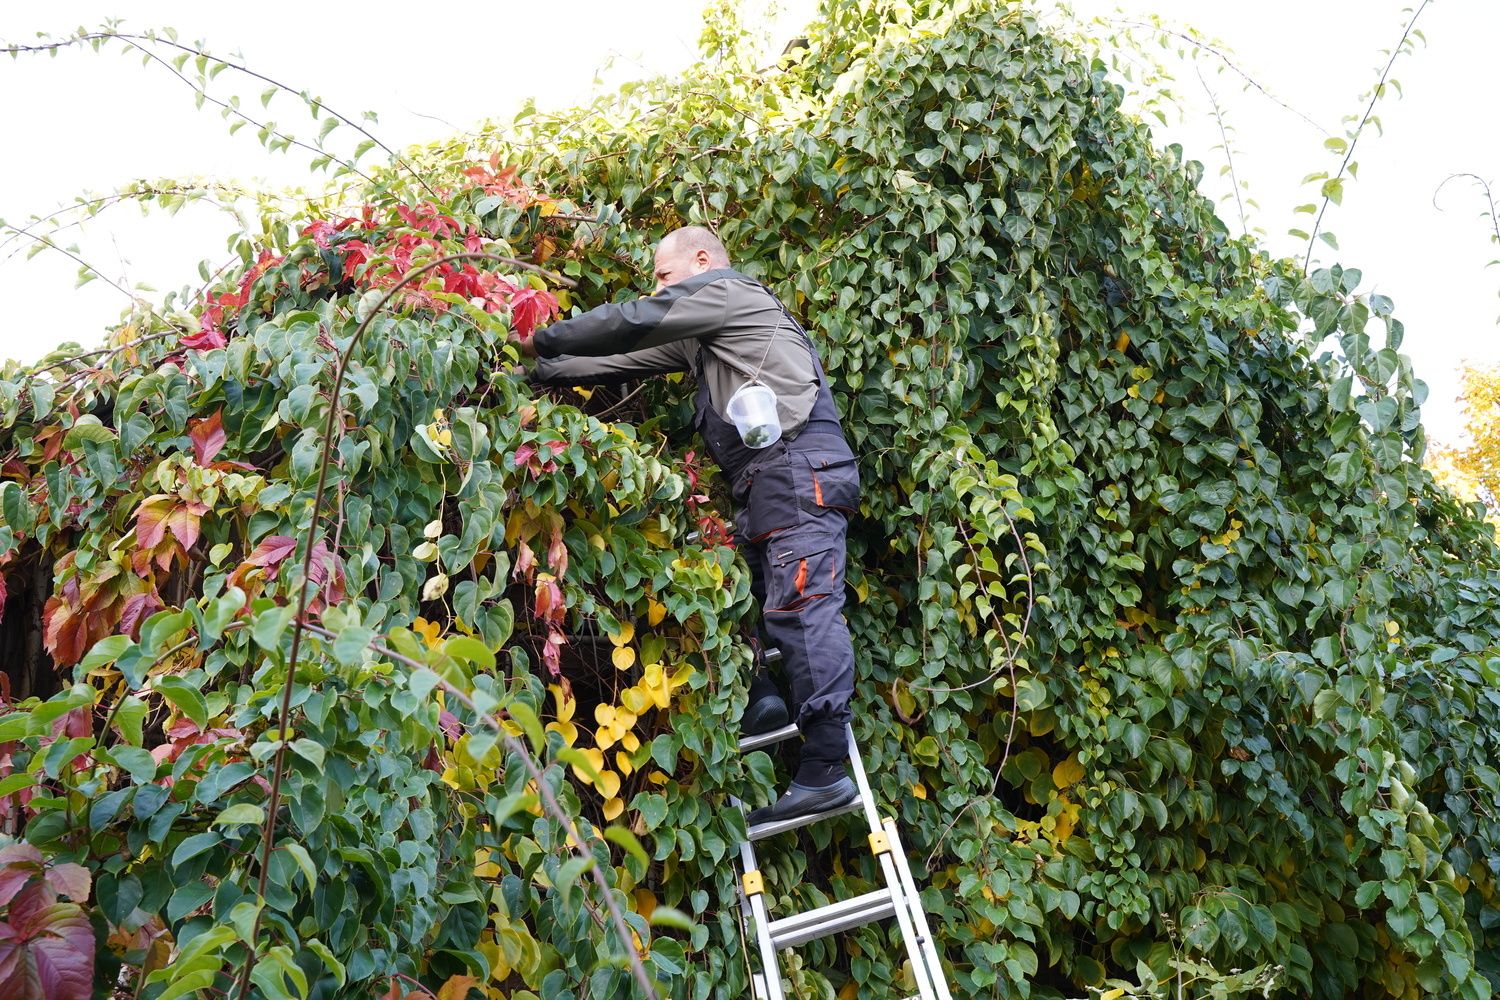
To allow actinidia vines to spread widely in all directions, a supporting structure is set up next to the plant, made of long horizontal and vertical slats or battens.
This structure can be attached to the house wall (on the north, west, or east side). If the house wall faces south, a 0.5-meter distance from the wall should be maintained. On the south side, the wall heats up significantly from the sun, and the actinidias, especially young ones recently planted, would also overheat, as they cannot tolerate excessive heat.
Actinidia Care
Actinidia Irrigation
Actinidias struggle to tolerate a lack of moisture. Young plants should ideally be watered at regular intervals. Mulching helps retain moisture in the soil for longer, but compost and manure-based mulch should be avoided (the best options are hay, grass, neutral peat, or sawdust).
During dry periods, watering should be more frequent—2-3 times per week. The amount of water should be 6-7 buckets per Actinidia. Fine mist spraying is also recommended to water the vines, not just the soil around the plant. Actinidias will retain more moisture if the weeds around them are removed.
Actinidia Fertilisation
In autumn, it is beneficial to fertilise actinidias with phosphorus and potassium fertilisers—superphosphate (40-50 g) and potassium sulfate (10-15 g). Nitrogen should not be applied in autumn as winter approaches.
In spring, nitrogen fertilisers such as ammonium nitrate (20-30 g) can be applied. Before flowering begins, fertilise with superphosphate (15-20 g).
Actinidia Pruning
In the first year, young actinidias are primarily focused on shaping. After pruning to 30 cm, the strongest and healthiest stem is left to continue developing.
In the second year, before the buds begin swelling, the shoots are pruned, leaving 4-5 of the strongest ones, trimmed just above the 10th bud. The bush's density is thinned out, and unproductive, diseased, or damaged branches are removed. It's important to note that second- and third-year actinidias begin to produce fruit.
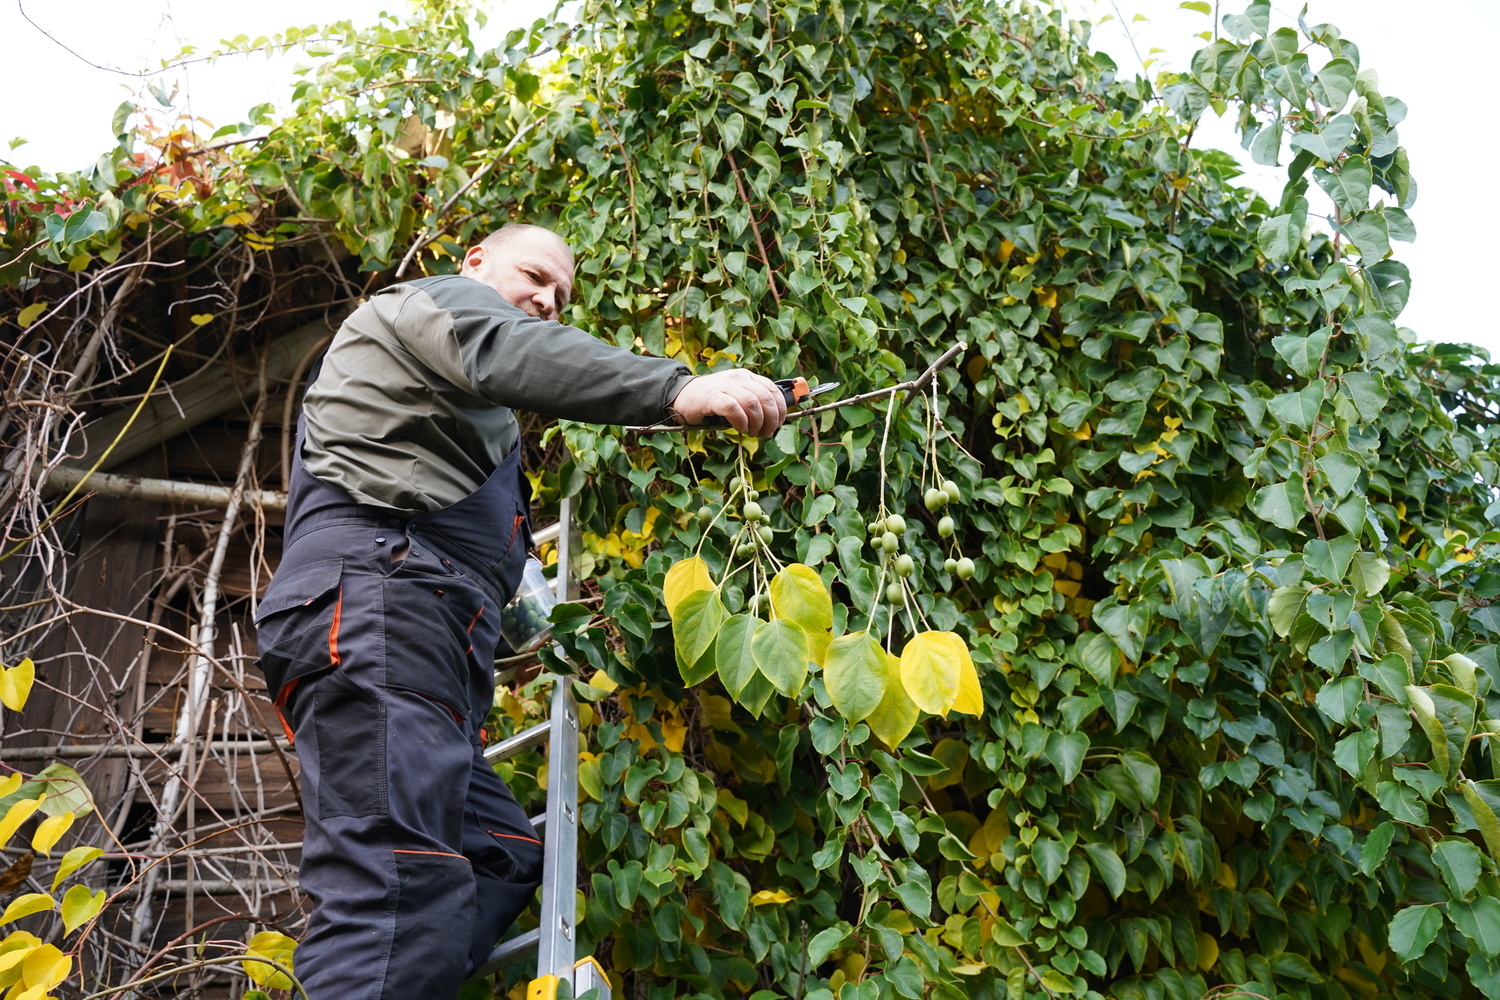
In the third year, the tops of the Actinidia vines can be pruned throughout the summer until autumn. However, pruning in the autumn is not recommended, as it can have negative consequences the following spring—Actinidia will be weaker and more vulnerable to frost.
Propagation of Actinidias
Actinidia propagation by layering is usually done at the end of spring (in May). One of the flexible Actinidia shoots is bent downward and placed into a loosened patch of soil. The bent area is then covered with soil. Over the summer, the layer will develop roots in the soil. The following spring, the rooted layer is separated from the parent plant and used as a seedling with its roots.
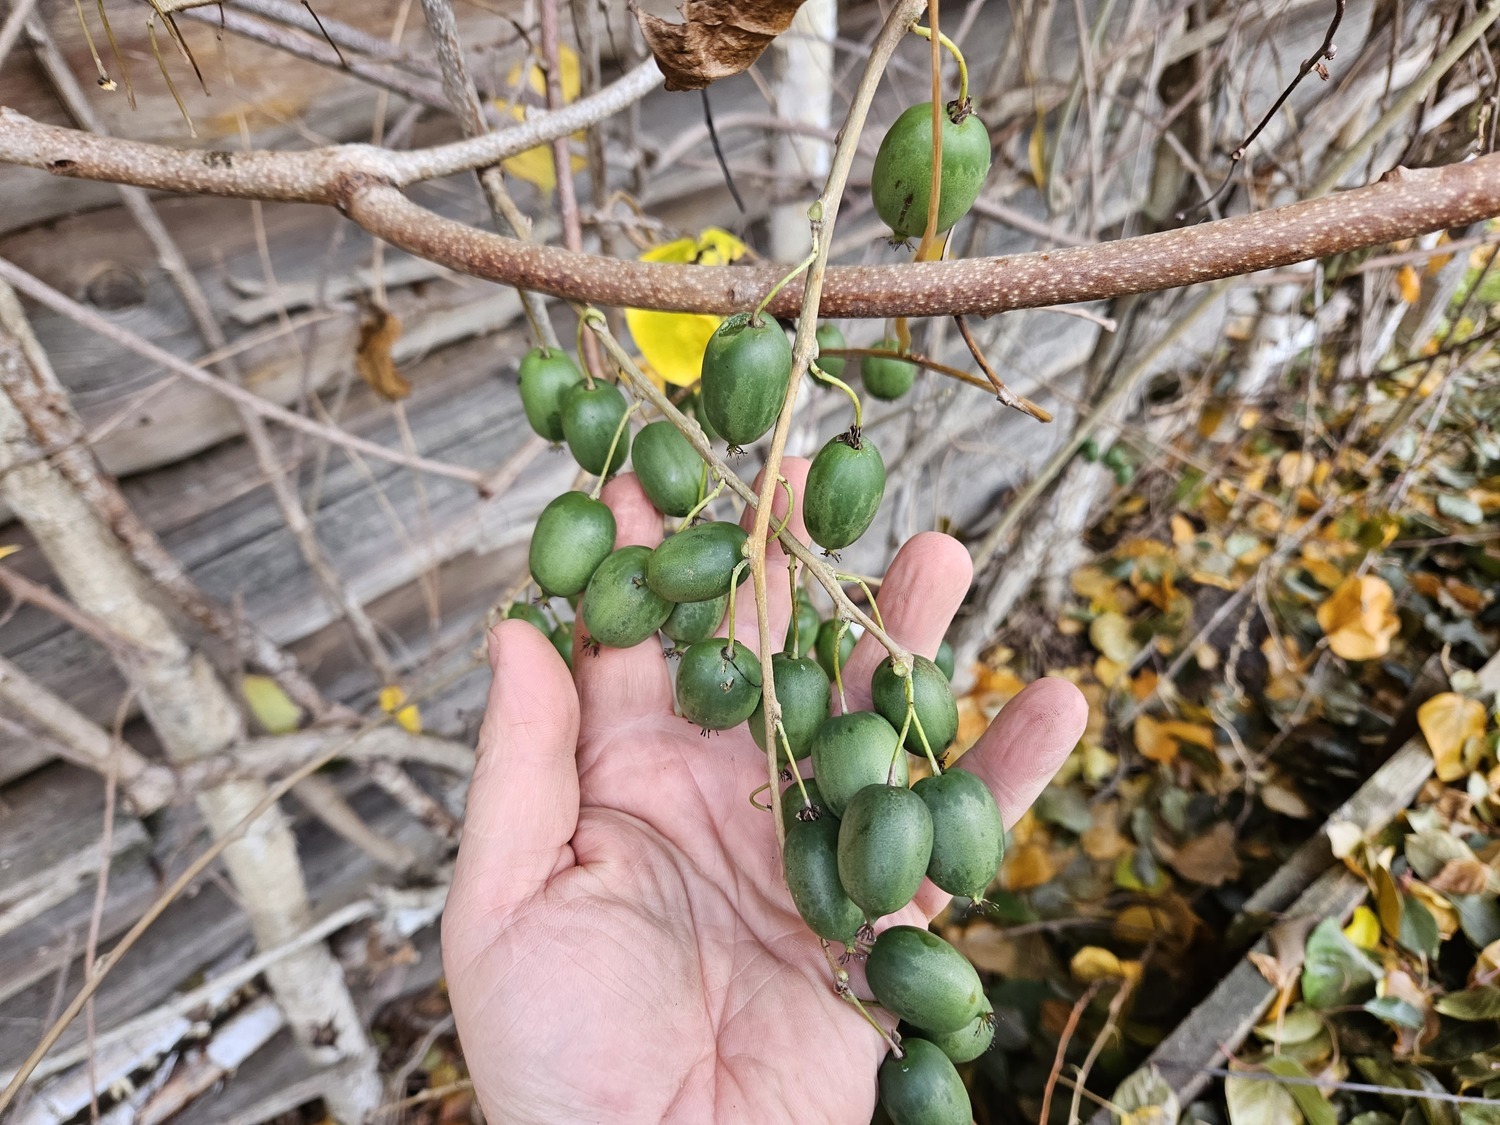
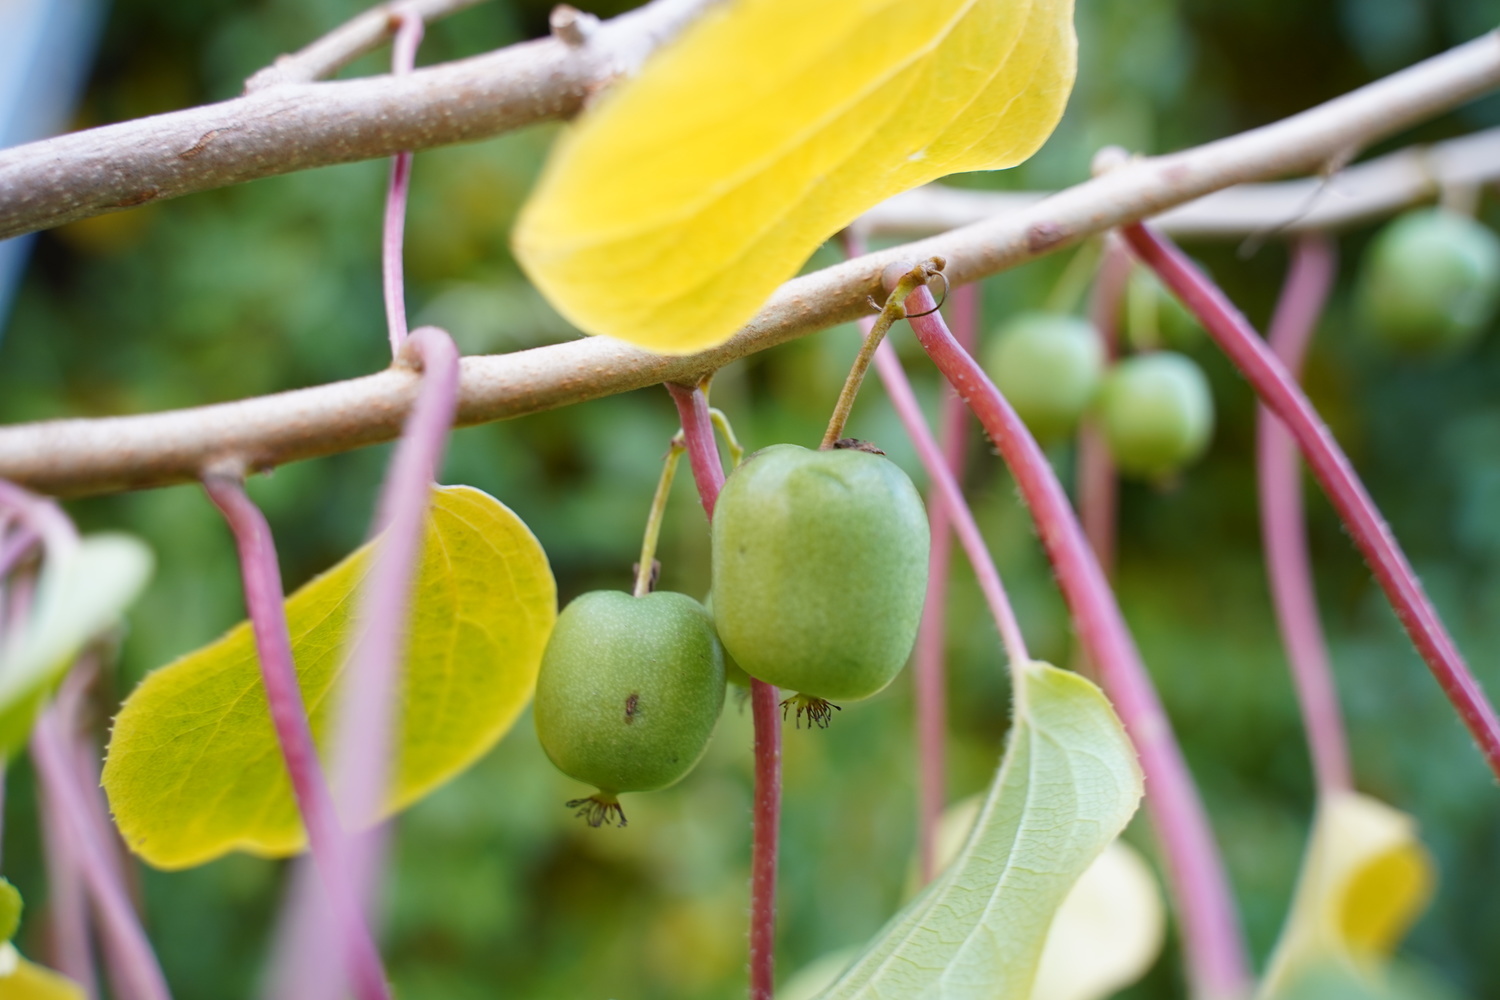
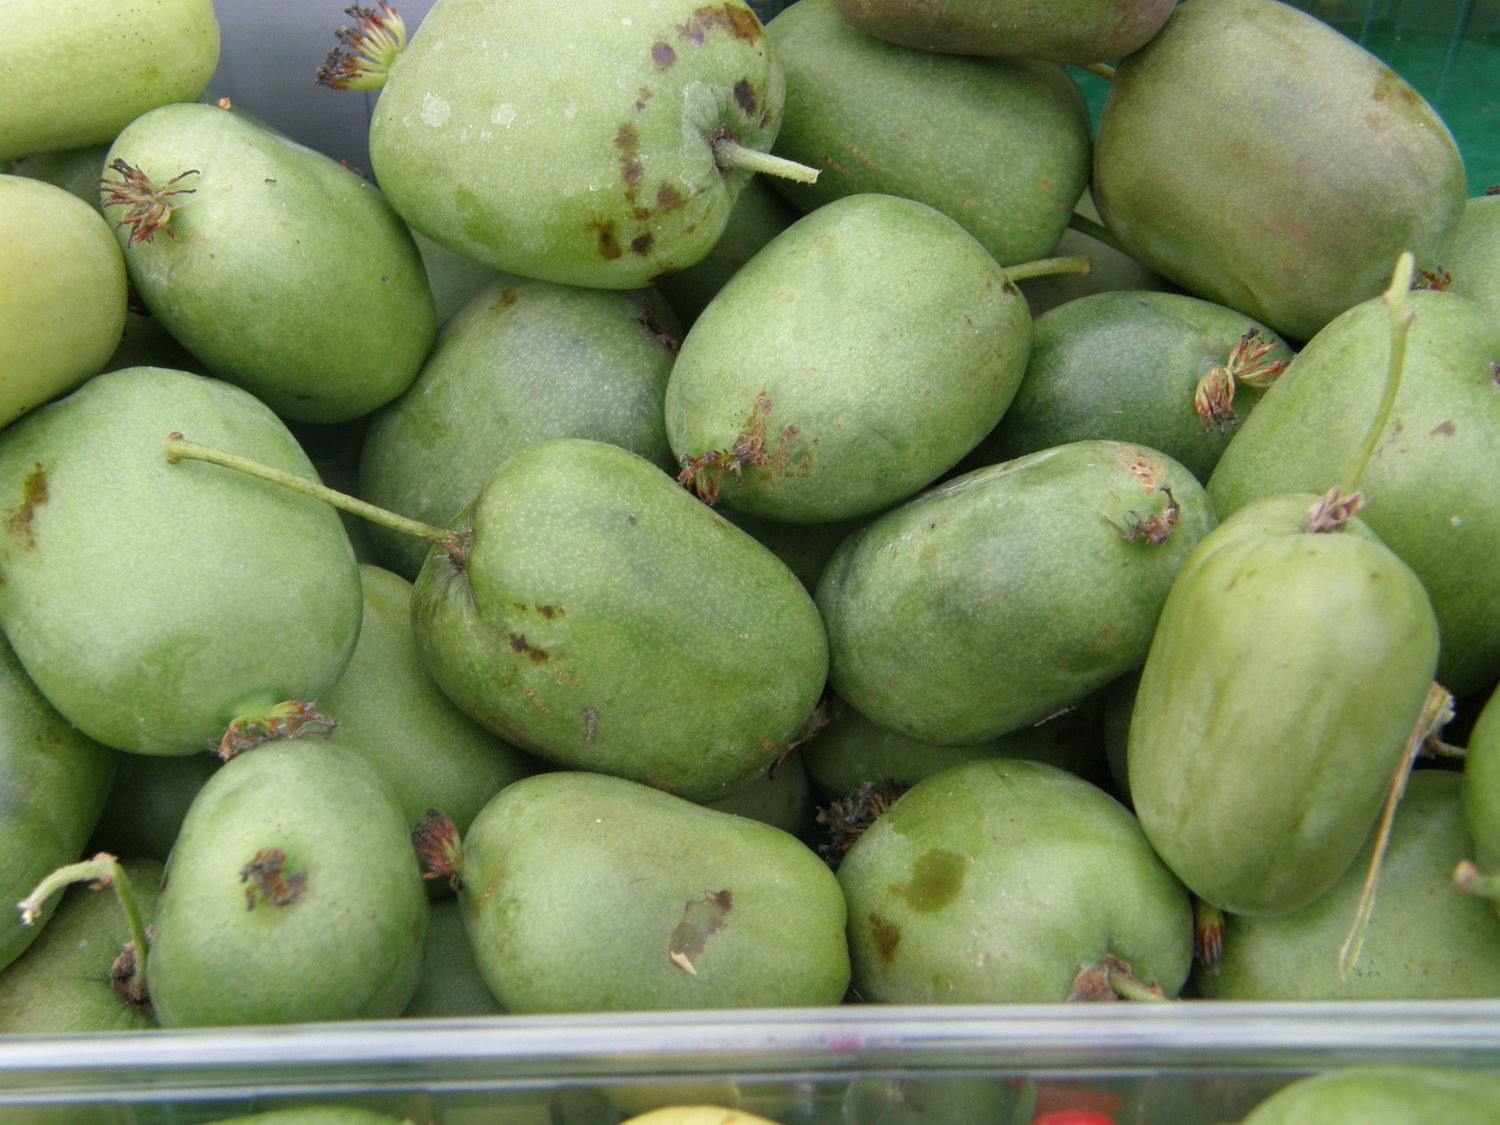
Harvesting the Kiwiberries
The harvesting of kiwiberries typically begins in August, but the exact timing depends on the variety. Novice growers may be surprised by the ripening habits of actinidia berries—they do not ripen synchronously but rather unevenly. While some berries reach edible ripeness, the others take their time, even though they grow on the same plant.
The slower-ripening berries are recommended to be picked and ripened in a shaded area, away from direct sunlight.