Decorative stone is a great way to give your home or garden spaces a unique and durable look. It stands out for its longevity, lightness, and easy installation, requiring neither significant time nor financial investment. However, to achieve the best results, it is essential not only to choose the right type of stone but also to carefully prepare the surface, follow proper glueing techniques, and ensure appropriate maintenance. This article provides detailed information on selecting decorative stone, its properties, the installation process, and maintenance tips.
Selection of Stone Panels
Before starting the glueing process, selecting the right decorative stone is important. It can be natural or artificial, and each type has its advantages and characteristics:
- Natural stone is a genuine product with its unique texture and colour. It is highly durable and resistant to weather conditions and mechanical impact. However, natural stone can be heavier, so it is important to ensure that the surface it is applied to is strong enough. The most popular option today is large-format panels made from bonded pieces of natural stone. Different-colored sandstone panels look especially attractive and are installed similarly to larger-format tiles.
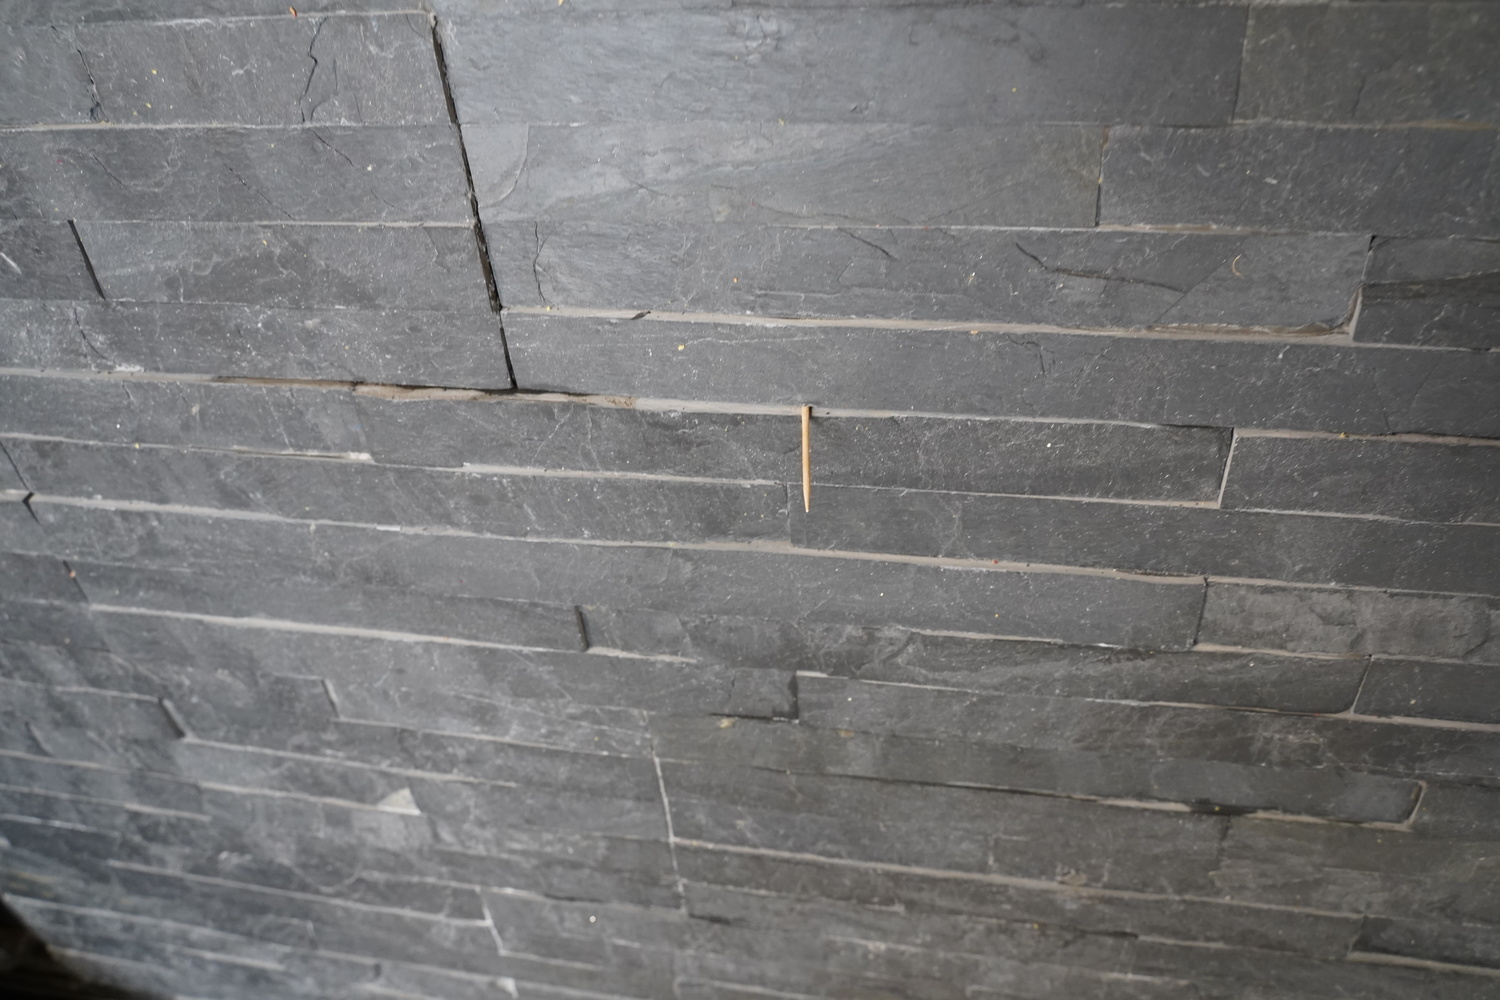
Slate panels are bonded to a fibre cement base. Fiber cement is not the best base material. It is slippery and can change properties with increased moisture or temperature fluctuations. This is especially true for fibre cement with organic fillers. Such panels are better covered with a special film that compensates for movement.
- Artificial stone is lighter, easier to install, and often imitates natural stone. It is made from cement, sand, and pigments, allowing various shapes and colours. Artificial stone is also resistant to moisture and temperature fluctuations, making it suitable for indoor and outdoor applications.
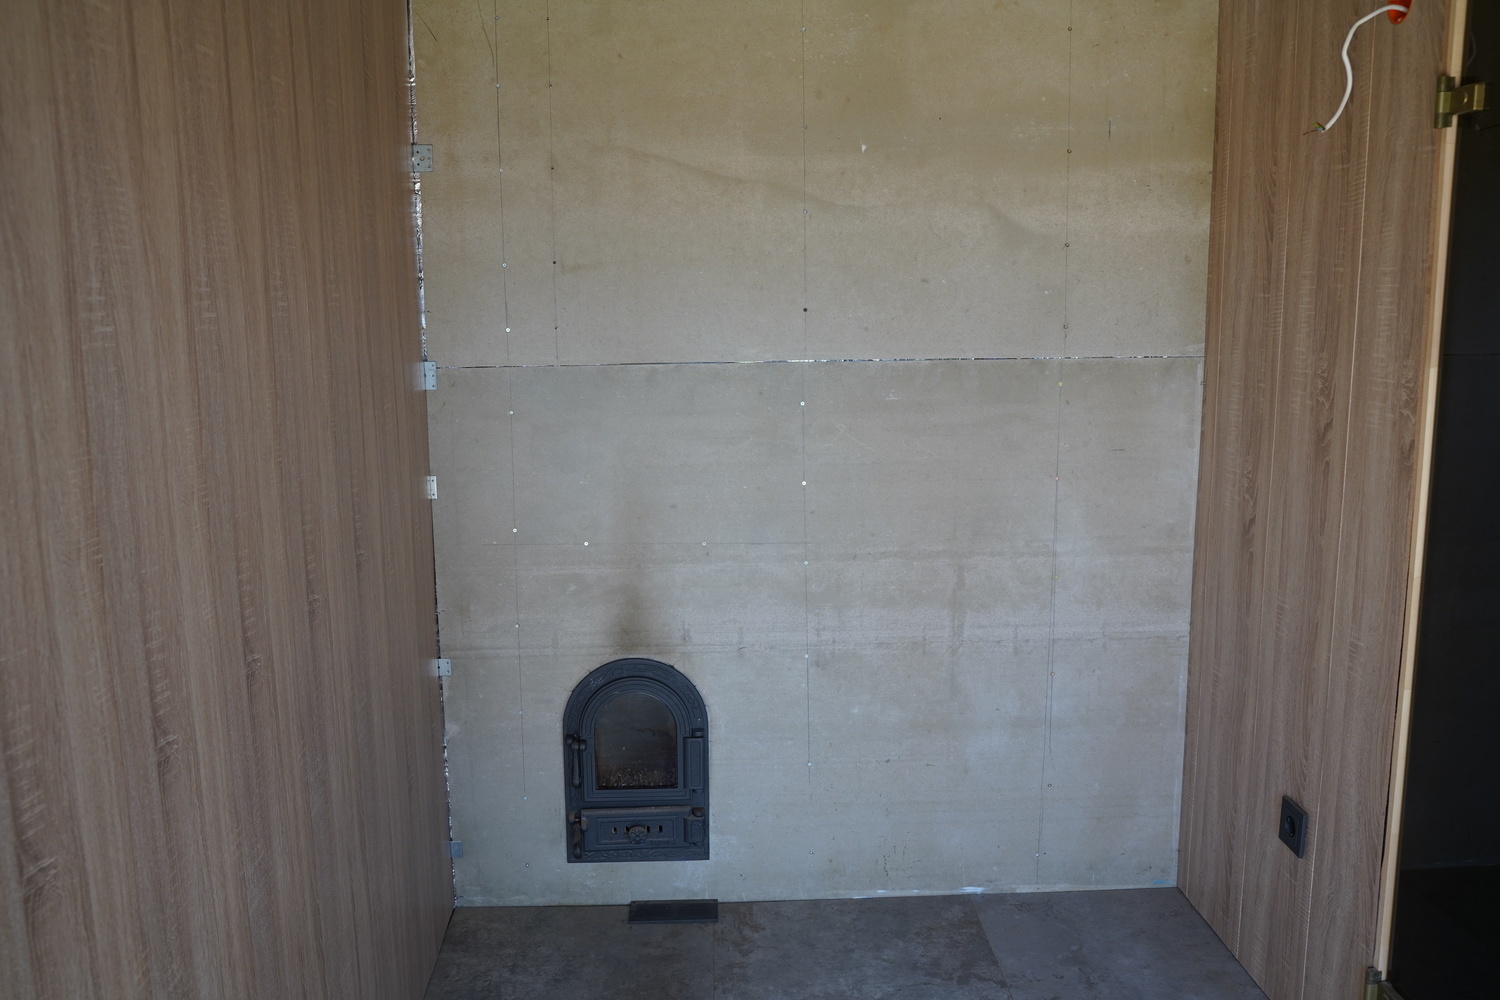
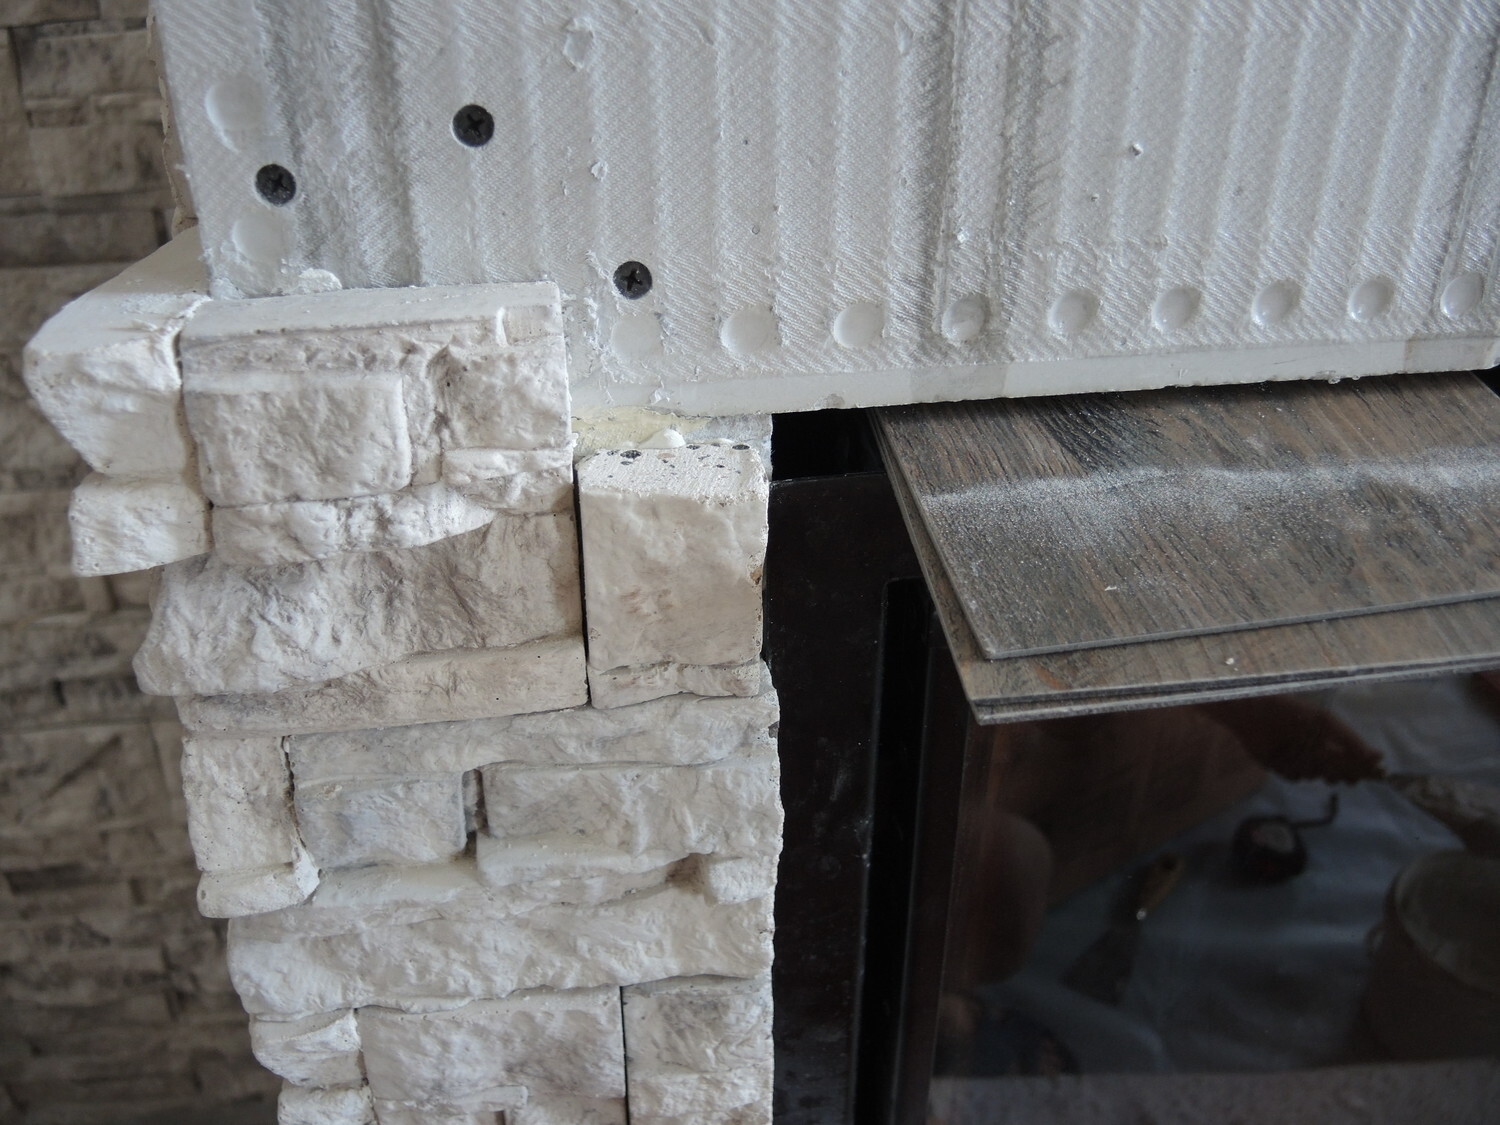
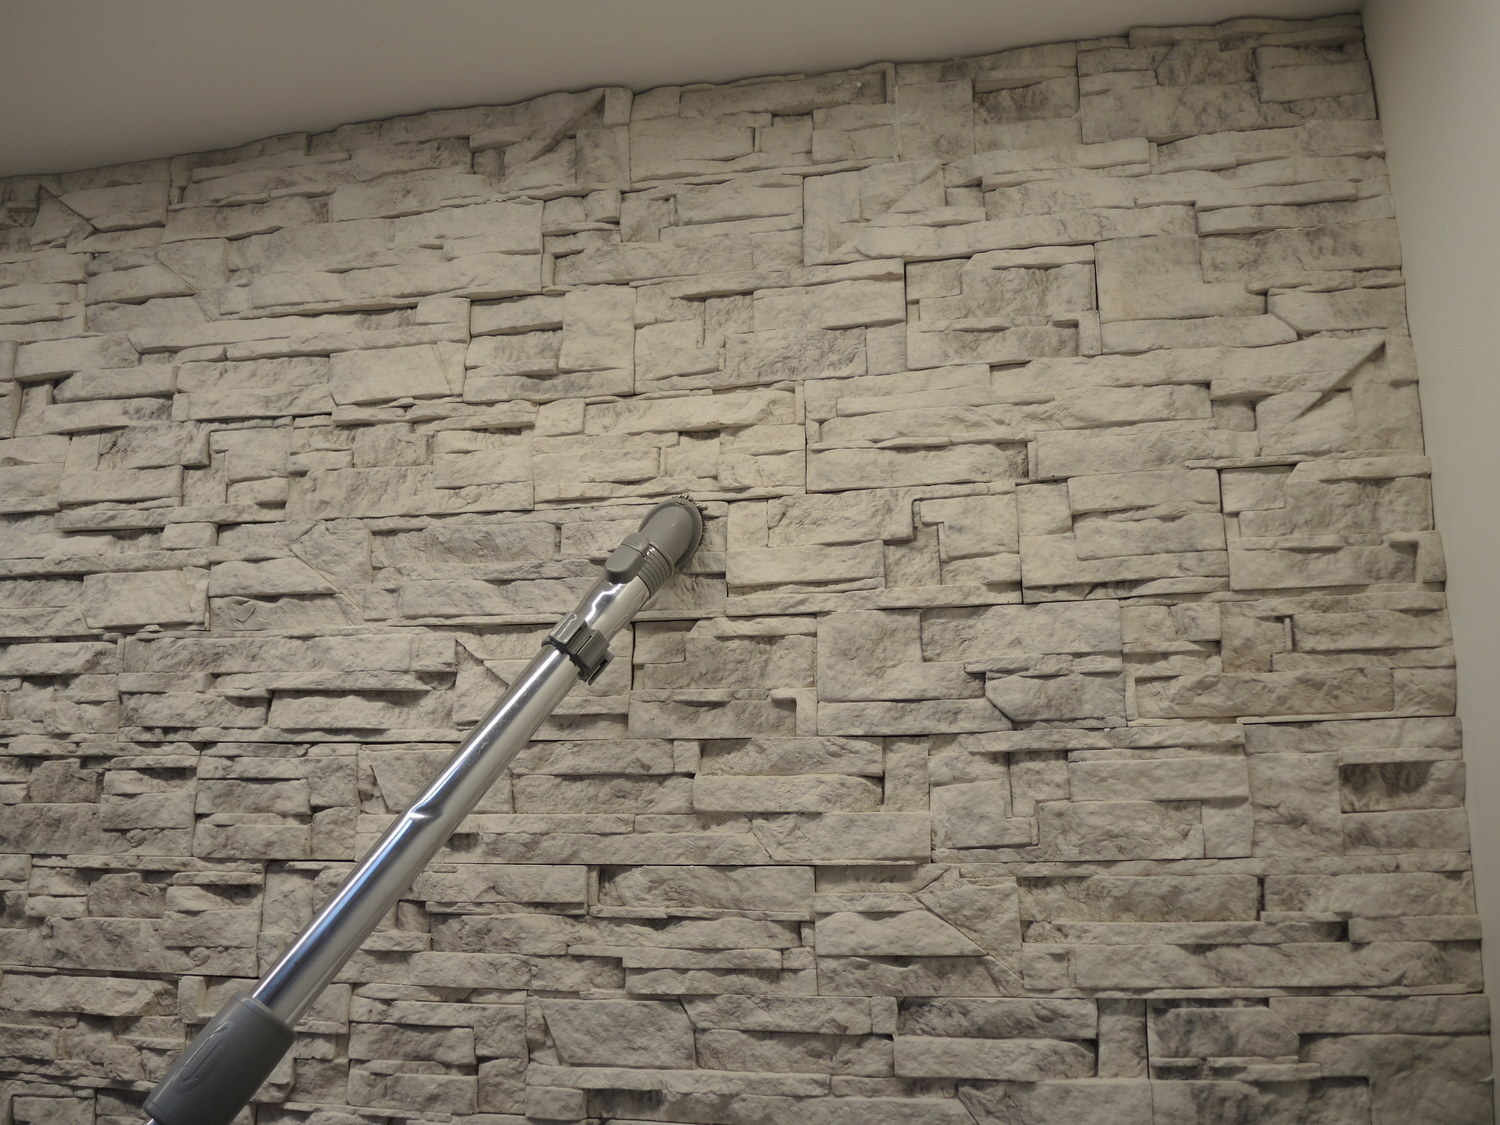
Artificial stone wall by a fireplace (the fireplace was made from calcium silicate panels). On the first floor, the stone panels were glued onto a plastered surface. On the second floor (in the image), they adhered to an OSB board. The wall looks very natural.
Regardless of the type of stone chosen, assessing its thickness, weight, and resistance to environmental conditions is important.
Surface Preparation for Stone Panel Glueing
The successful glueing of decorative stone starts with proper surface preparation. Different surfaces require different preparation methods:
- Drywall, OSB boards, fibre cement boards. These are often slippery surfaces that require increased adhesion. Organic fibre cement boards can change their properties due to moisture and temperature fluctuations. Experts recommend applying a special film that compensates for movement. Additionally, the surface should be primed with a special adhesion-enhancing primer.
- Plaster is a very suitable surface for glueing stone panels. If the plaster has just been applied, deep-penetrating primers are used to strengthen the surface. Painted or otherwise coated plasters should be primed depending on the situation.
- Brick masonry, monolith, concrete blocks. Carefully clean the surface with a water stream, and if necessary, use a metal brush. The surface should be free of mortar residue, oils, peeling paint, or other dirt. The surface should be primed.
- Foam polystyrene boards, rigid mineral wool. The surface is plastered with a reinforcing mesh. A solid surface should be achieved. It is advisable to consult a specialist for the most suitable system. An inorganic fibre cement board can also be used. This option is typical for plastered facades.
Adhesive for Stone Panels
Cement-based or polymer adhesives are most commonly used. The adhesive is mixed in the amount needed for the number of panels to be glued. The glueing is done in stages, covering 50-100 centimetres at a time, allowing the adhesive layer to set. The thickness of the adhesive layer, depending on the unevenness of the tiles, ranges from 0.5 to 2 centimetres.
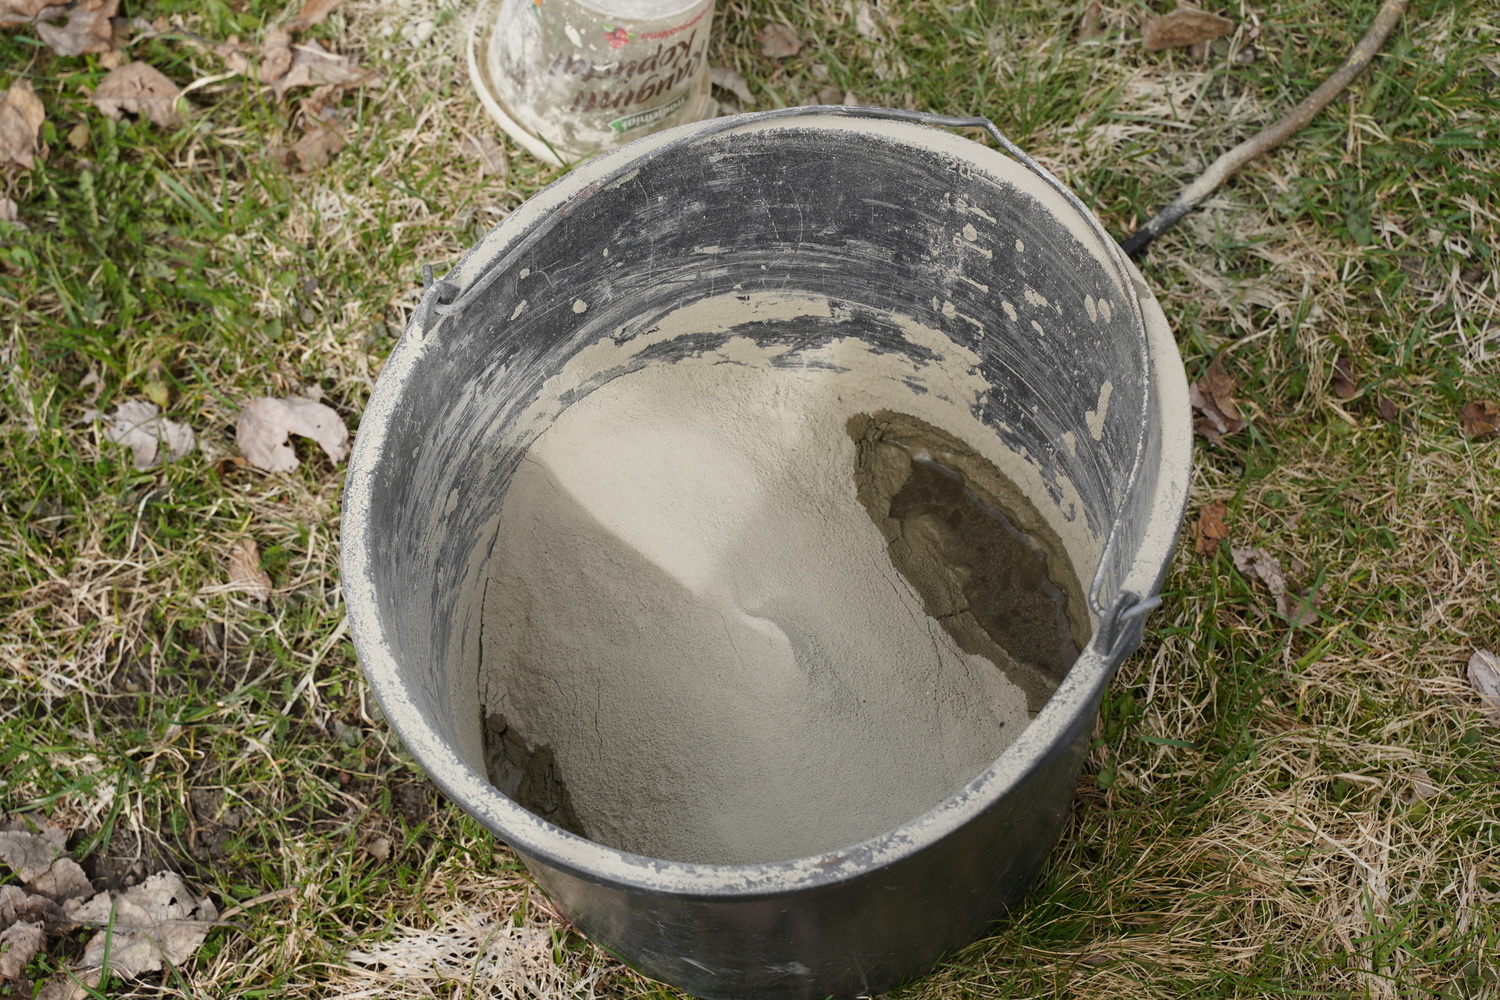
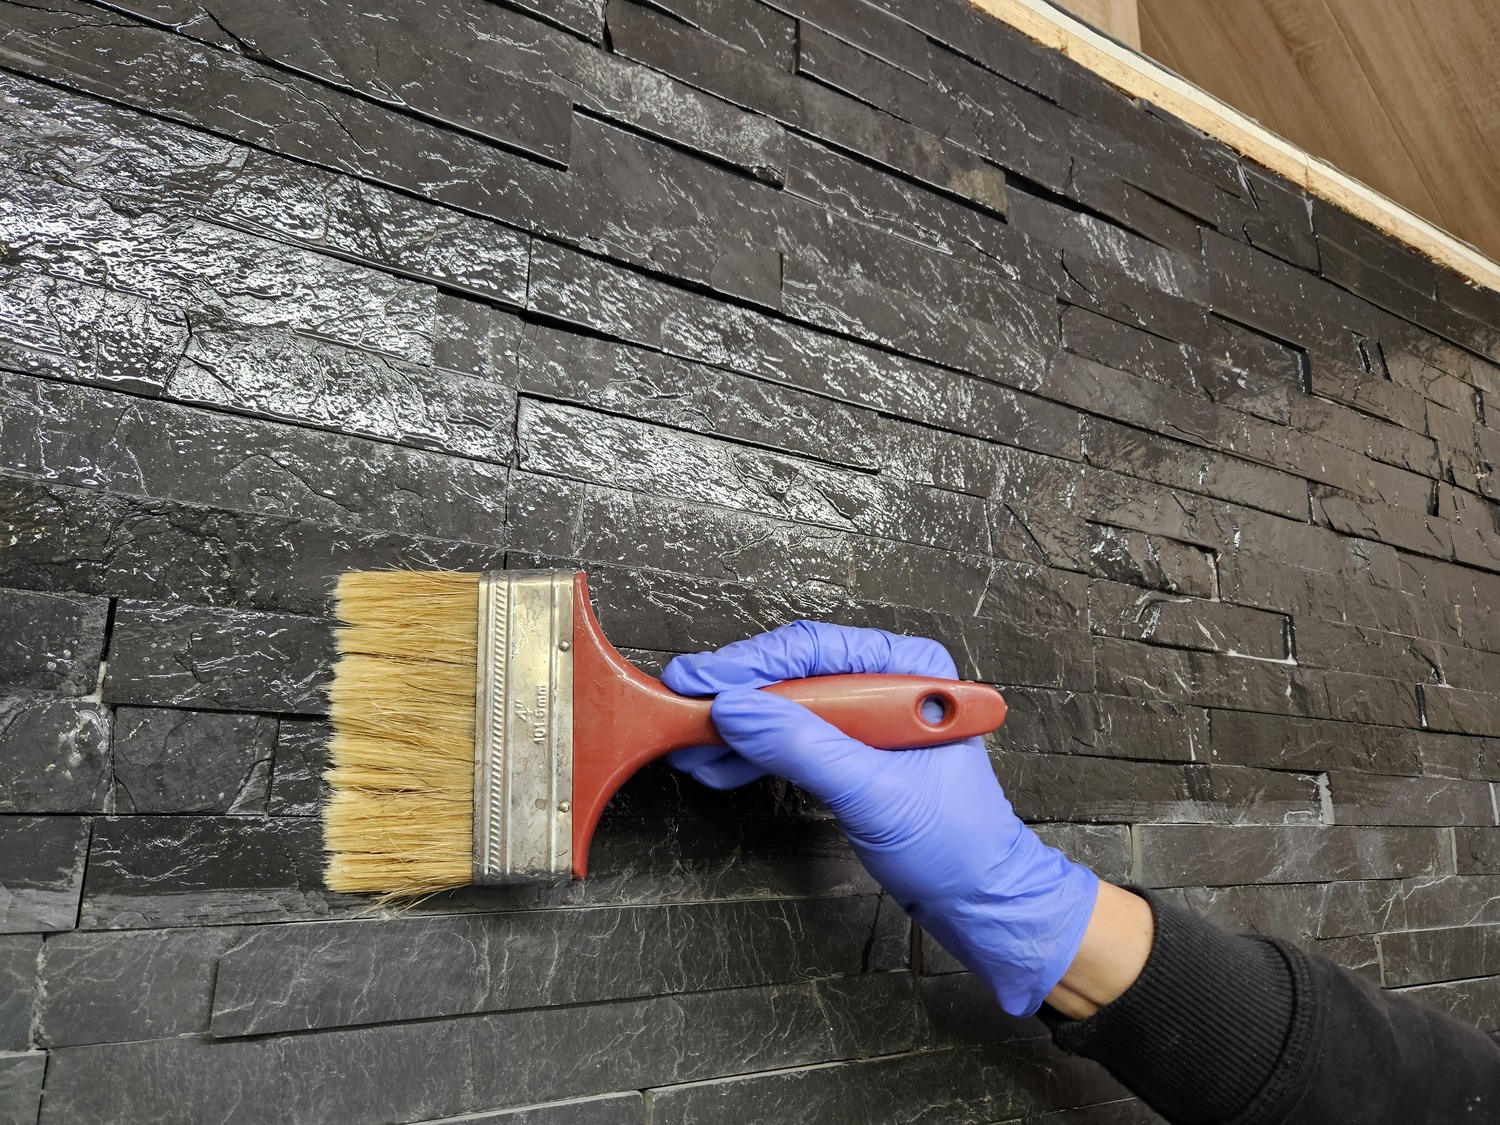
Dry adhesive is poured into water. The proportions are usually indicated by the manufacturer, and it is typically 1 part water to 5-7 parts dry adhesive. Adhesives are usually white or grey, and dyes are used to achieve other colours. A 3% black dye was used for the slate.
The adhesive is mixed in two stages. The first mixing is done with a low-speed mixer. Then, it is left to settle for 4-5 minutes, following the manufacturer’s recommendations and weather conditions. After that, it is mixed again. The final consistency should resemble thick sour cream.
Stone Glueing
Tile Preparation for Glueing
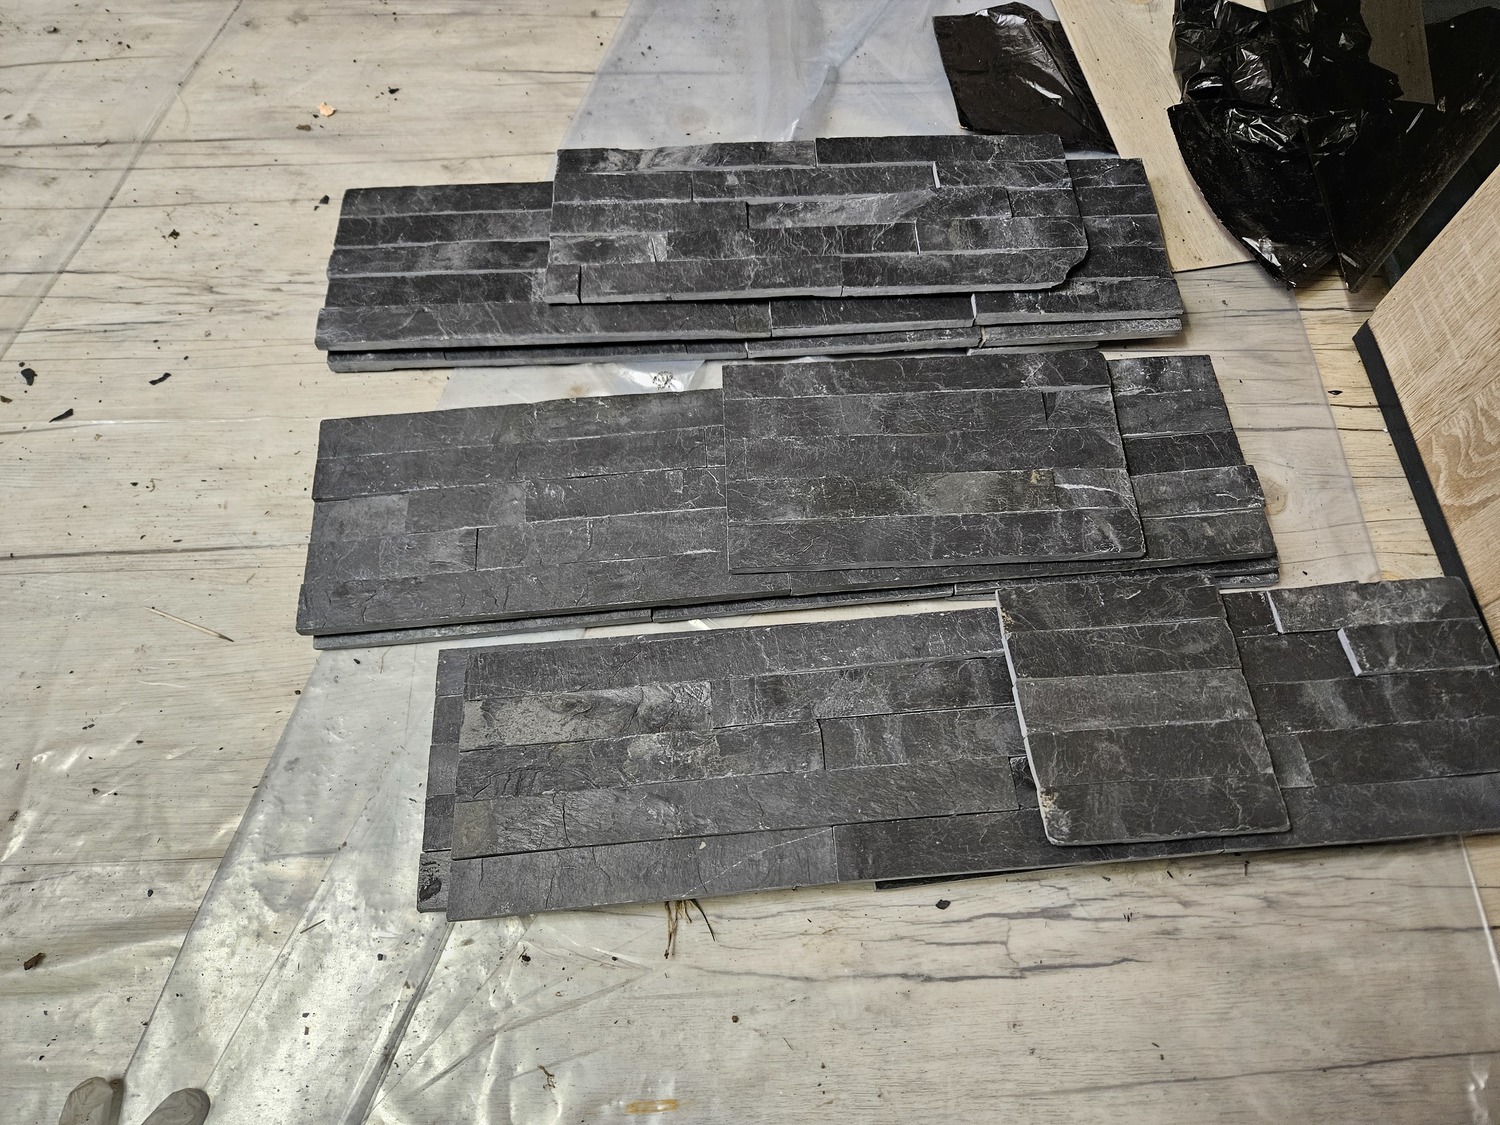
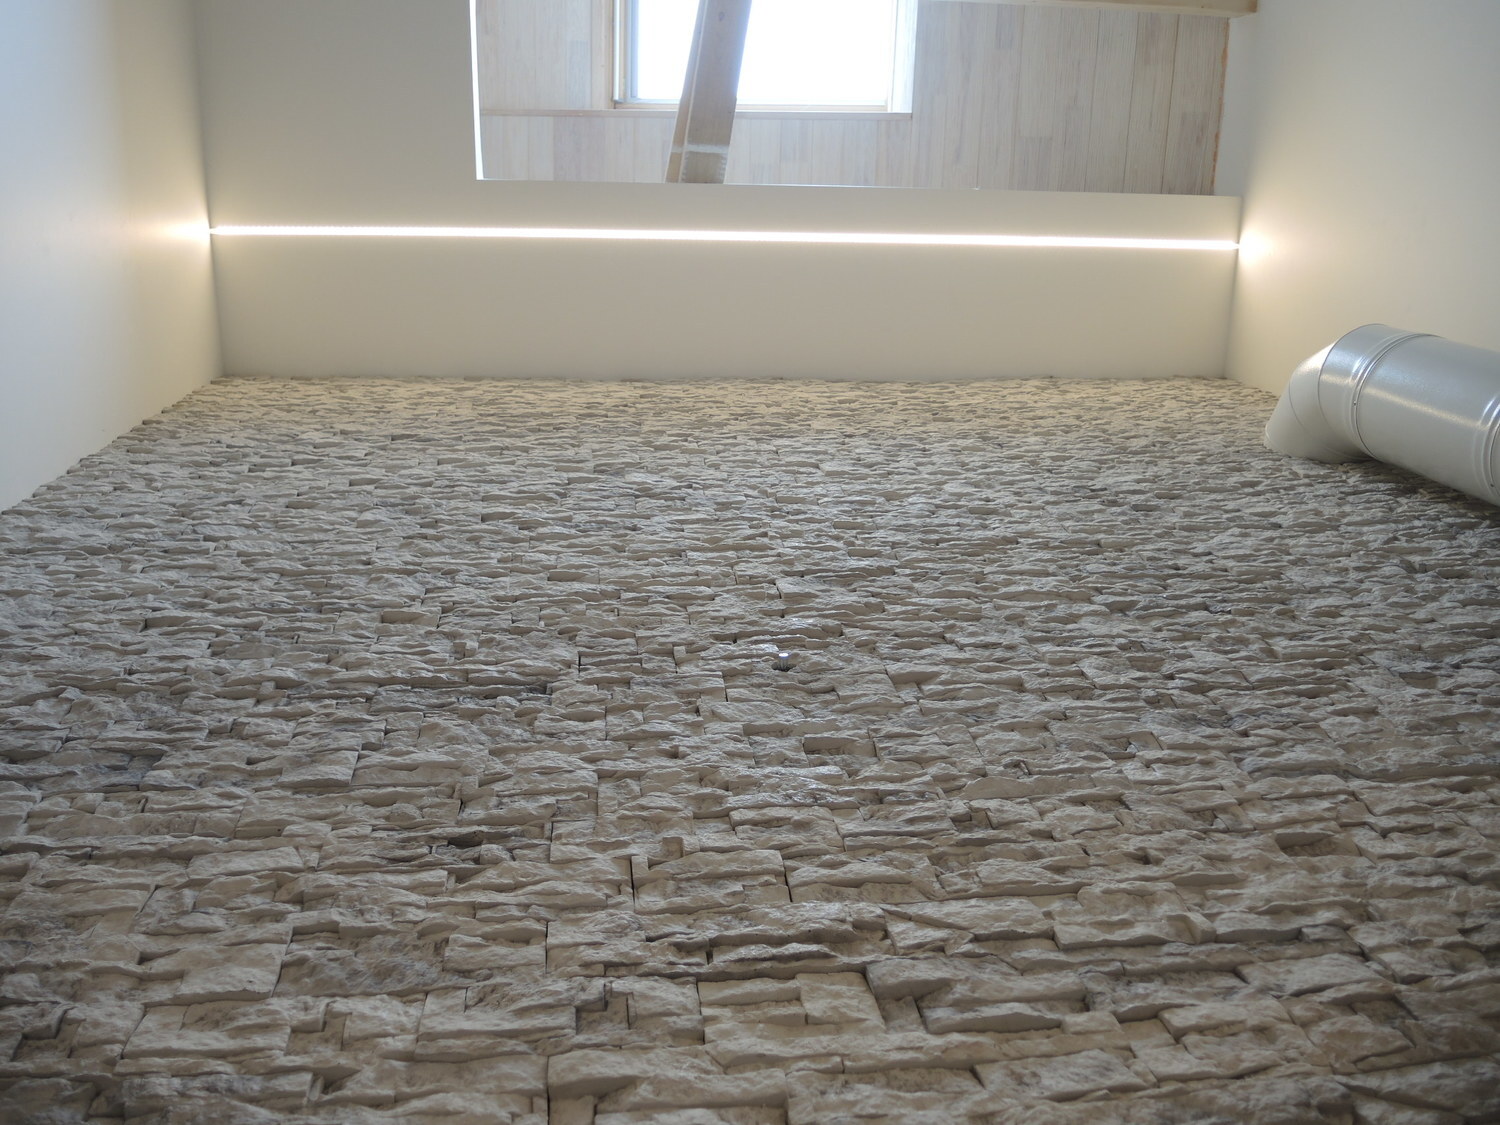
Lay out the stones on the ground, mixing them from different boxes. This allows you to create a pattern. The stone must also be prepared for glueing, as there will be no time to prepare it once the adhesive is applied. Usually, the stone panels are uneven, so any protrusions should be sanded down. Arrange the stone panels in rows according to the way they will be glued.
Beginning of the Glueing Process
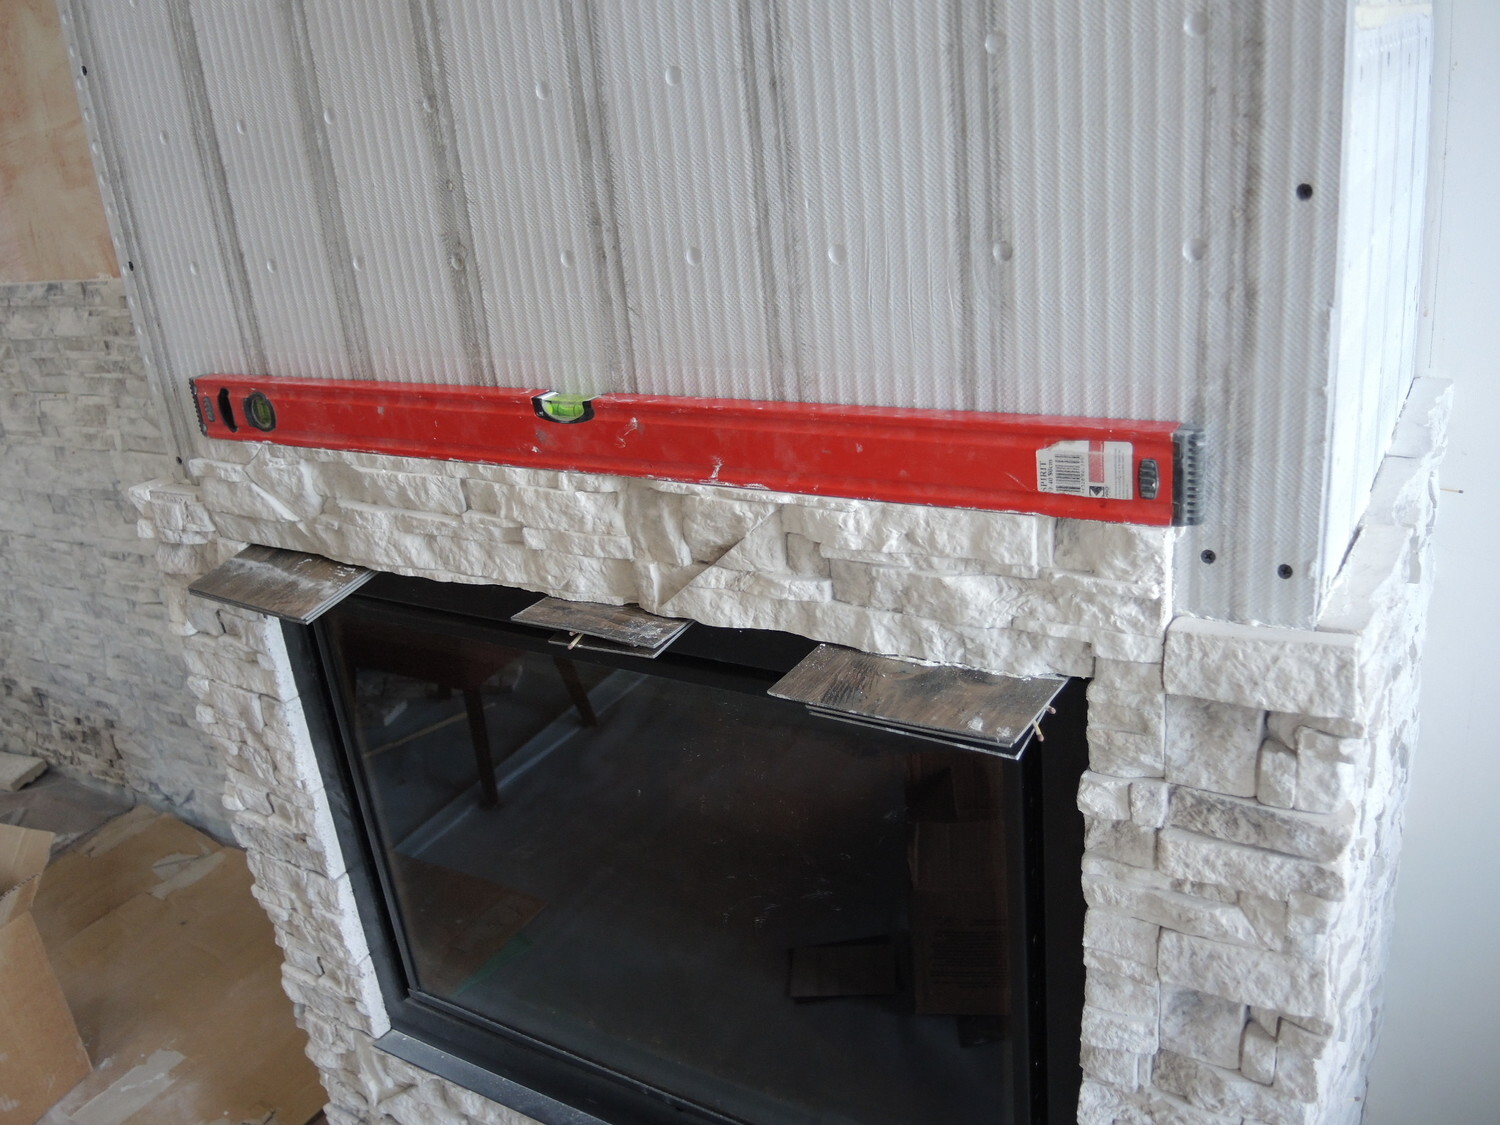
Start glueing from the bottom. If using corner elements, begin with them. Mark a line indicating where the tiles will be glued and where the adhesive will be applied. A laser level is invaluable in adjusting each line accurately.

Applying the Adhesive
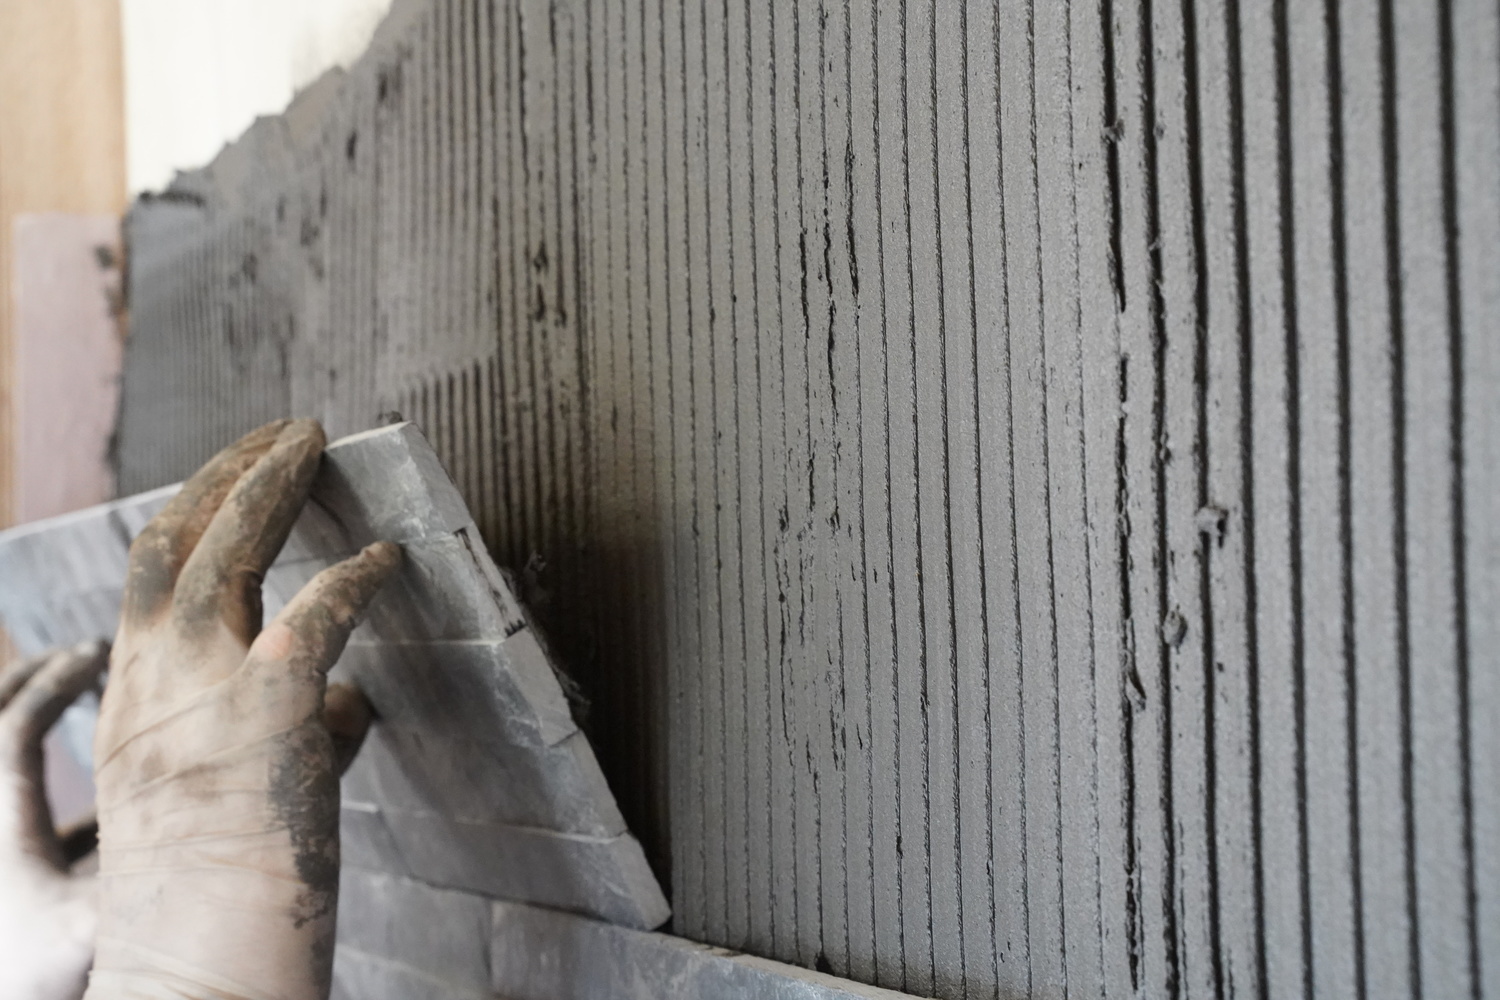
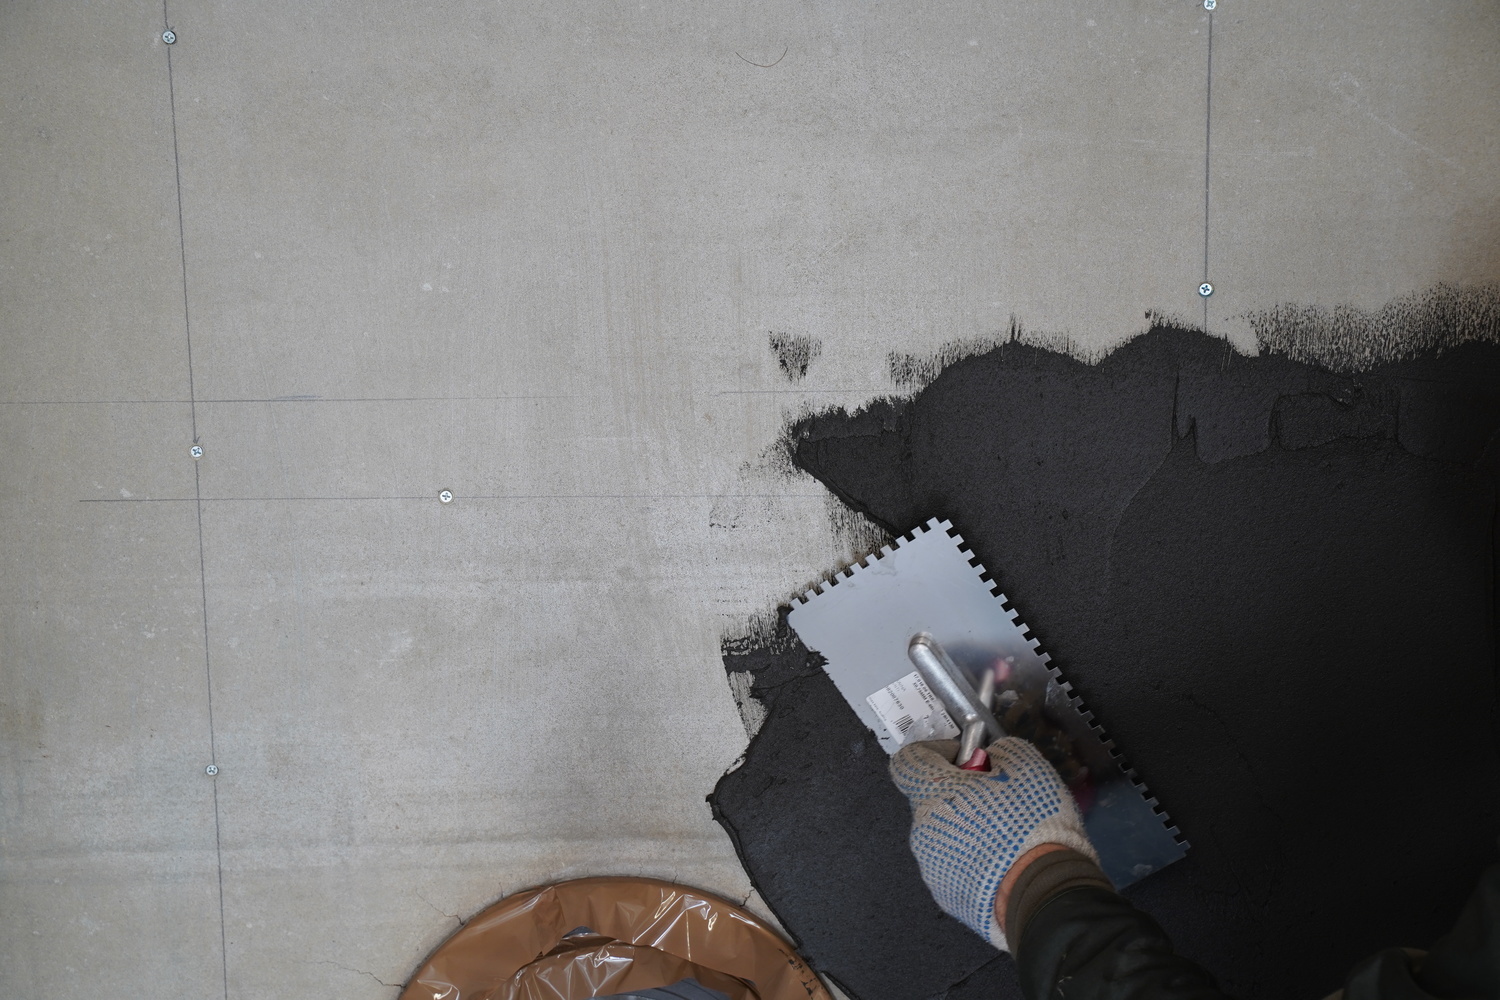
The wall is covered with adhesive up to the marked line. Two trowels are used: the main trowel with a flat edge and another with a notched edge. A small flat trowel is utilised to scoop the adhesive and apply it to the main trowel. The small trowel is used to apply glue in the gaps and harder-to-reach areas.
The adhesive area should be covered within 15 - 20 minutes. The tile installation should take approximately the same amount of time.
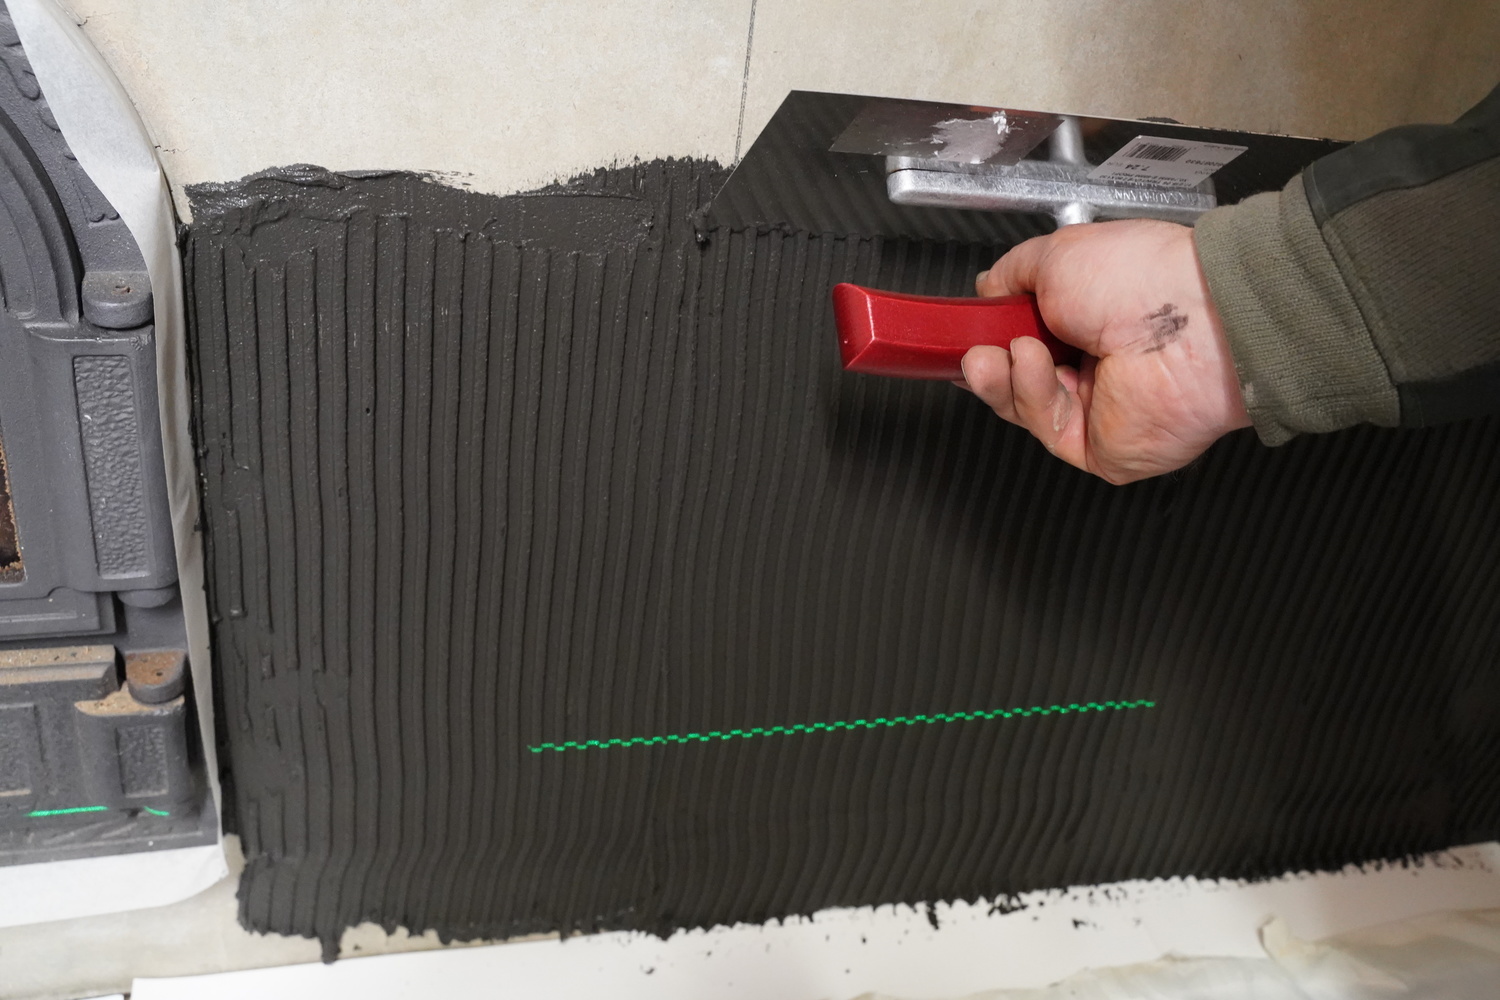
After applying the adhesive to the wall, grooves are created. For stone tile installation, I use a 6 mm-toothed trowel. Stone panels are often uneven, so adhesive is also applied to the surface of the panel. Grooves are also made on the panel surface. These grooves should be perpendicular to the grooves on the wall.
Place the stone tile against the previous row and press it down. It is worth slightly moving it sideways.
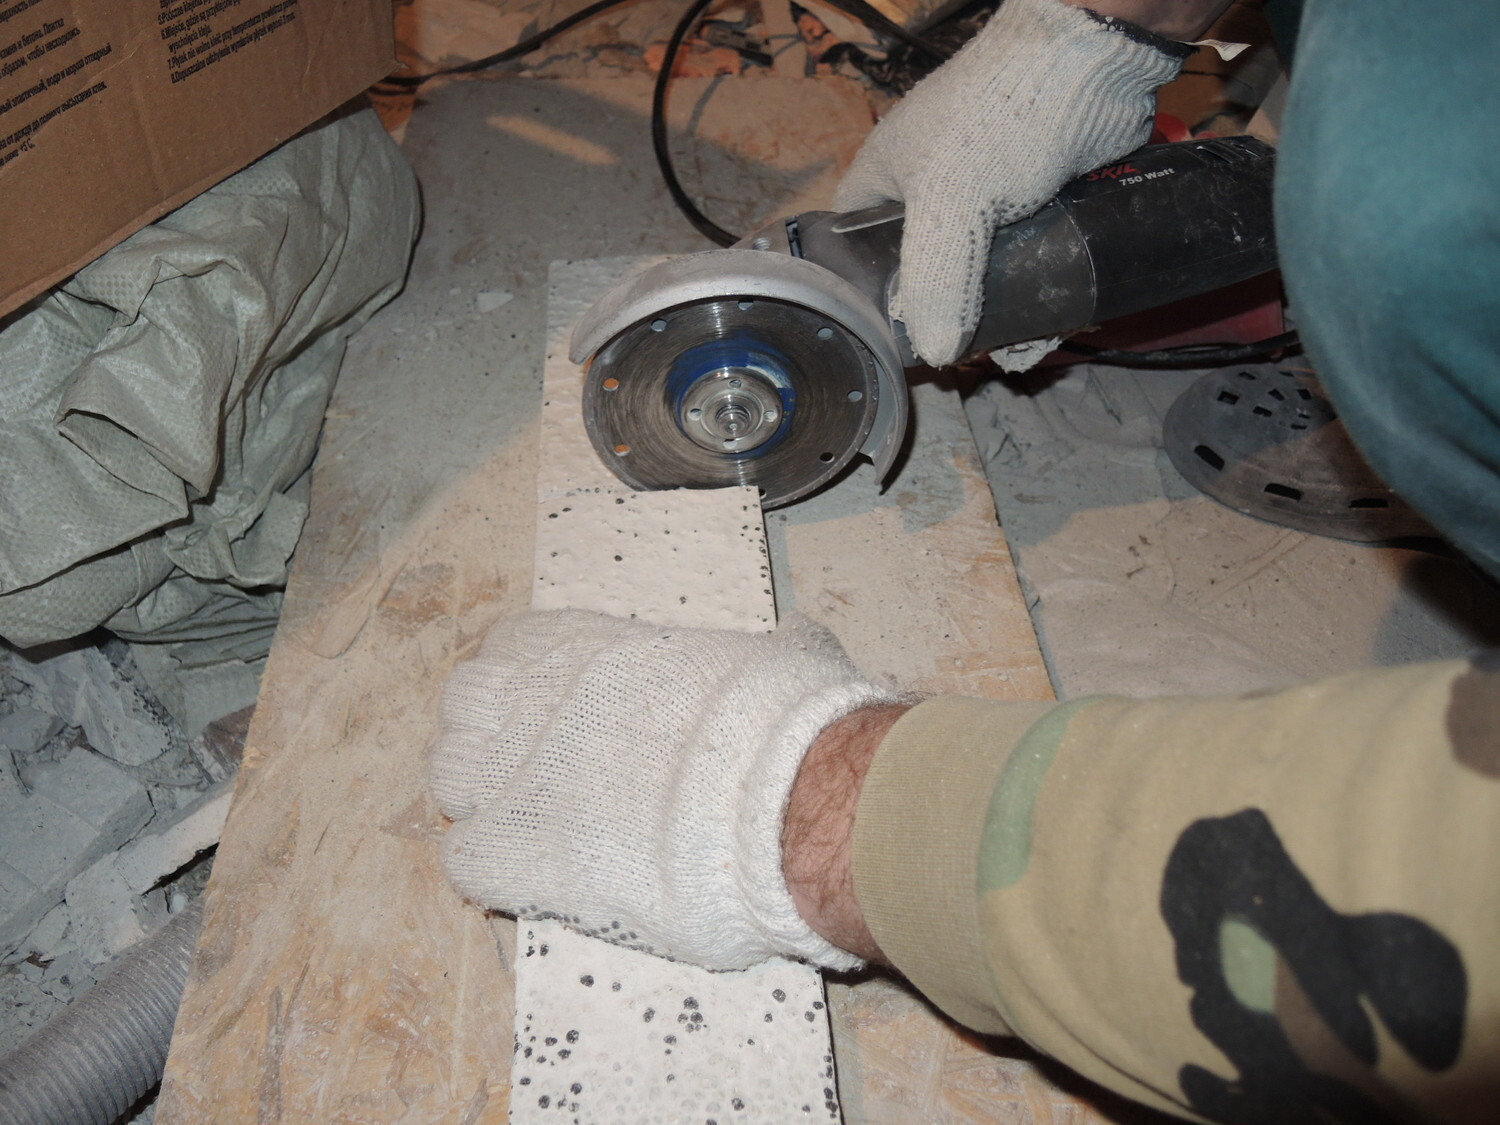
Stone Cutting
The stone panel is cut with an angle grinder using a diamond blade for tiles.
Glueing the Corners of a Stone Wall
The stone wall will have interior and possibly exterior corners. Special interlocking tiles are usually used for exterior corners.
It is best to use special corner tiles in corners. If they are not available, the tiles should be cut at a 45-degree angle. Inner corners are easier to match – straight cuts will work here.
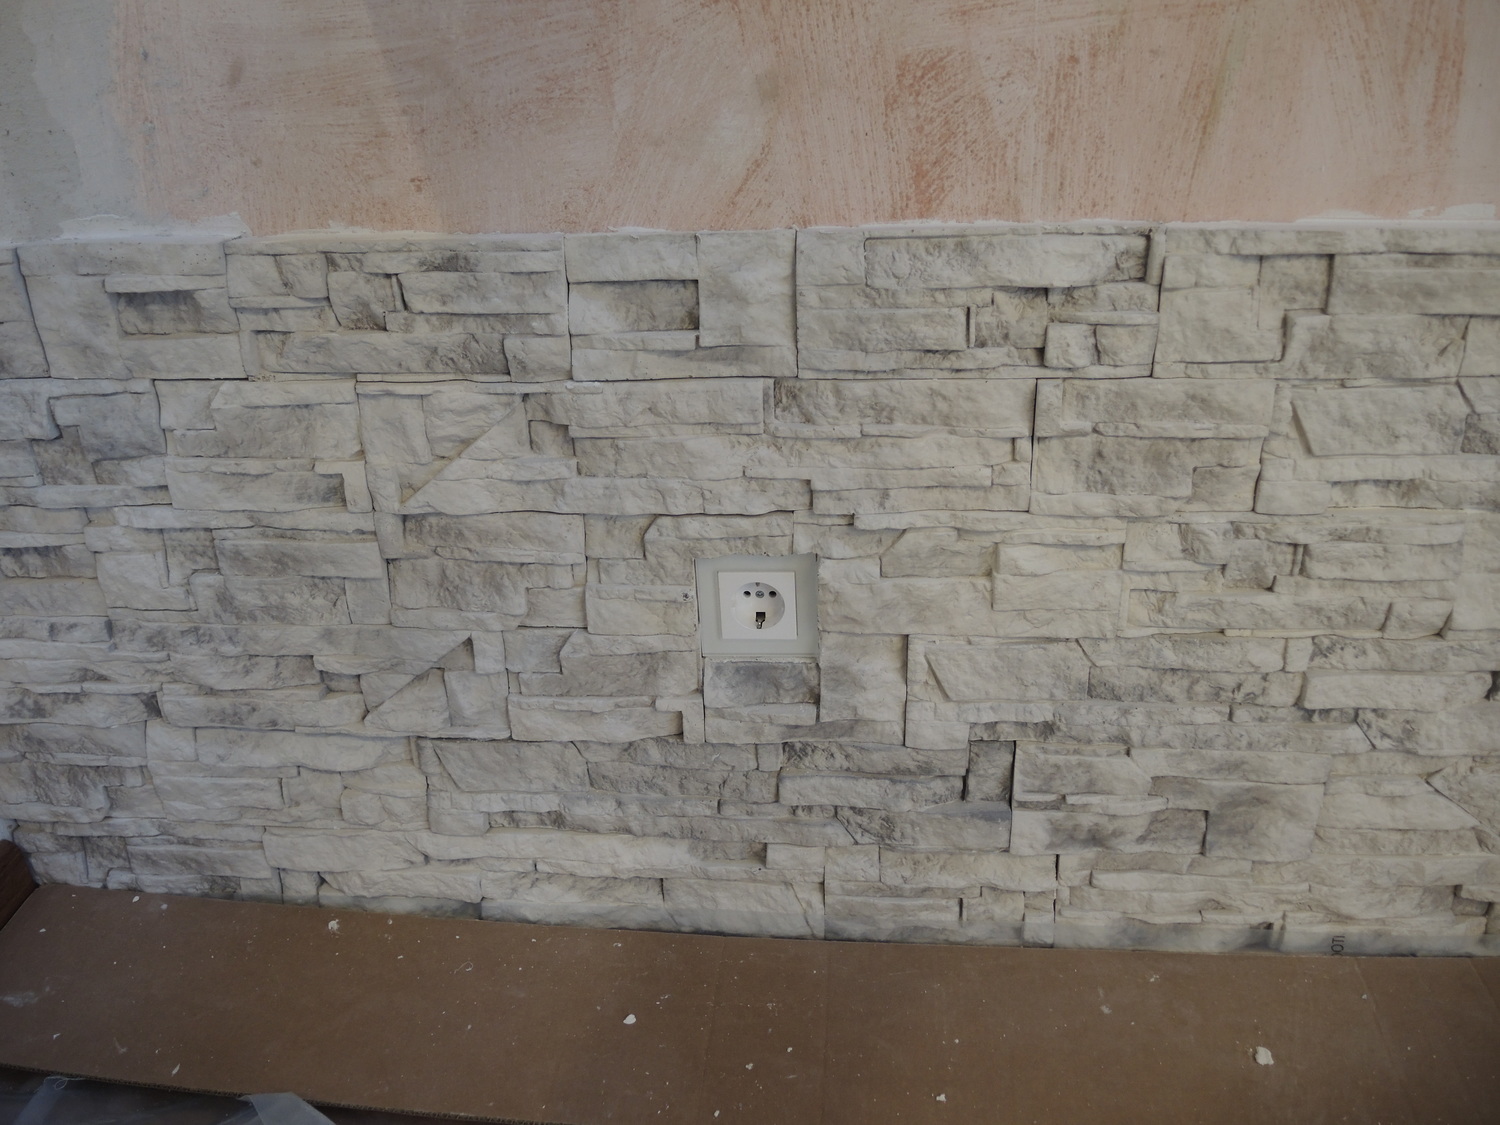
The stone wall will also have openings, chimney surrounds, and outlets. It is best to measure precisely using a cardboard template and then transfer the markings onto the panel. Openings are cut with an angle grinder equipped with a diamond blade.
Filling the Joints of Stone Panels
If you use stone that requires joints, prepare the mortar and fill the joints. Try to avoid spreading mortar on the stone surface. However, in most cases, the gaps are not filled.

The areas where the tiles are glued should be protected from rain until the adhesive is completely dry. Outdoor tile installation should not be done when the temperature is below +5°C or when it is raining.
Tools for Stone Glueing
- Angle grinder with a diamond blade for cutting stones.
- Measuring tape and spirit level, laser level – for precise adhesive application.
- Trowel and adhesive mixing container – for preparing the adhesive.
- Brush – for cleaning the stone.
Stone Impregnation
Natural stone panels are usually made from porous rocks such as sandstone and slate. The surface of artificial stone can also be highly porous. If such stone gets stained, it will be difficult to clean. Therefore, it is worth impregnating the surface.
Cleaning Decorative Stone
Decorative stone is easy to maintain. Clean it with clean water or a water-and-soap solution, using a soft brush or broom. Avoid metal brushes as they can damage the surface, and do not use acidic cleaners. If salt crystals appear on the stone surface during drying, remove them with a dry brush or a damp cloth. To preserve the quality of the stone, it can be coated with special impregnators that protect against moisture and pollutants.
Decorative stone is not only an aesthetic but also a practical finishing material. By choosing the right stone and following all the steps as recommended, you can enjoy a long-lasting and attractive result.