Painting interior walls is a relatively simple task that can be done with good quality even with little experience. The quality of the work largely depends on the choice of paint and tools. However, the preparation of the walls for painting is very important. More effort will be required to achieve a clean line between the walls and the ceiling, and to paint the walls in different colors.
Repainting old walls can transform an apartment beyond recognition. The work is not difficult, so for people who enjoy change and a new environment, repainting an apartment is a great opportunity to update the home without a large investment. If the walls are prepared for painting, repainting a small apartment can take only a few days and cost a few hundred euros.
Interior Wall Preparation for Painting
Currently, most apartment walls are made of drywall or plastered. Drywall surfaces require less work to prepare. In most cases, the gaps between the panels are perfectly even, and the screw holes are filled. To achieve an extremely smooth drywall surface, craftsmen often apply a finishing coat of joint compound to all the panels, sand the surface, and then apply a primer.
The drywall surface is covered with a thin layer of joint compound. More work is required to level the corners and to align the installation boxes with the surface. Finally, the surface is smoothed by sanding.
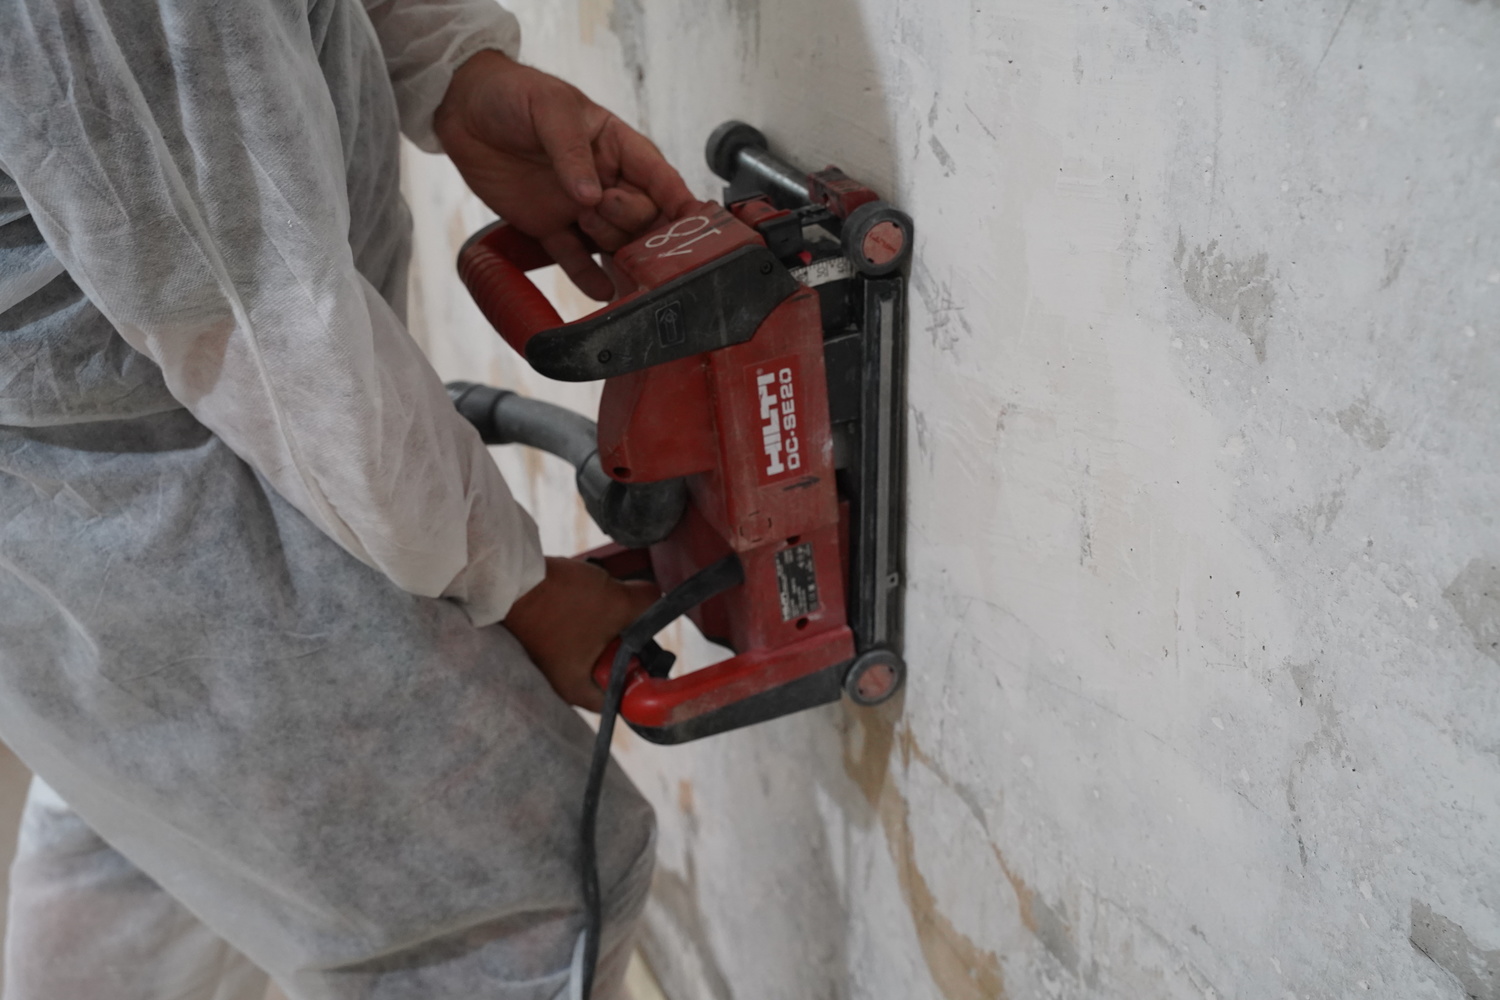
Plastered walls require more preparation work. They are coated with joint compound 2-3 times, and after each layer, you must wait for it to dry before sanding and applying a primer. Joint compound application requires high professionalism and is also a dusty job. If the walls are only being repainted, less work is needed. The walls are cleaned of dust, and any moldings or rosettes are removed or covered with protective tape. If there are holes or cracks, they are filled and sanded smooth.
Should The Interior Walls Be Primed Before Painting?
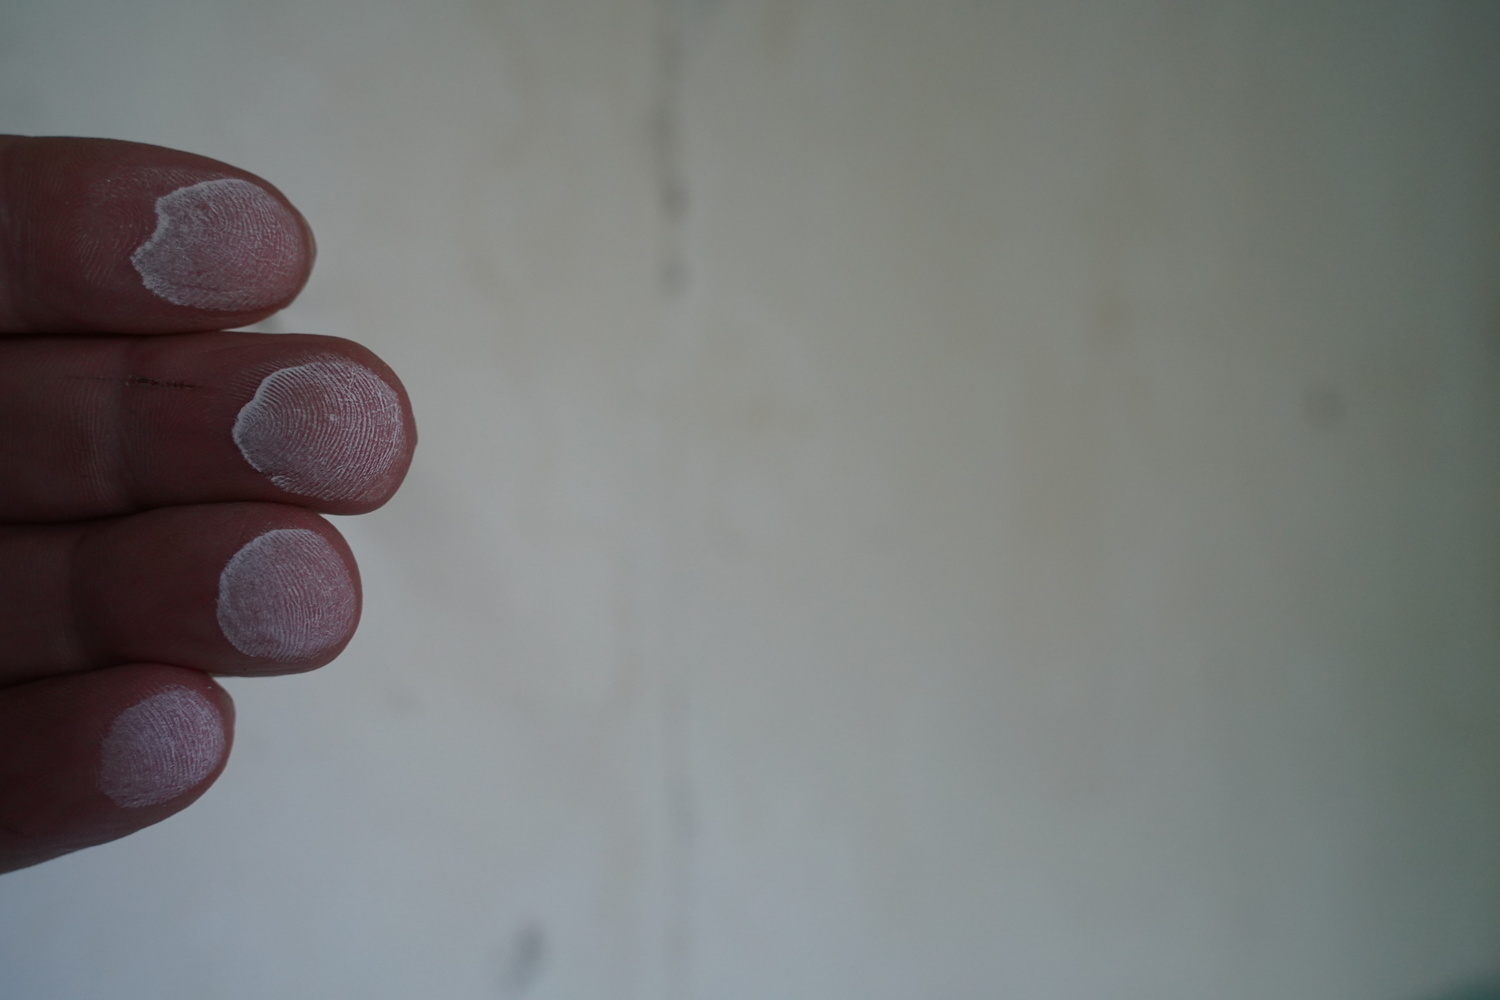
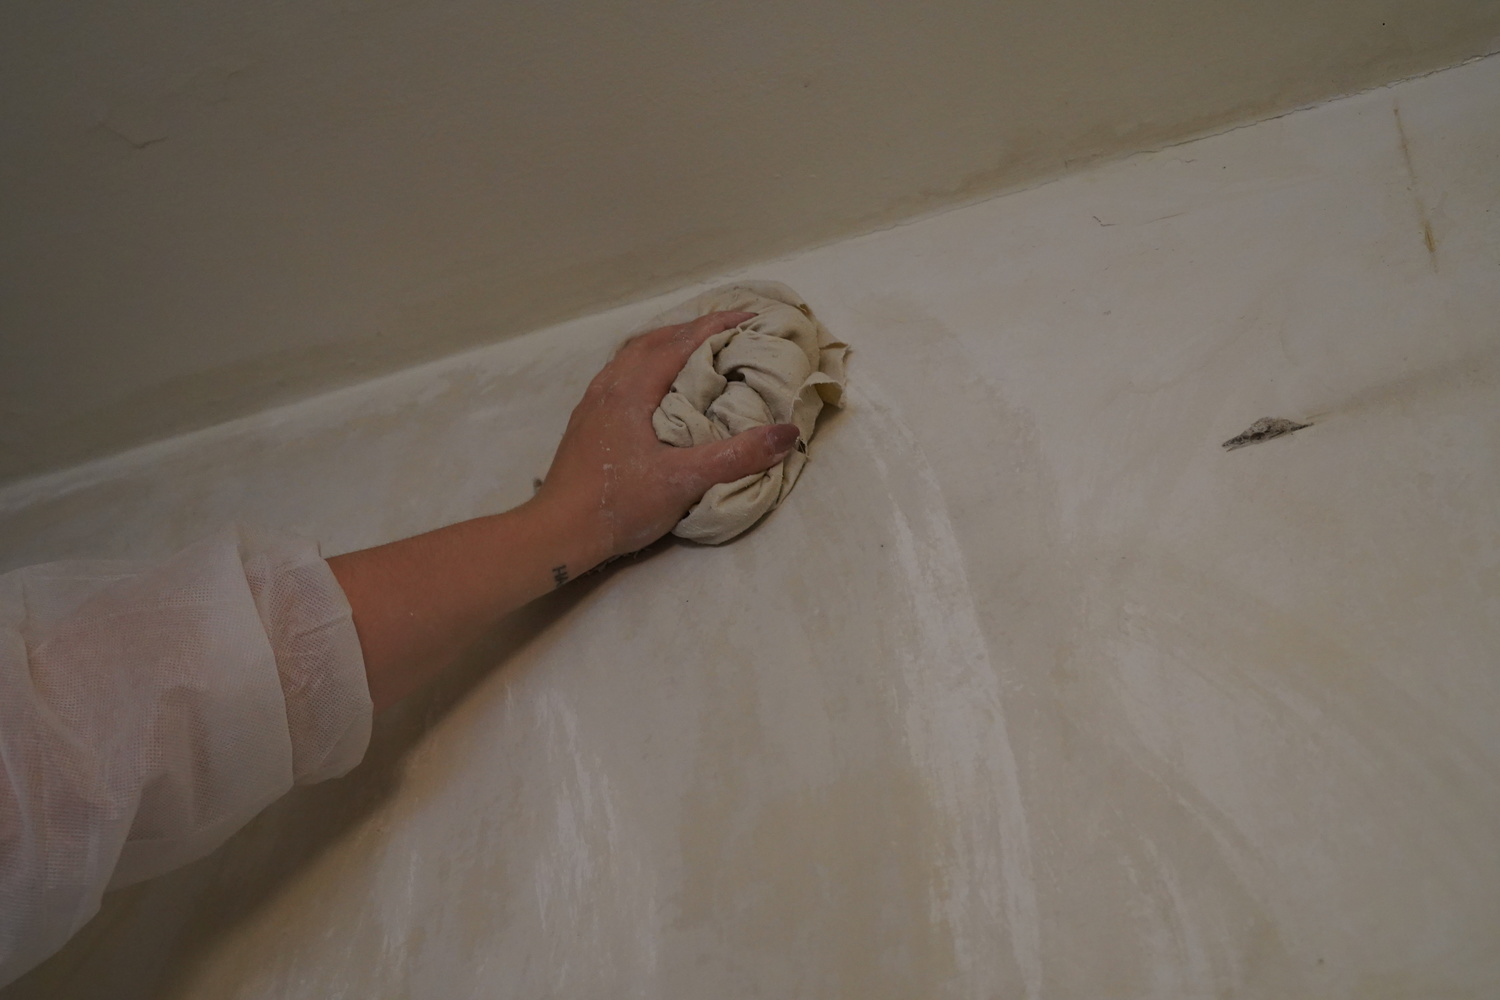
A common question is whether the walls should be primed before painting. If the walls are dusty, it’s a good idea to prime them with a bonding primer. Sometimes, chalky surfaces can also be present. Chalk should be removed as much as possible by dampening the wall and scraping it with a scraper or putty knife. It may not be possible to completely remove all the chalk, in which case, deep-penetrating bonding primers are used. If the walls are slippery or have been painted with oil-based paints, primers with strong adhesion are used.
It is easier to prime a wall than to wash it. The wall will get covered in dust from the sanding of the joint compound.
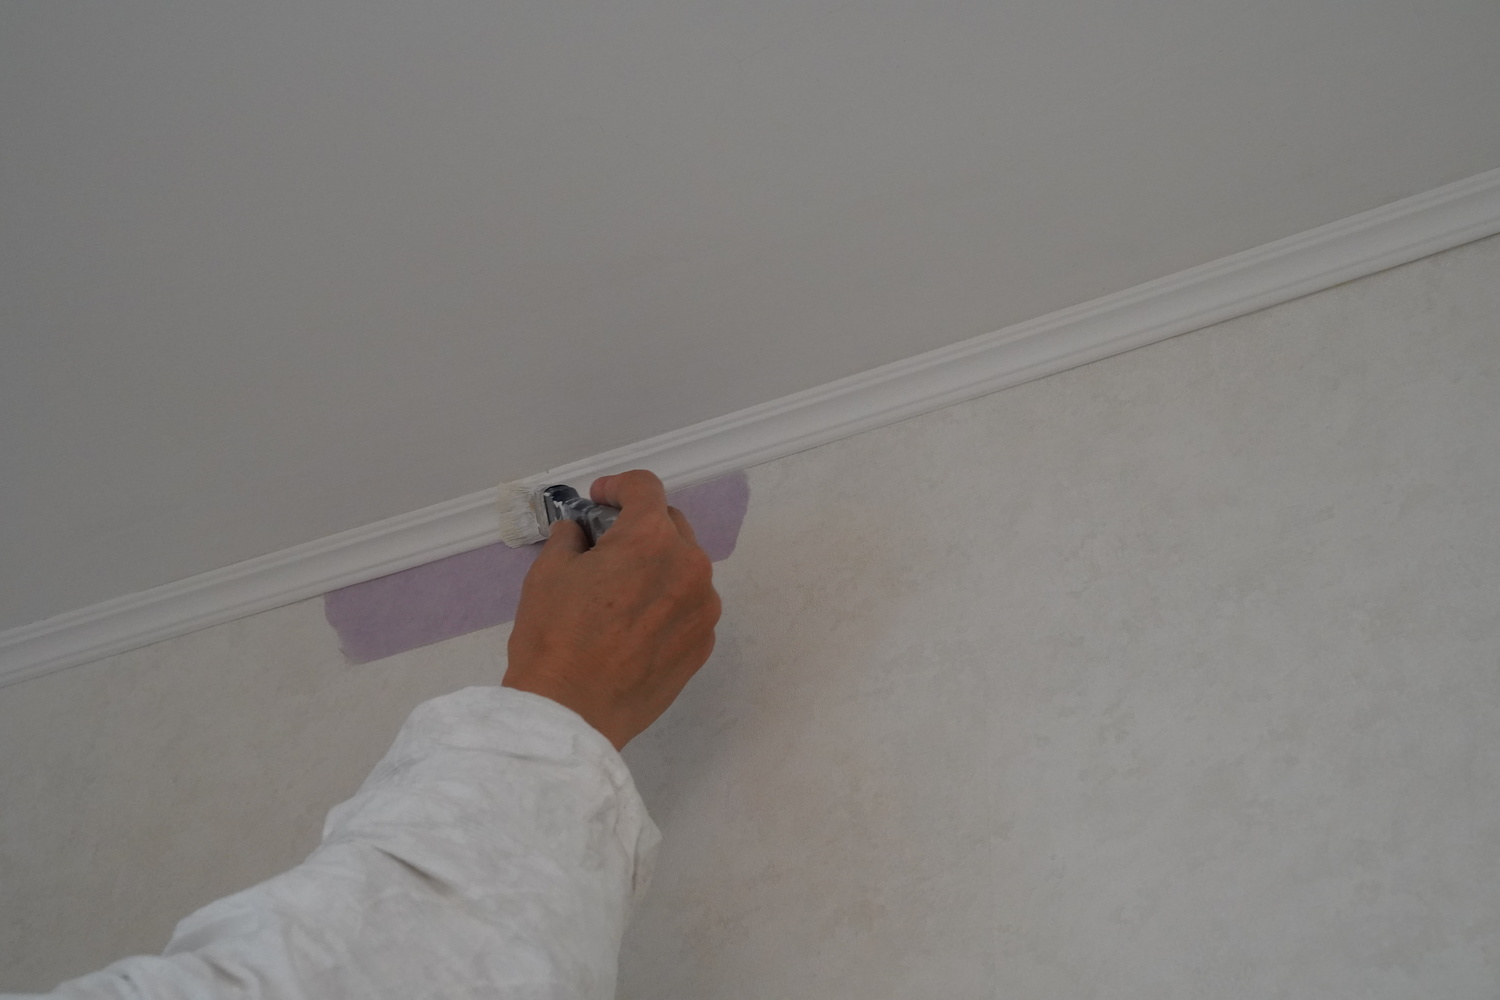
A protective covering should be laid on the floor. The best option for this is thick paper, which is sold in rolls. One roll should be enough for a large area. The junction between the ceiling and walls should be taped with painter's tape. Sometimes, the tape is applied directly to the wall. In this case, the junction will be smoother, which is particularly important if the paint color is contrasting. However, in lower rooms, this solution might visually lower the ceiling. The tape should be pressed down with a putty knife to avoid any loose edges. Otherwise, paint will seep under the tape, and the line will be crooked. If the baseboards are not being removed, the protective tape should be applied to the baseboards as well.
Choosing Paint for the Interior Walls
One of the most difficult tasks is choosing the right paint and color. More details on this can be found at the end of the article. The first step is to select paint with good technical specifications. Paint prices vary greatly.
When painting, a major advantage is the paint's coverage. This means that with the same amount of higher coverage paint, the surface is covered better. Or, with a smaller amount, the same effect is achieved compared to lower-coverage paints. For the first coat, extremely high coverage is not necessary. Therefore, with a smaller amount of Coronado paint, you get the same effect. This nearly equalizes the price of the paint.
However, the biggest differences appear in long-term use. A wall painted with popular paint became faded after the first cleaning. This revealed the paint's resistance to washing and rubbing. If the resistance is poor, when you need to clean the wall, you will have to wash the entire surface to avoid uneven fading in the cleaned areas. Coronado paints, which have good wash and rub resistance, can withstand many washing cycles.
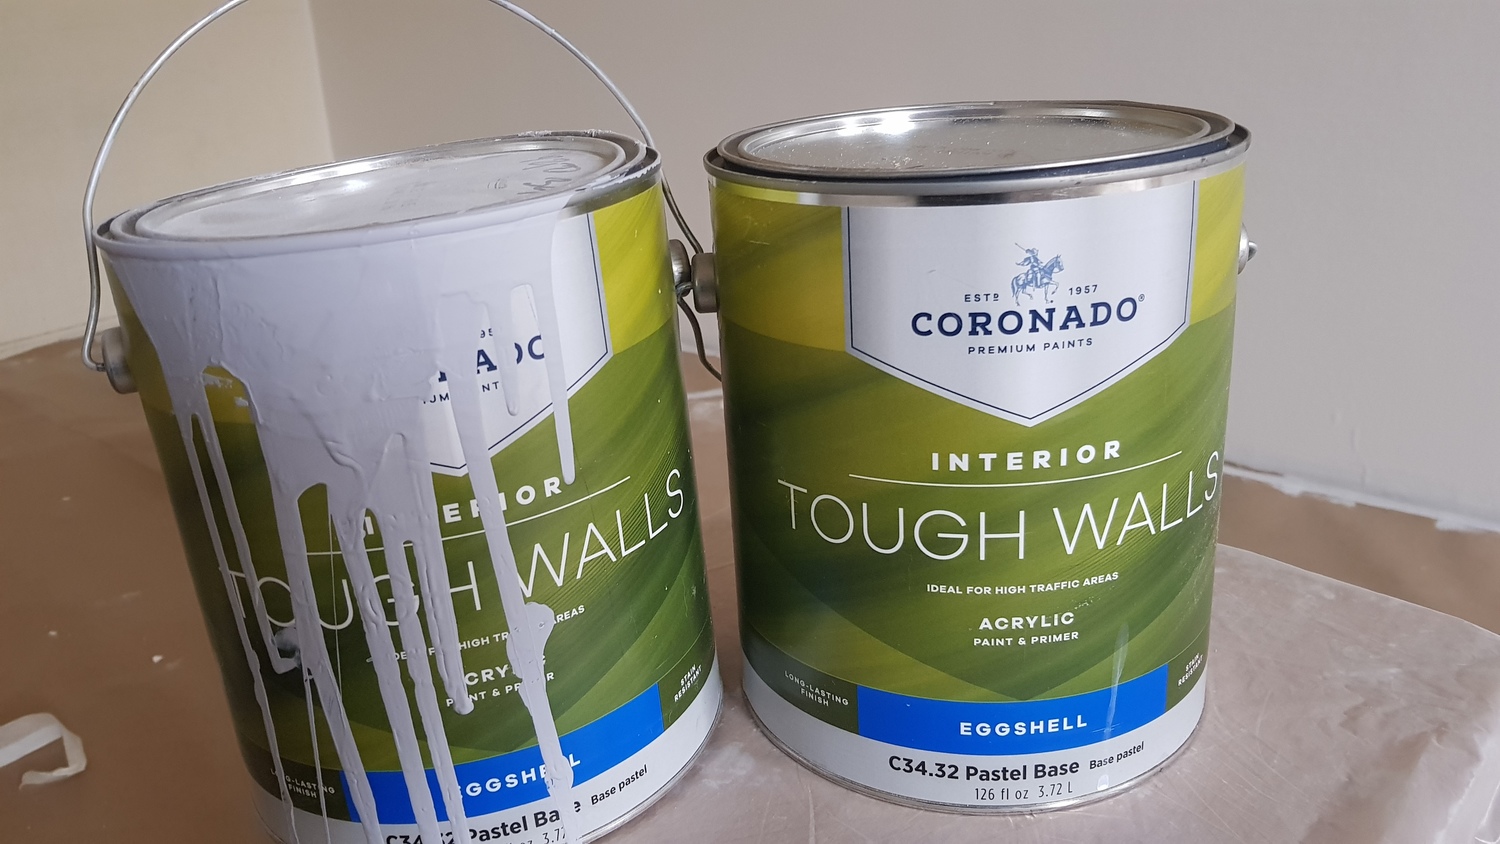
Coronado Paints for Walls
The rule for choosing is quite simple—make sure to check how much the supplier knows about paints and tools and whether they ask a lot of questions about the surface being painted.
Acrylic paints are the most popular. They are water-based, easy to wash off, and have no strong odor. Once dry, they become resistant to washing. Manufacturers use different types of acrylics, which significantly affect the properties of the acrylic paints.
Tools for Interior Wall Painting
For wall painting, you will need both small and large paint rollers, a paint tray, and an extension pole for the roller handle. You may also need a small, stiff-bristled brush for touching up corners and edges. Additionally, a longer putty knife is useful for corner work, along with protective painter’s tape and a small putty knife for pressing the tape down. A long-handled brush may be necessary for painting behind radiators.
The small roller is up to 10 centimeters wide and a few centimeters in diameter. It is designed for painting more intricate areas, such as wall and ceiling joints, seams between walls, and areas where different colors meet. The roller should match the type of paint and the wall surface. Longer bristle rollers are used for uneven and textured walls. Lower-quality rollers often shed bristles and leave a fuzzy finish on the surface. Short-pile rollers are more versatile and commonly used.
For painting larger wall areas, rollers wider than 20 cm are typically used. When painting with acrylic paints, short-pile rollers are most commonly used. Rollers should be thoroughly cleaned before use to remove loose bristles and dust. Make sure to dry the roller before painting, or the first coat will be uneven. If you plan to take a break before continuing, it’s a good idea to wrap the roller in a plastic bag. This prevents the roller cover from hardening, especially if you will be using the same color again after a few days. When using acrylic paints, the roller cleans easily with water and can be reused multiple times.
The paint tray should be large enough to fit the length of the larger roller. By lining the tray with a plastic bag, you can avoid getting paint on the tray and easily switch to a different color without needing to wash it.
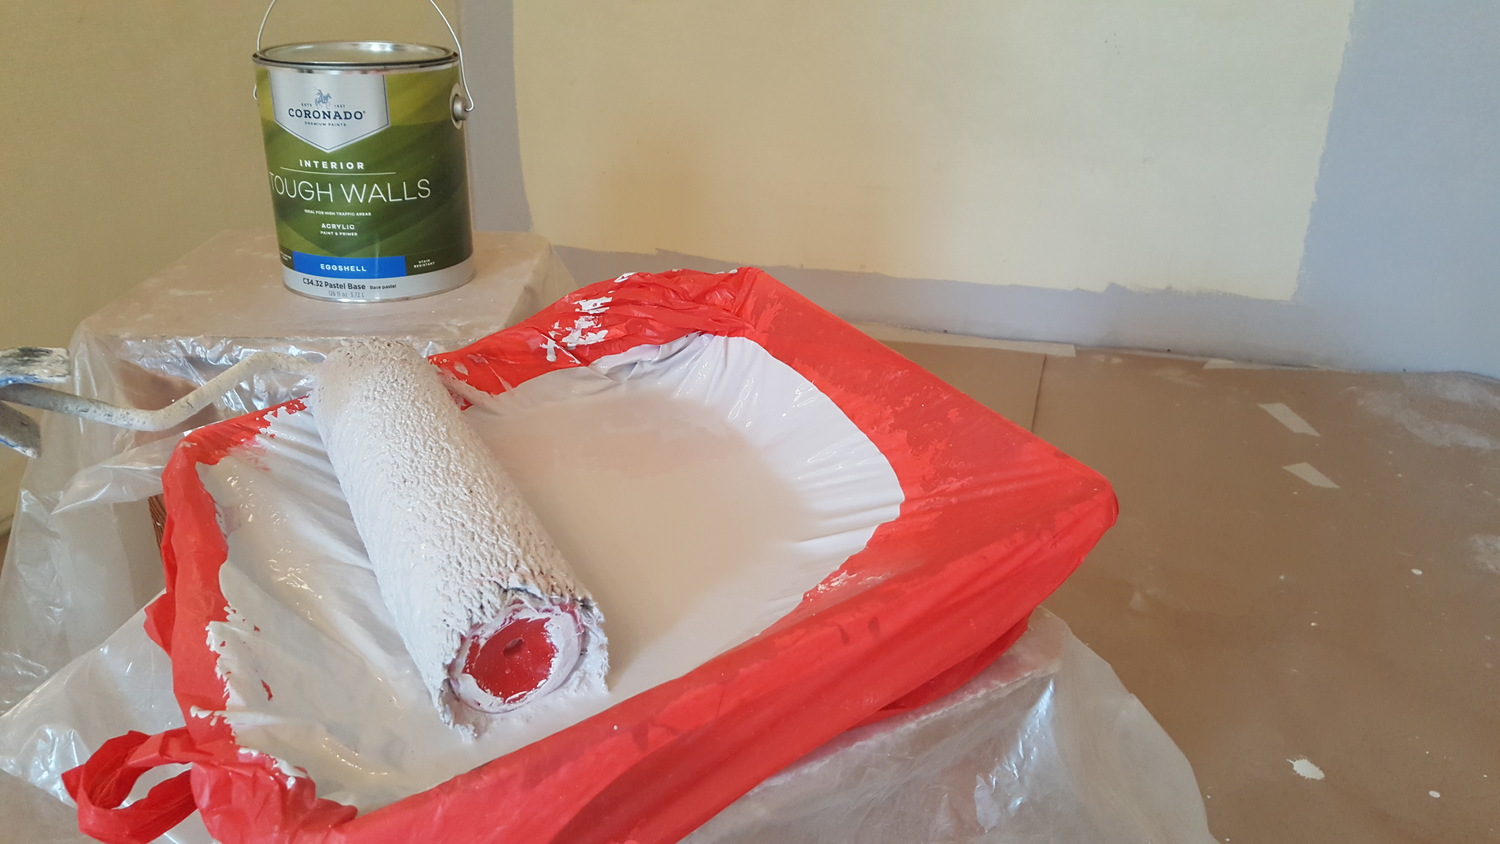
Paint Tray and Roller for Painting Walls with Acrylic Paint. The easiest way to protect the floor is by using a paper drop cloth.
Interior Wall Painting
Walls are painted after the ceiling has been done. The process starts with the joints. This is usually the most difficult part of the job, especially if the paint colors are contrasting or the surface is textured. There are several techniques used by professionals. These include "cutting in" with a brush, using a brush while protecting the contact area with a putty knife, and the most popular method—taping the edges with painter's tape and then painting with a small roller.
Wall Painting with a Brush. It’s a bit easier if a putty knife is used along the edge from the ceiling side.

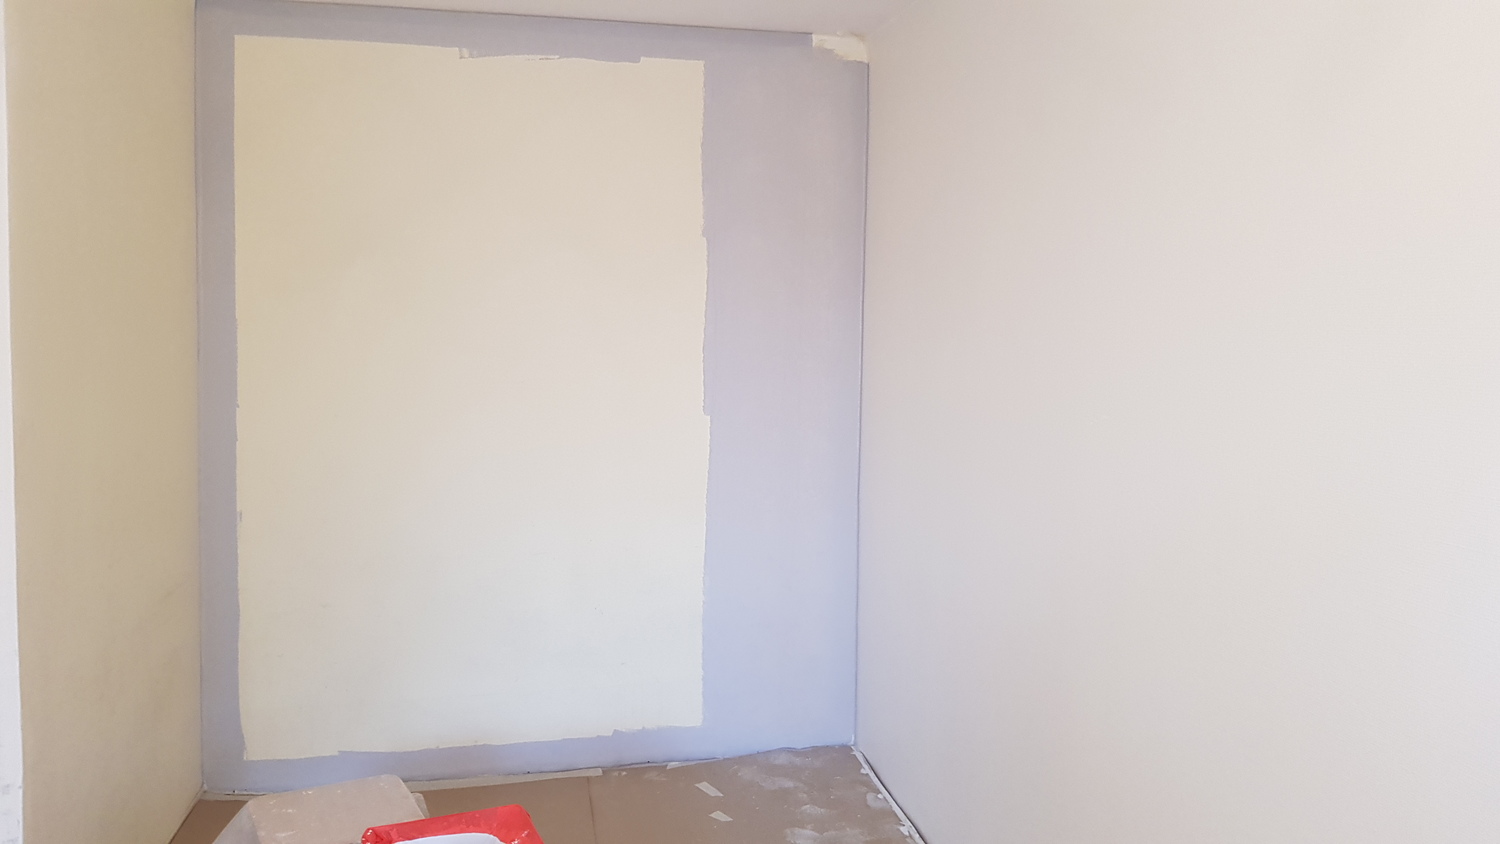
Painting walls in different colors is similar to painting the contact areas between walls and ceilings: painter's tape is applied to the painted wall, ensuring it is pressed down firmly so that no edges remain unsealed. Painting starts from the top and works downwards. The coverage of Coronado acrylic paints is clearly visible—it often only takes one coat.
The "frame" is created on all sides, around the ceiling, floor, and corners. It’s not necessary to frame the entire wall, just about 3 meters of it, enough so that the framing paint does not dry before you begin painting the main wall. There is a superstition that the "frame" stands out. If the paint has good coverage, the color should blend seamlessly after the second coat. If the paint layer is thicker, a dry paint film might cause problems. The skin of the paint will peel off from the unfixed layer and create a patchy surface.
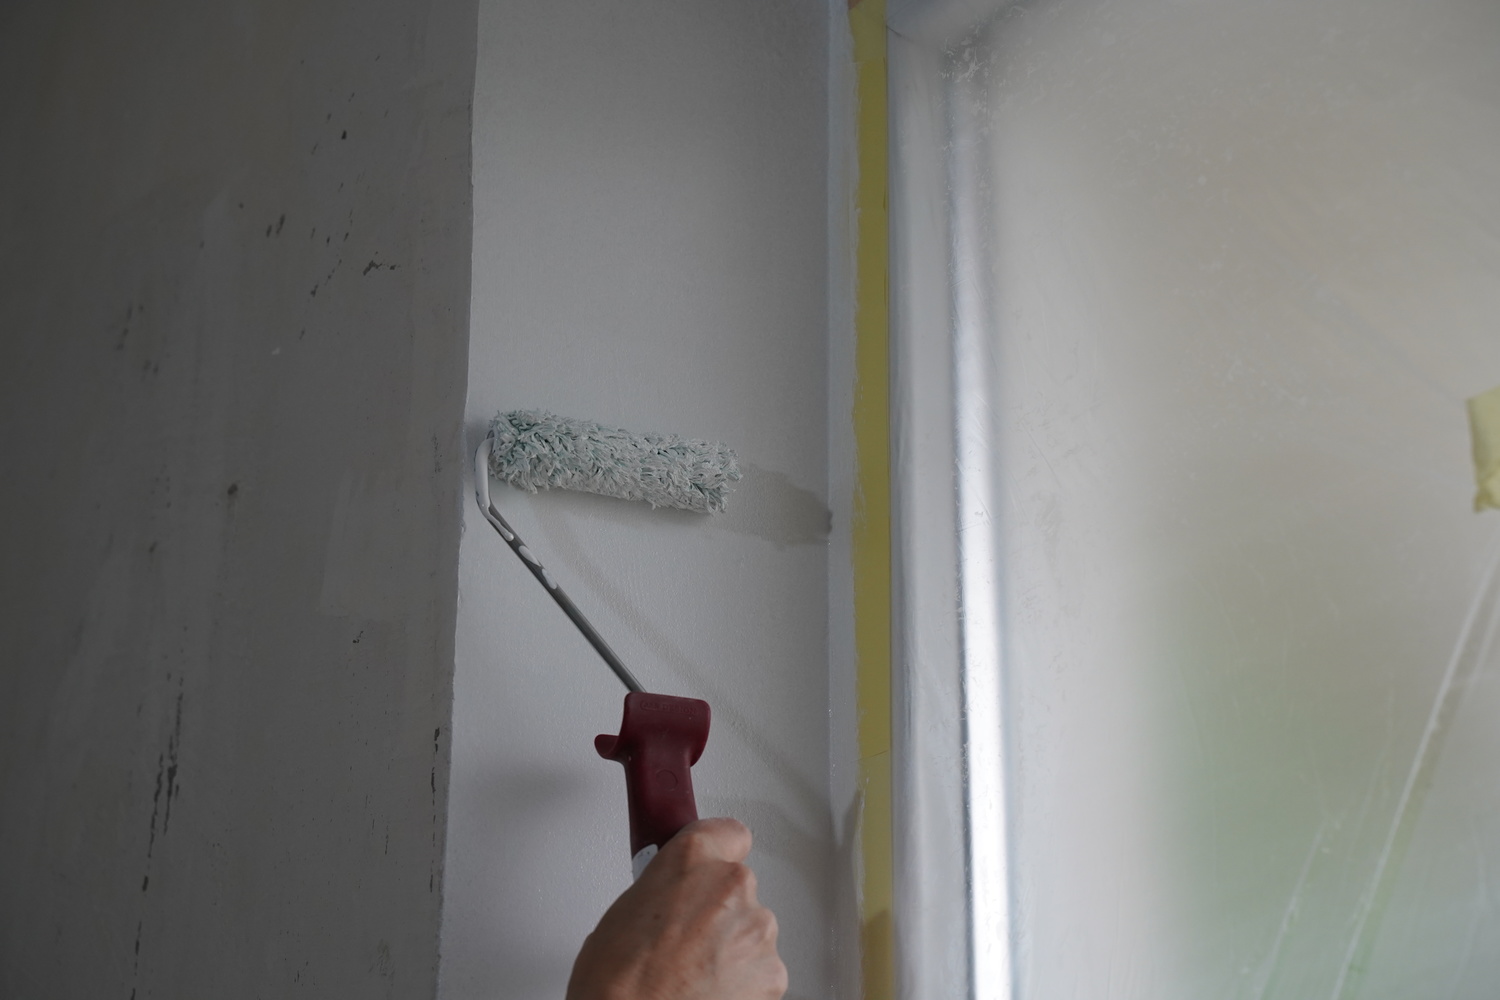
However, with proper technique, a thick paint layer should not form. It’s very important to evenly roll the paint and avoid excess paint on the roller. When lifting the roller from the tray, no paint should drip from it. The tray has a specially textured surface that helps remove excess paint as you roll.
The wall is painted in stripes from top to bottom. The paint layer should be thin, with no drips. On the right side, you can see the slightly more liquid first stripe due to the roller not being fully drained. This is not an issue for high-coverage paints. The second coat covered the entire wall very evenly.
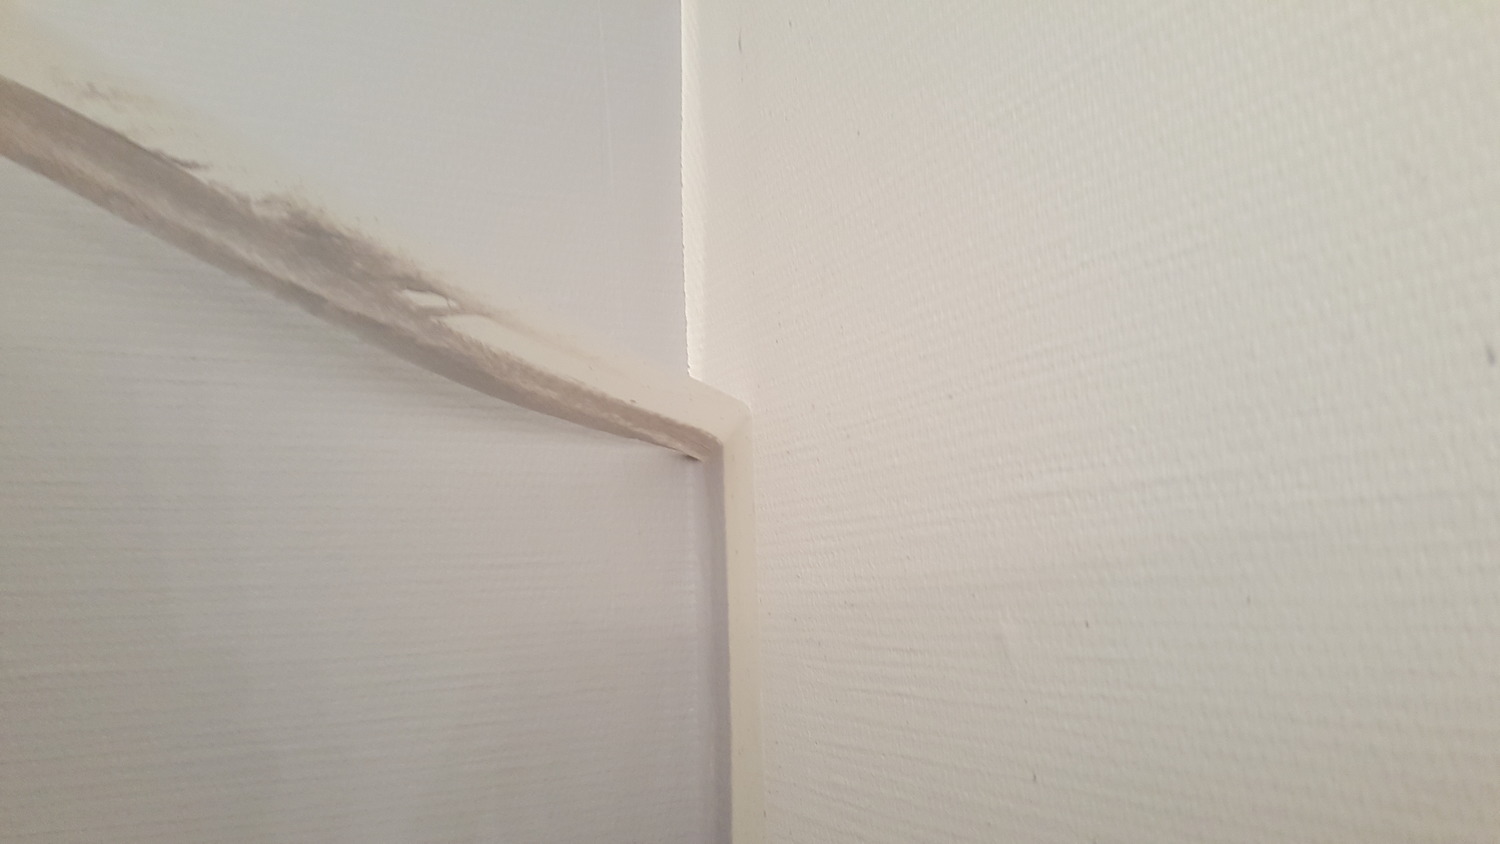
The painter’s tape should be removed immediately after painting. If the tape is removed after the paint has completely dried, it may damage the contact line. Good acrylic paints have high elasticity and can even withstand cracks in plaster or joint compound.
The Power of Interior Wall Colors
Colors can help or hinder the sale of a house. It has been observed that neutral, light color combinations leave the best impression, giving the buyer the sense that the house was lived in by tidy and positive people. Rooms painted in a soft peach color, for example, will leave a good impression on a potential buyer. However, homes with very bright, loud, and contrasting color combinations may signal eccentric or bohemian residents, and such homes may not inspire trust in buyers. Buyers also tend to avoid very dark, gloomy houses or those painted in black.
Natural colors from nature—stone, wood, earth, straw—have a calming effect on us, making our subconscious feel safe because, over thousands of years of evolution, humans have grown accustomed to these colors. On the other hand, fluorescent and bright colors are not natural; they are creations of civilization. Therefore, it’s better not to overuse them at home—save them for shopping malls and nightclubs.
Red, orange, dark yellow, and black are the oldest colors in history. Colors that match the climate also work best.
Colors and their language are like a coded manuscript, but designers and paint sellers are the ones who can unlock it. After all, who else cares about color trends, their effects on our eyes and wellbeing, more than they do?
Chalky Interior Wall Painting
In Soviet-era concrete block buildings, walls were often painted with chalk-based paints. However, it is impossible to paint directly on them because the surface is too unstable. It’s suggested to use bonding primers, but in practice, they usually don't help. The primers bond to the chalk but do not penetrate the surfaces behind the chalk, causing large areas of peeling when painting. Therefore, the solution would be to remove or thin out the chalk layer. Completely removing the chalk is quite difficult, but after a few washes, the chalk layer becomes thin enough for the primer to create a durable holding surface.
The chalky wall was washed twice, then coated with an penetrating primer. It held up quite well. It is recommended to test the primer and paint on a small area of the wall before priming and painting the entire surface. For these messy tasks, a disposable painter's suit works well.
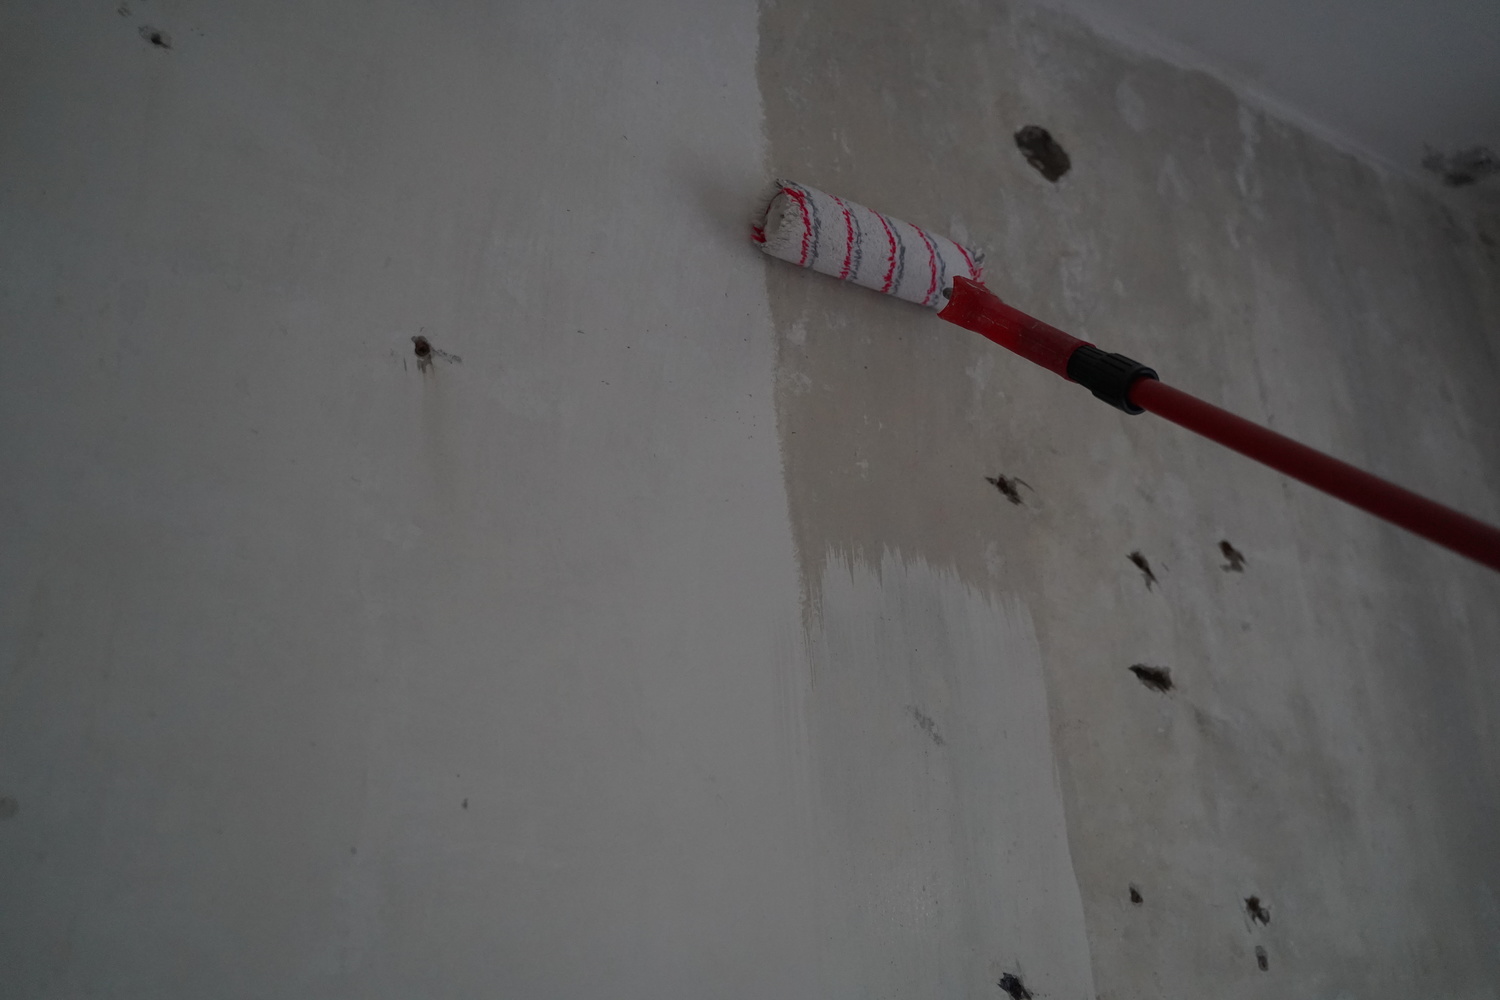
The primer is applied with a roller. A painter's clear shield comes in handy.
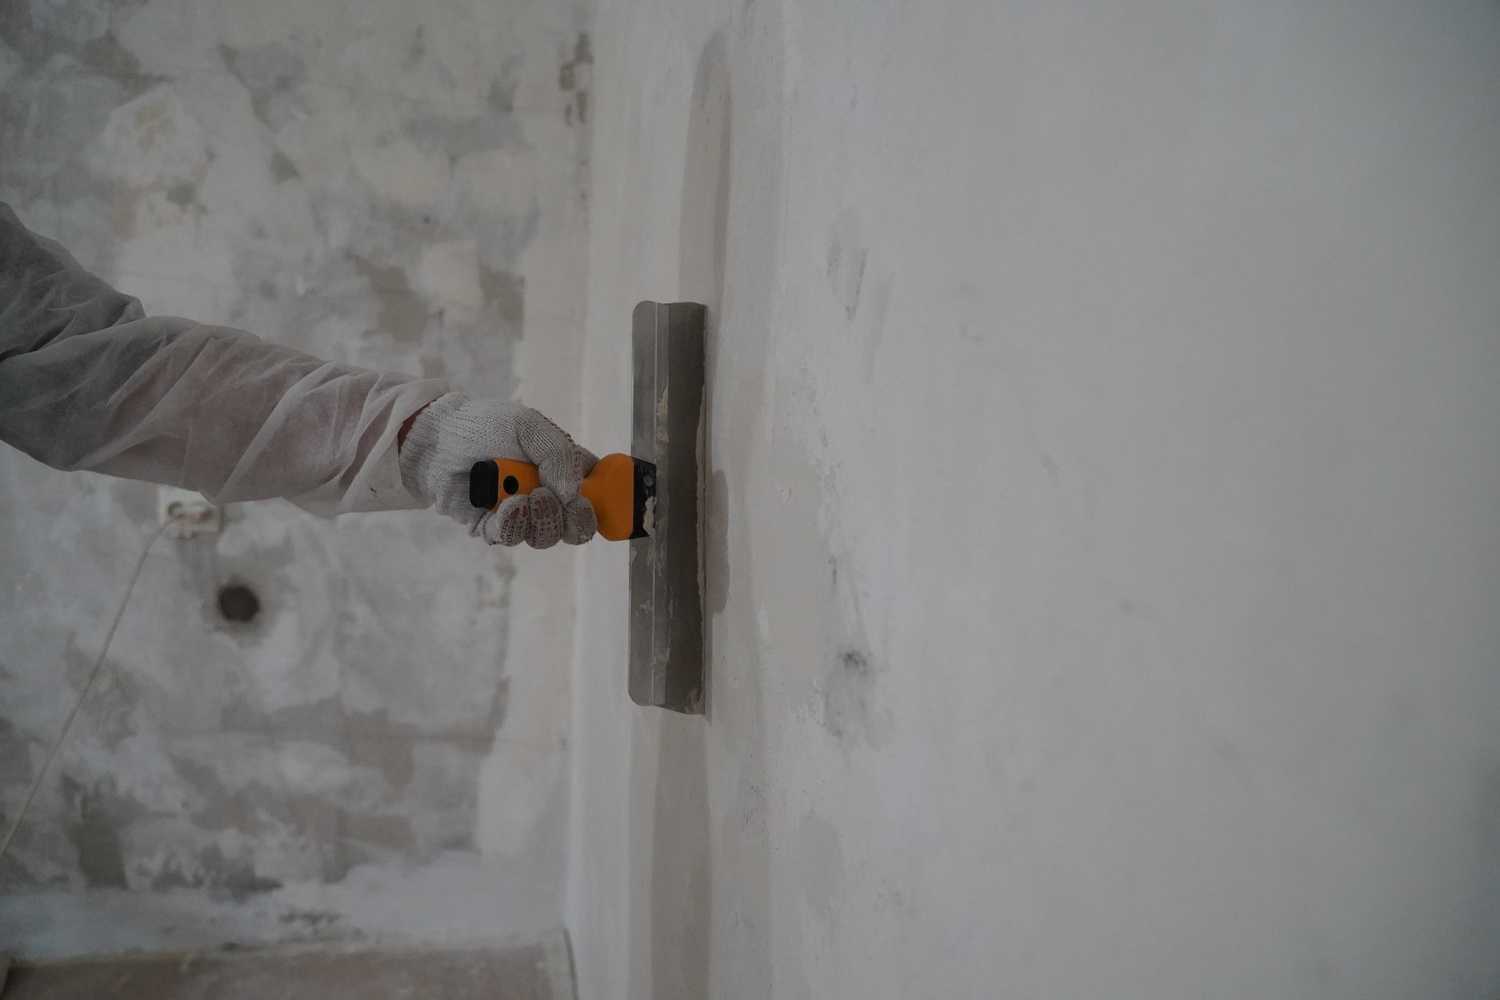
The wall will almost always need to be plastered. There are usually imperfections, holes from brackets, etc. Plastering is typically done 2-3 times, with sanding in between.
After plastering, the wall is primed again using a primer designed for plaster.
Radiator Painting
In older buildings, radiators are usually present. Often, the old Soviet-era radiators may look so unattractive that you'd want to throw them out. However, once repainted, they won't be an eyesore. They just need to be properly prepared for painting. Special heat-resistant paints are used for radiators.
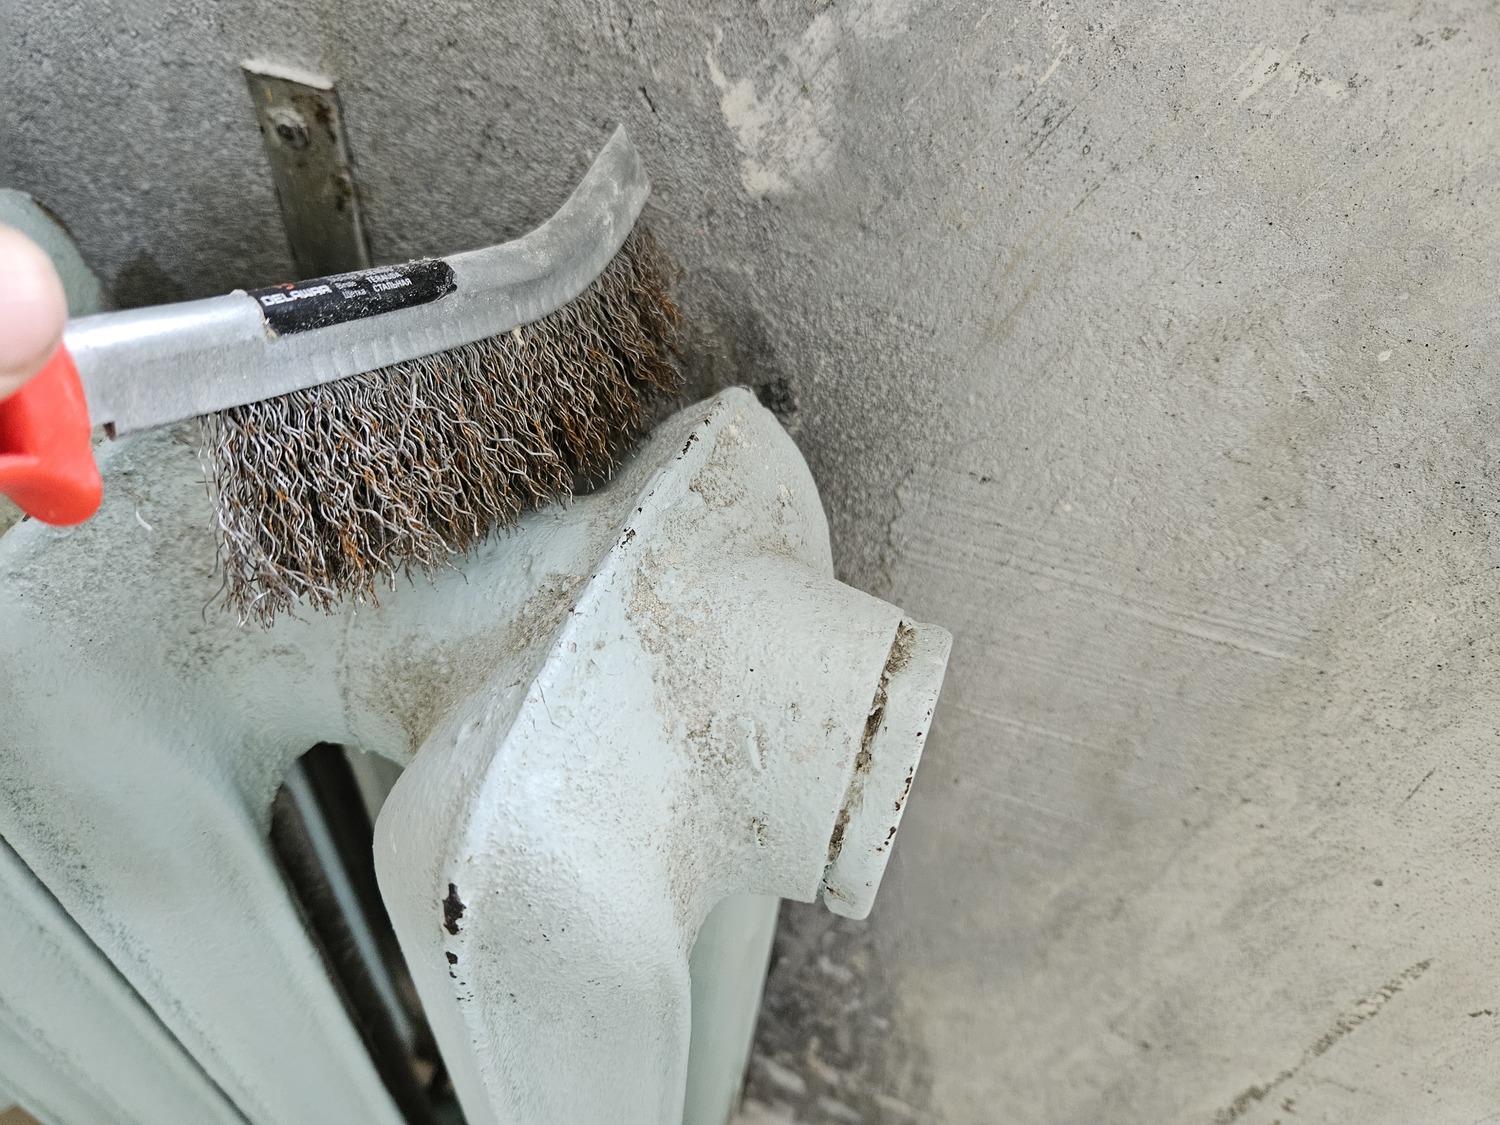
Preparing radiators will involve a lot of manual work. The equipment can't reach the inner parts, so a wire brush will be useful. It's not necessary to completely remove all the paint—just the peeling paint and rust.
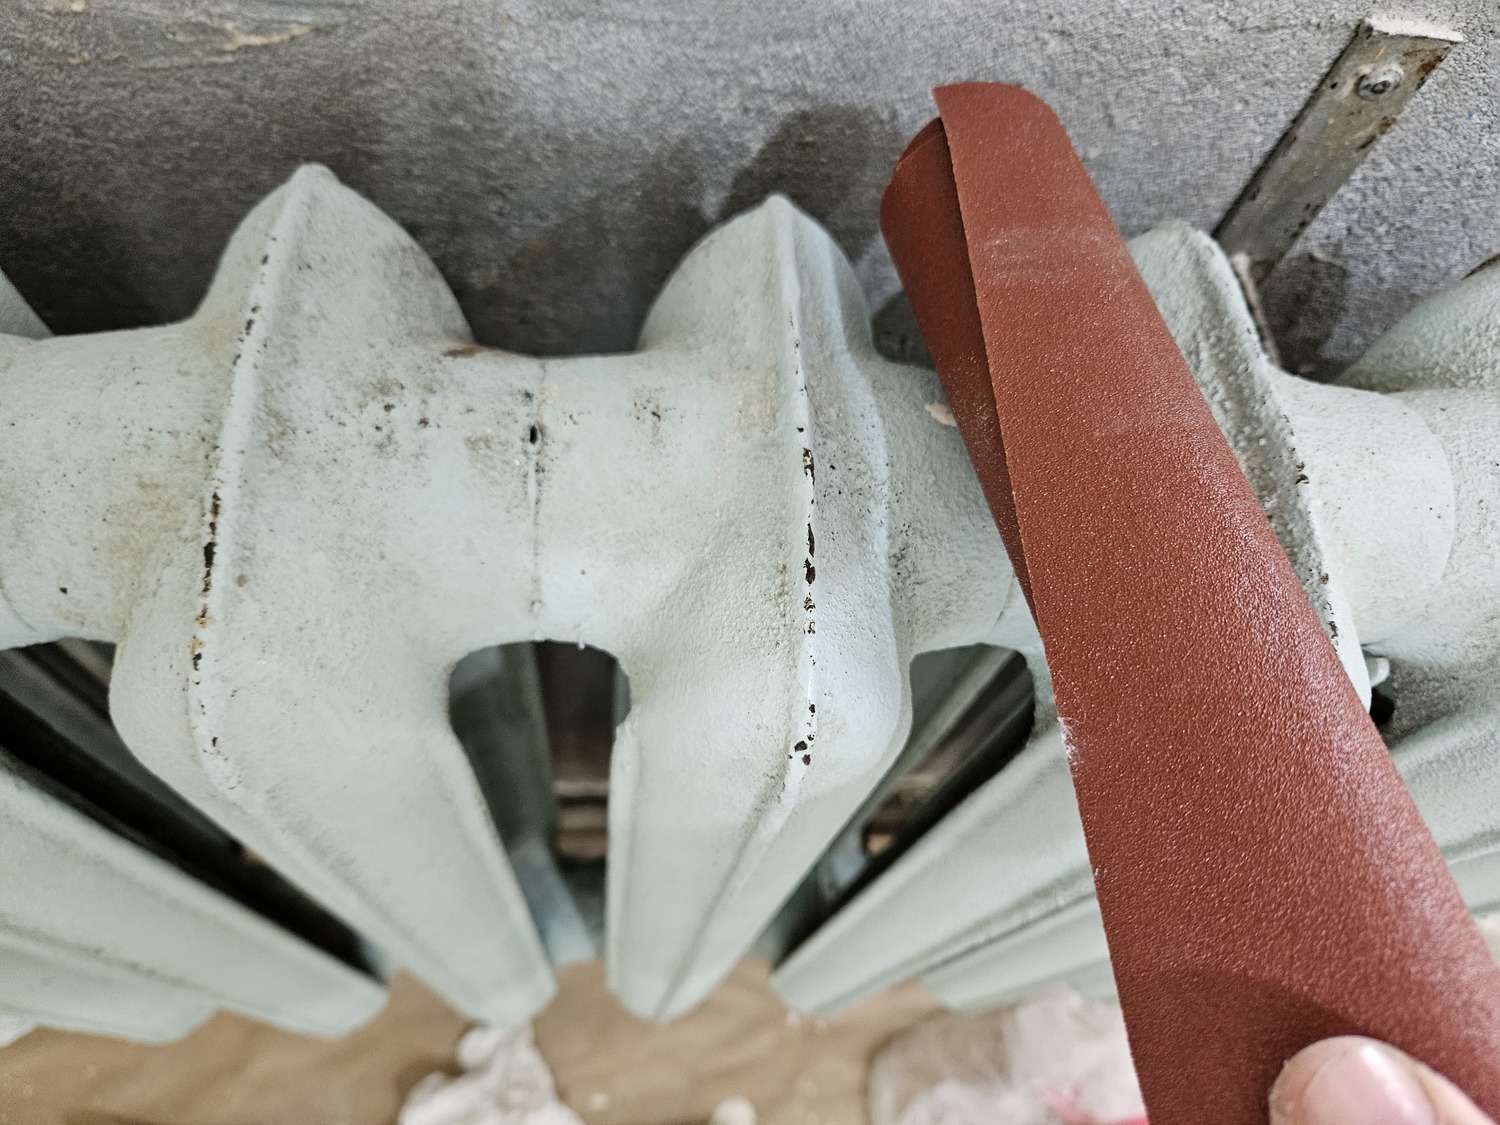
The radiator is sanded with 100 - 160 grit sandpaper.
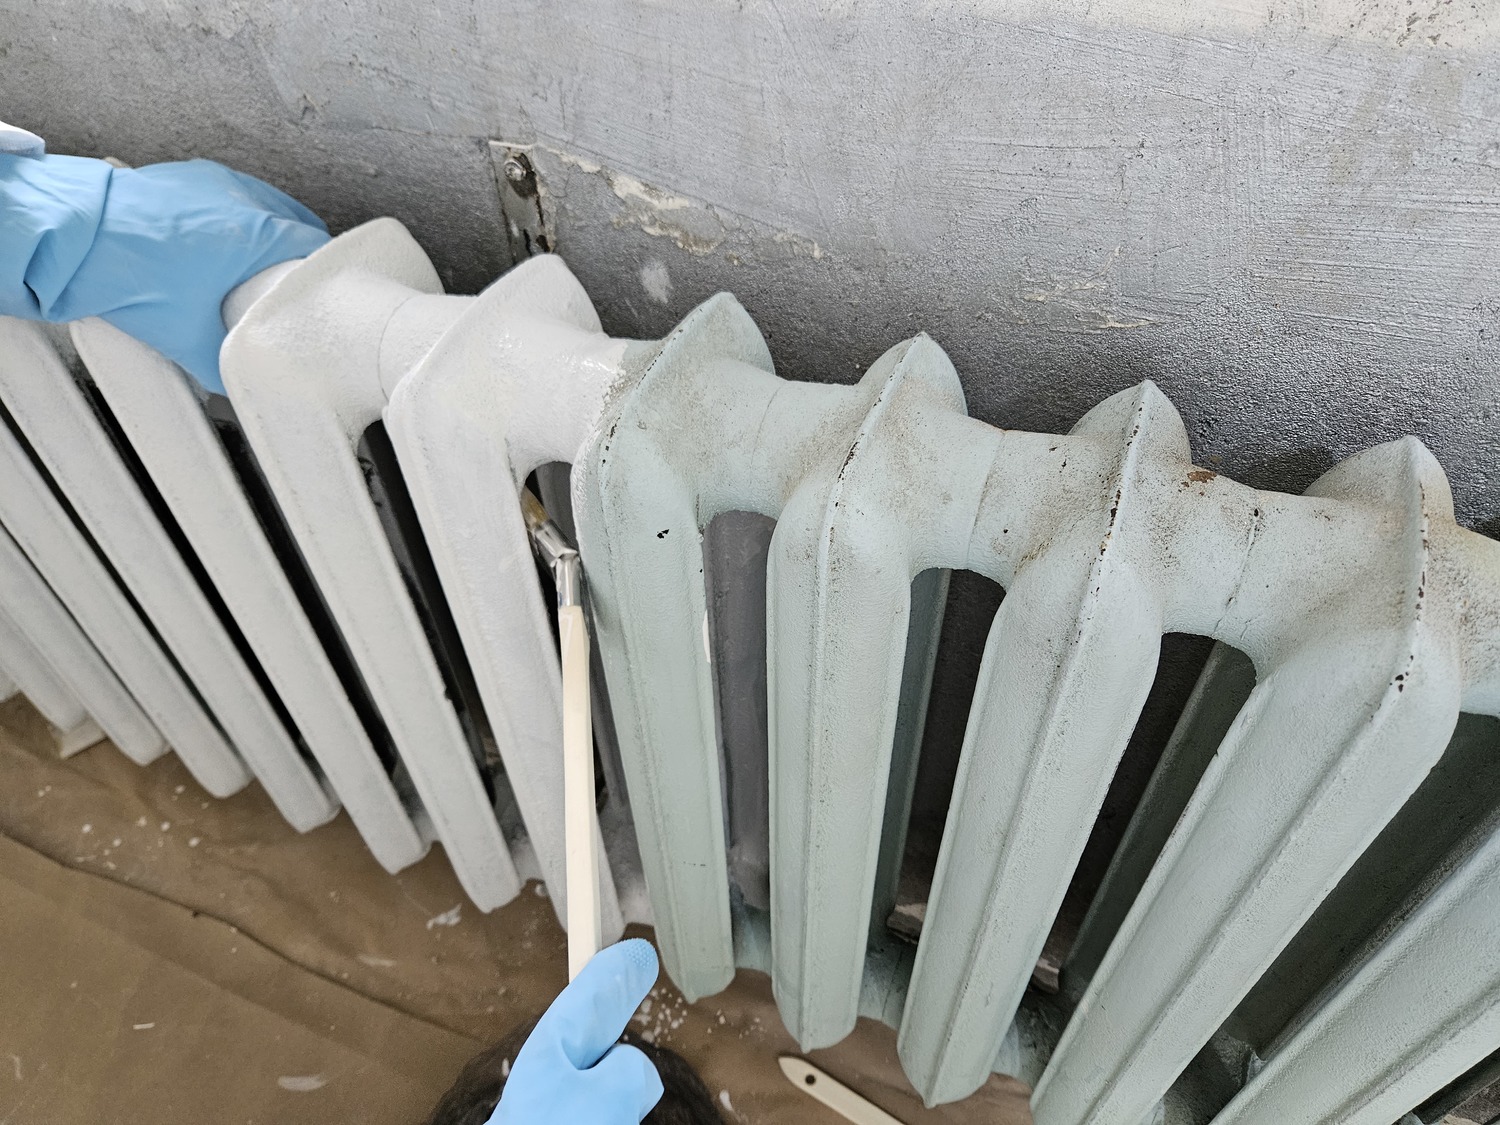
For radiator painting, a brush with a long handle is best. It reaches the deeper sections of the radiator.
- haohexiaozi
- 2024-12-09 11:43:38

