Instructions for installing PVC windows, installation of recessed window profiles, and sealing of PVC windows.
Plastic windows (PVC) make up a large portion of the window market. Windows installed at the beginning of the plastic window era are now being replaced due to modern windows having a significantly better thermal and sound insulation properties. Old windows are also replaced because of the emergence of installation errors from earlier periods. These errors resulted in greater heat loss, and often had visible condensation and mold accumulating around the windows.
Many installers continuously learn how to install windows and master new methods. It is rare to find those who do not adhere to the correct technology for installing plastic windows. However, there are many questions about the installation of windows in recessed profiles. This is currently the most commonly used window installation technology in new homes, allowing for the avoidance of old window problems and increasing the building's energy efficiency.
Best PVC Windows
The thermal properties of a window depend on the frame profile and the glazing unit. Modern windows feature triple glazing units, warm edge spacers, and 6-7 chambers. There are at least three sealing gaskets. The triple glazing unit typically has two selective glasses, with the gap filled with argon gas. The interior glass is coated with an invisible layer that reflects heat back into the room. Argon gas is most effective when the gap between the glasses is 16-20 millimeters.
The glass units are separated by spacers. In modern windows, glass units are made only with warm spacers. Aluminum spacers should be avoided as they reduce thermal insulation properties.
For PVC windows, the strength of the frame and sash is very important. The stability and durability of the window are ensured by the thickness and cross-section shape of the reinforcements used. It is also important to pay attention to the hardware used by the window supplier. German and Austrian hardware is considered reliable.
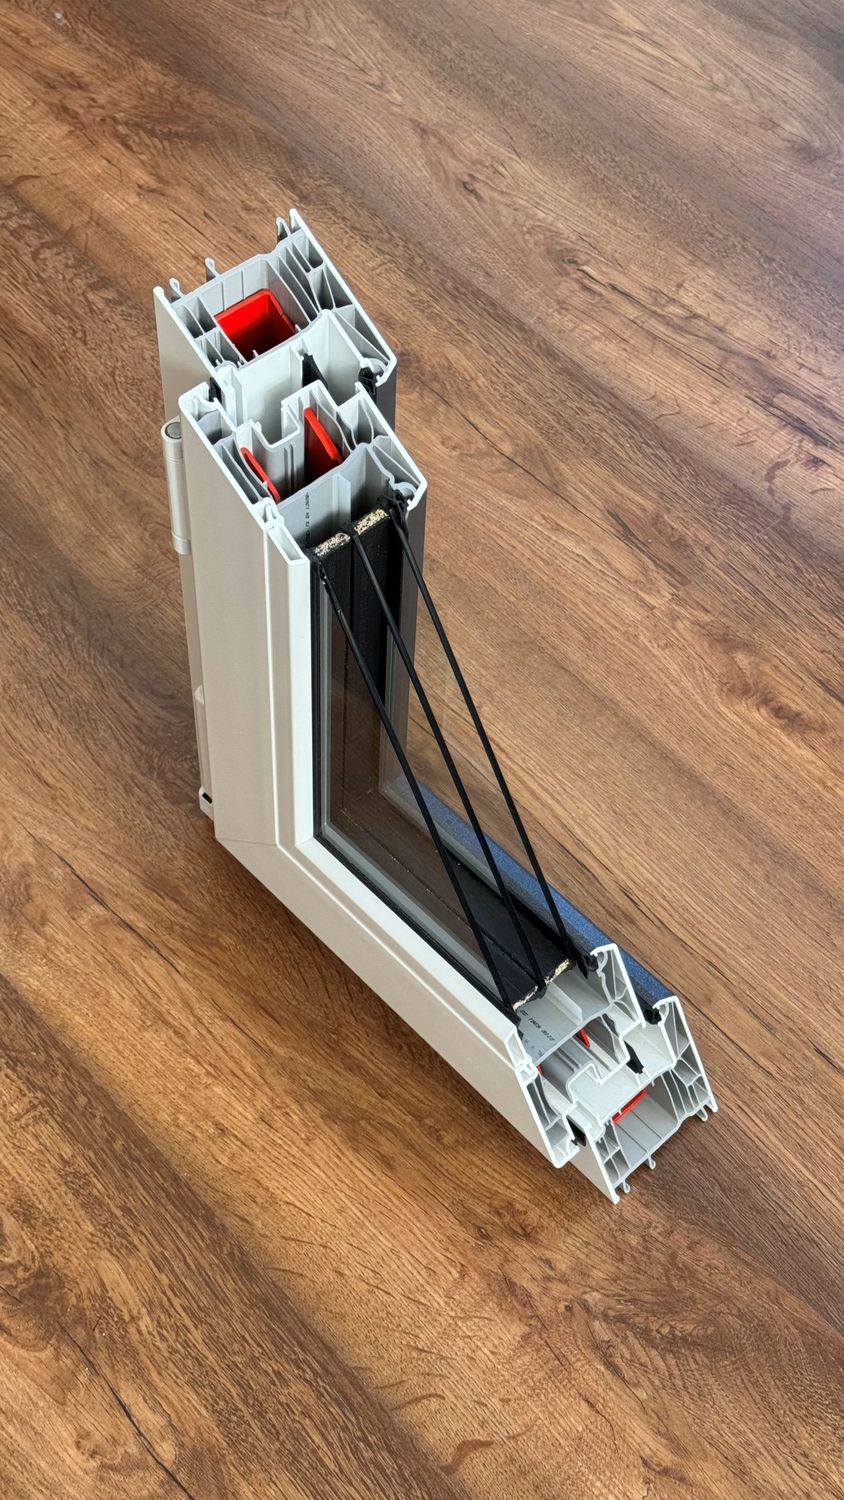
Other Important Window Characteristics to Consider When Choosing Windows:
- Heat transfer coefficient Uw up to 0.74 W/m²K;
- Glazing units 48 mm thick, with warm Swisspacer spacers, with a Ug heat transfer coefficient of practically 0.5 W/m²K;
- 80 mm frame thickness;
- 7-chamber profile;
- Three sealing gaskets;
- Windows reinforced with 2 mm thick galvanized steel reinforcements;
- German ROTO hardware and ROTO Line Secustik handles.
PVC Window Placement in the Wall
The placement of windows in the wall affects thermal insulation properties, the amount of light entering the room, and the view through the window. A window that is installed in the wall does not prevent heat loss through the window edges, it is impossible to insulate them completely. Insulating the opening slightly reduces heat loss, hence extruded polystyrene is often used. While heat loss is reduced, it is still insufficient for A++ energy class homes. When installed deeper in the wall structure, the windows let in less light. A++ house windows are best installed within the insulation layer to eliminate thermal bridges and maximize light entry.
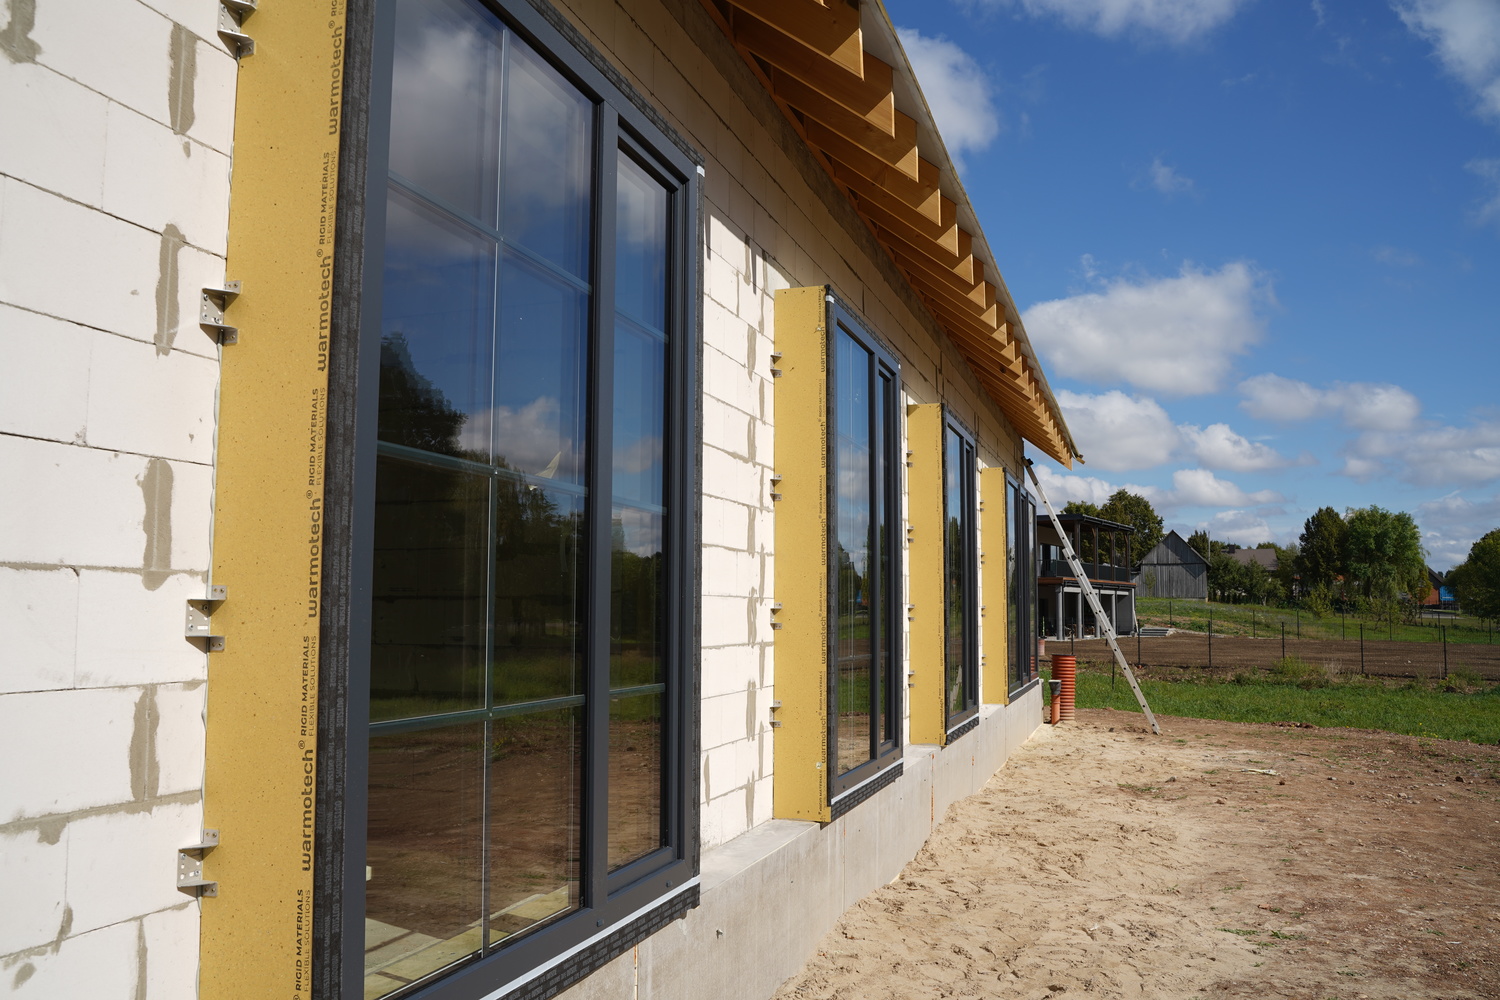
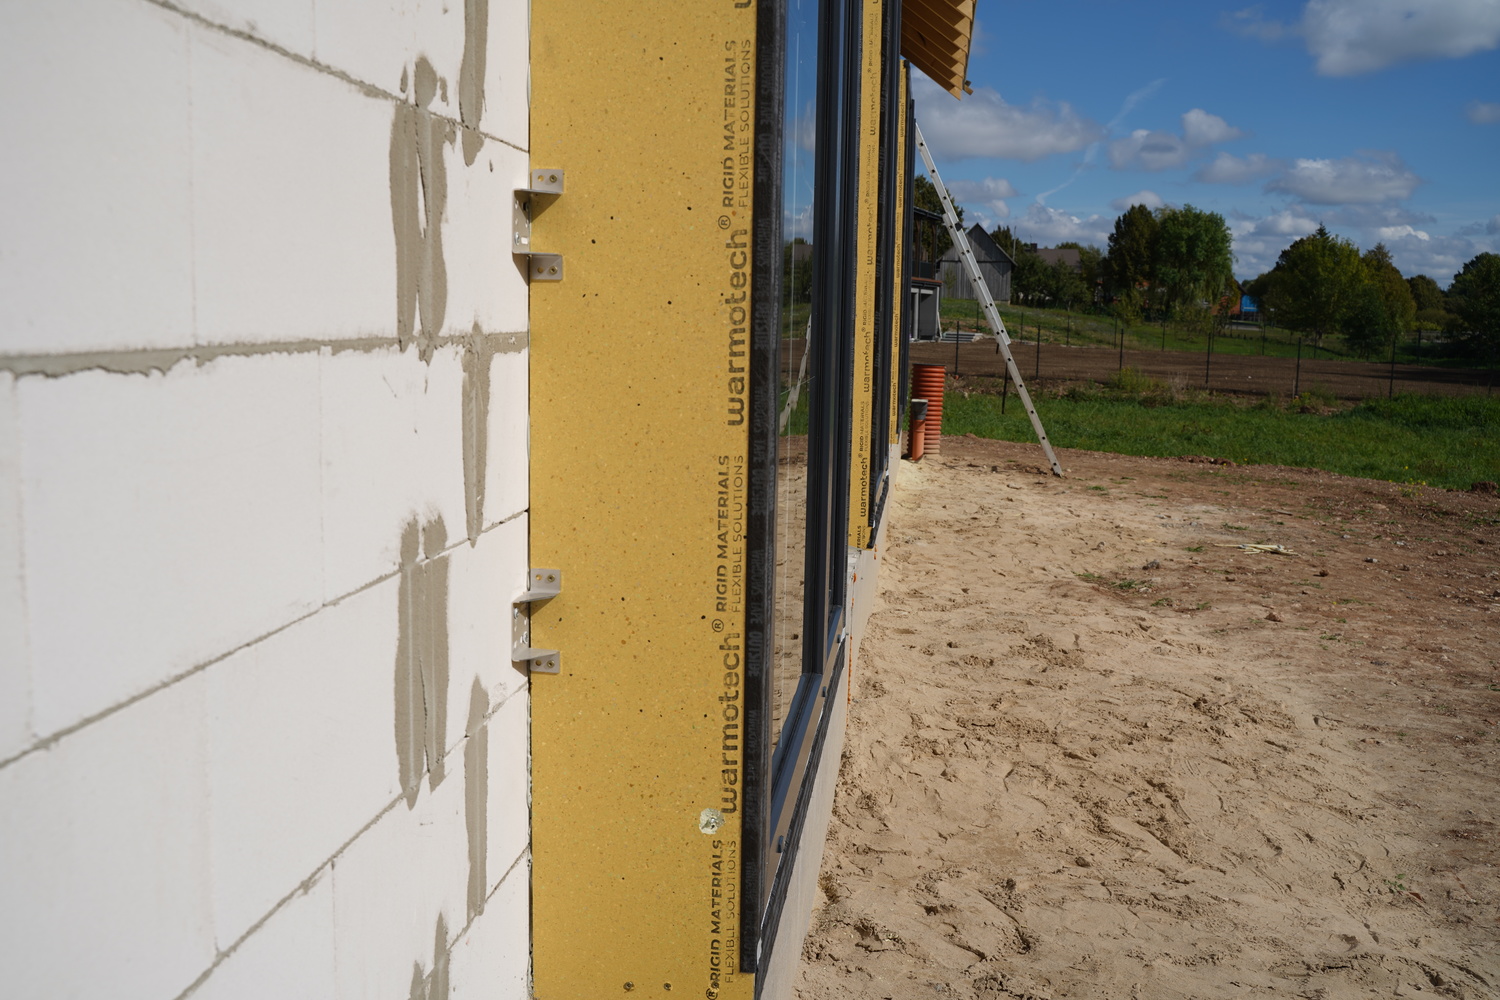
The PVC window is installed in the recessed extended profile Warmotech M Frame. This installation allows for maximum light entry and ensures minimal heat loss, preventing cold edges.
Recessed Window Profiles
The installation of windows within the insulation layer is already becoming standard when building A++ class homes. They can be mounted on brackets, but special brackets are needed. While bracket mounting may seem cheaper, it complicates sealing, increasing the cost of PVC window installation. It is simpler to ensure better thermal insulation and stability by installing within thermal profiles.
Thermal profiles are usually made from high-density polystyrene foam or high-density polyurethane. Builders should ensure that the purchased thermal profiles are not just regular insulation material cut into profiles (extruded polystyrene (XPS) or expanded polystyrene (EPS)), which are not designed to withstand fastening screws and mechanical loads. Due to their high mechanical resistance, good sound insulation, dimensional stability, and thermal properties, Warmotech's product range features predominantly polyurethane-based profiles.
The most popular profiles of the Warmotech PRO system are made from polyurethane board glued to a Finnfoam XPS F-700 layer. The outer layer of extruded foam polystyrene ensures good thermal insulation of the profiles, and it also provides an excellent surface for strong adhesion of sealing products (sealing tapes). The polyurethane part ensures a solid base for the window load and fixation. The thermal conductivity coefficient is U = 0.77 W/m²K. These thermal profiles also provide excellent sound insulation. The maximum Warmotech PRO extension size is 100 millimeters. The profiles are glued and secured with masonry anchors.
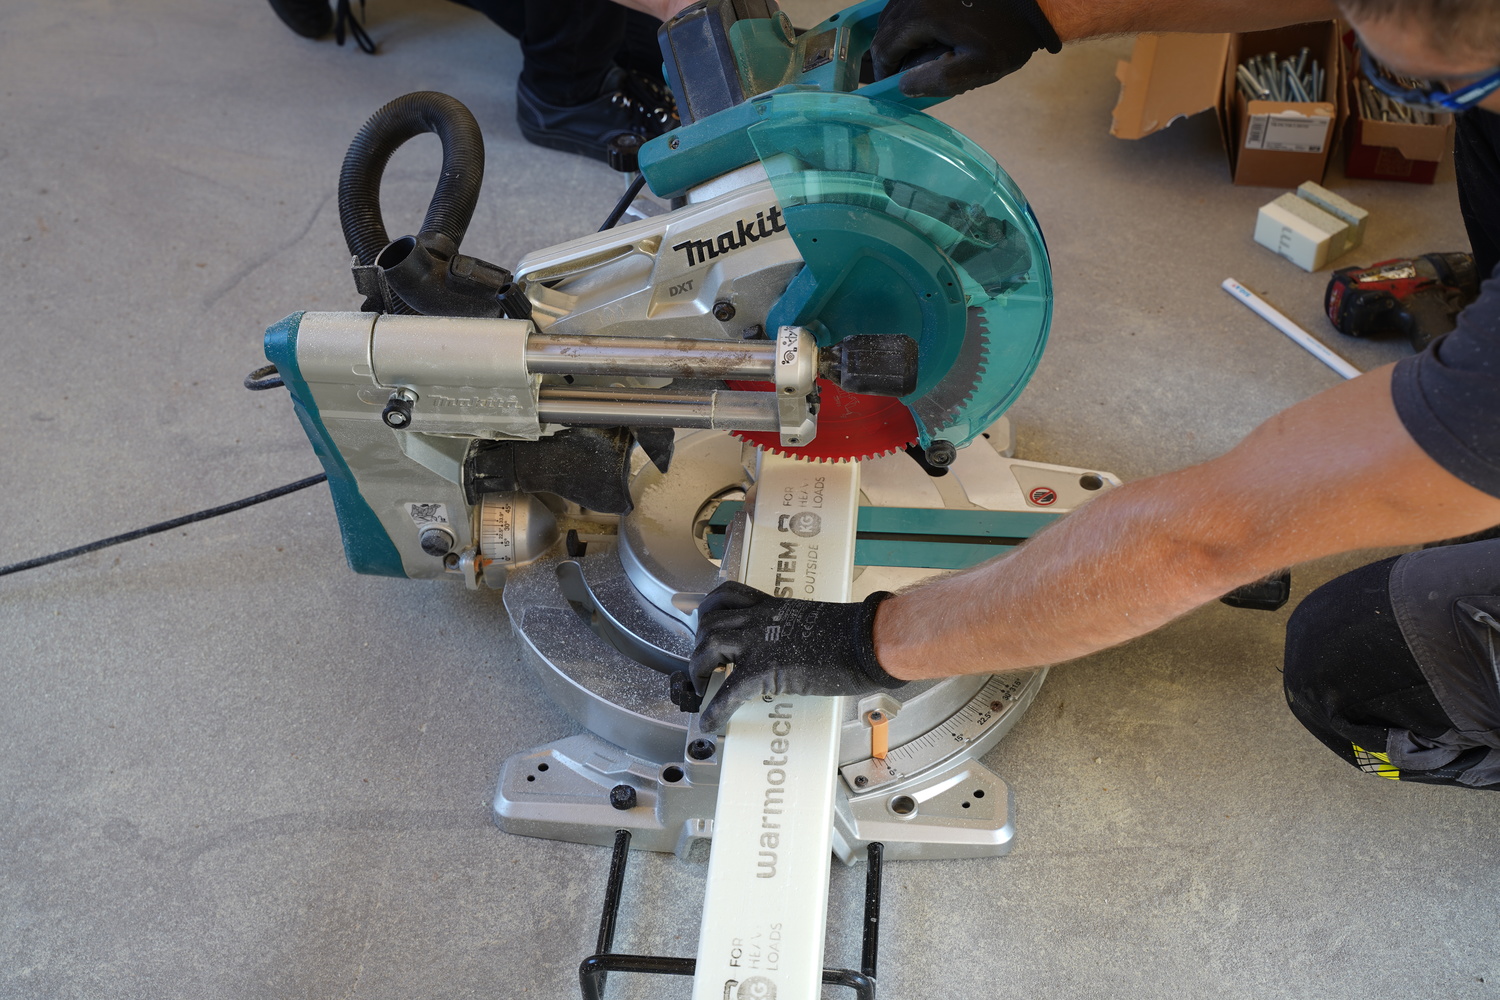
The head of the masonry screw is anchored in the solid lower layer of the Warmotech Pro System Projectable Profiles. The warmer upper layer of the profile reduces heat loss. It can be cut with a circular saw or hand saw, similar to softwood.
If a larger projection is needed, Warmotech M Frame profiles are used. Their projection size ranges from 100 to 250 millimeters. These are solid recycled polyurethane boards, fastened to the wall with special brackets and glued.
Another useful group of Warmotech products is the window lifting profiles. These profiles are designed to raise windows from the sill to the required floor height.
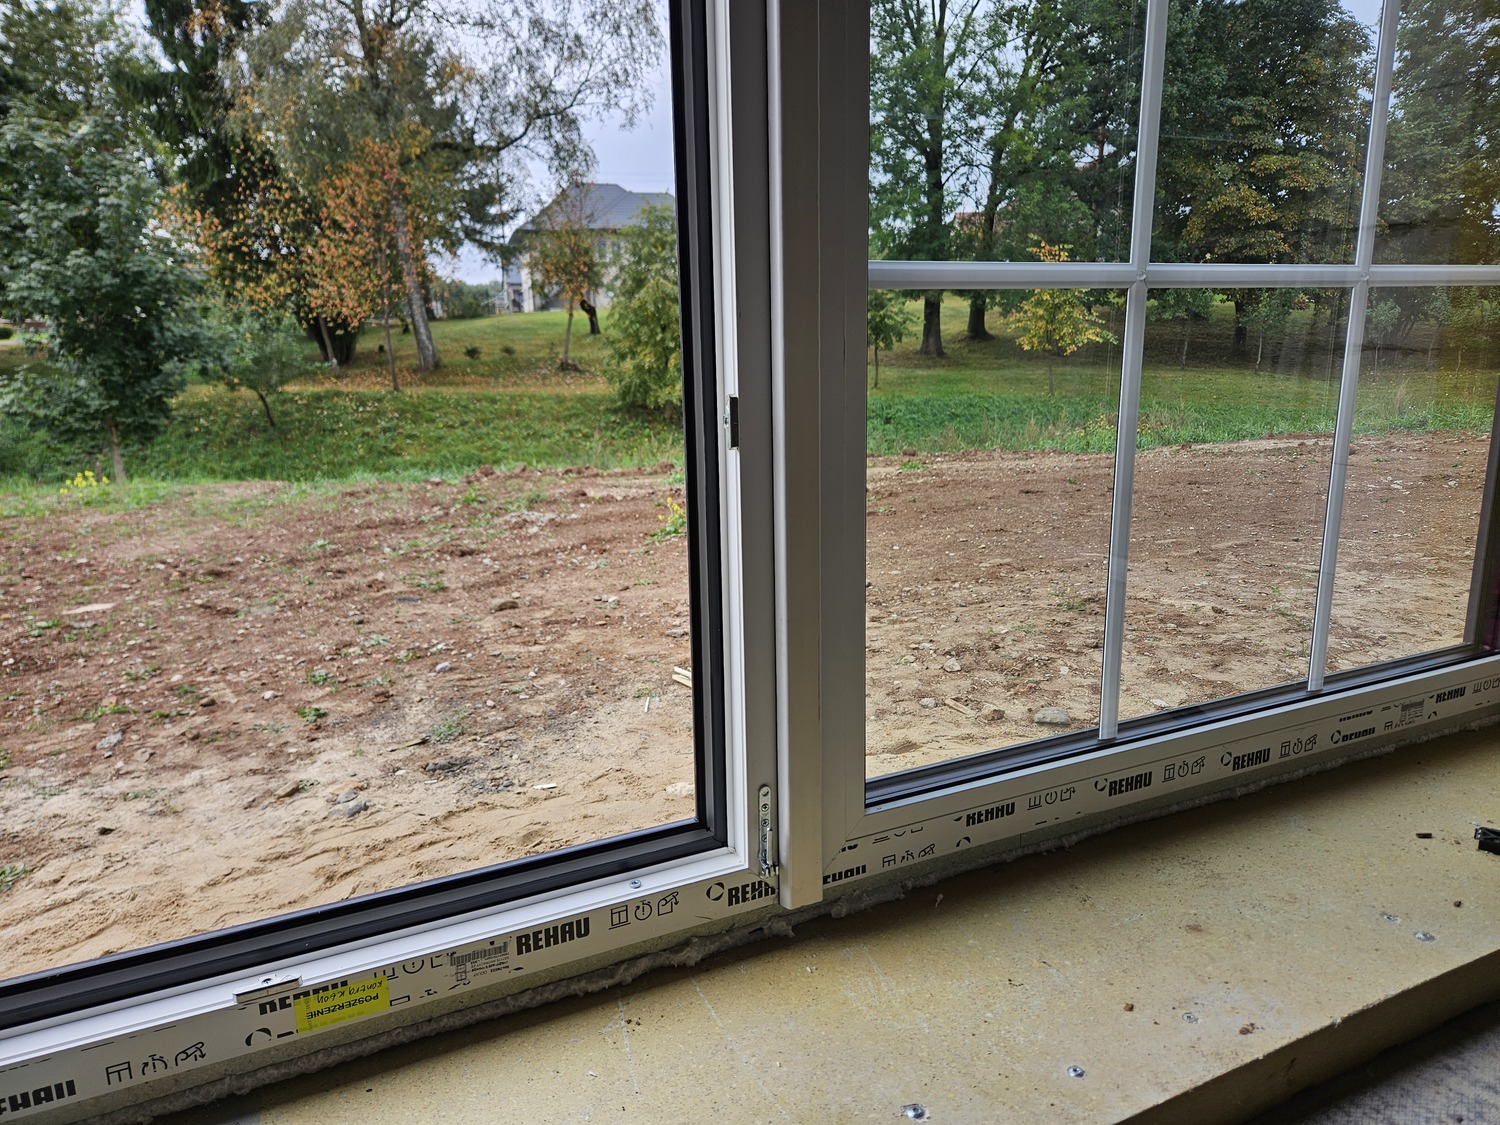
Warmotech M Frame Window Projection Profile and Lifting Profile. The lifting profile can be used under exterior doors.
Installation of the PRO profile
The Warmotech PRO profile (Projection profile) is easily cut and prepared for gluing on-site. Before gluing, the wall is cleaned; some surfaces may be more challenging to glue, in which case the surface should be primed.
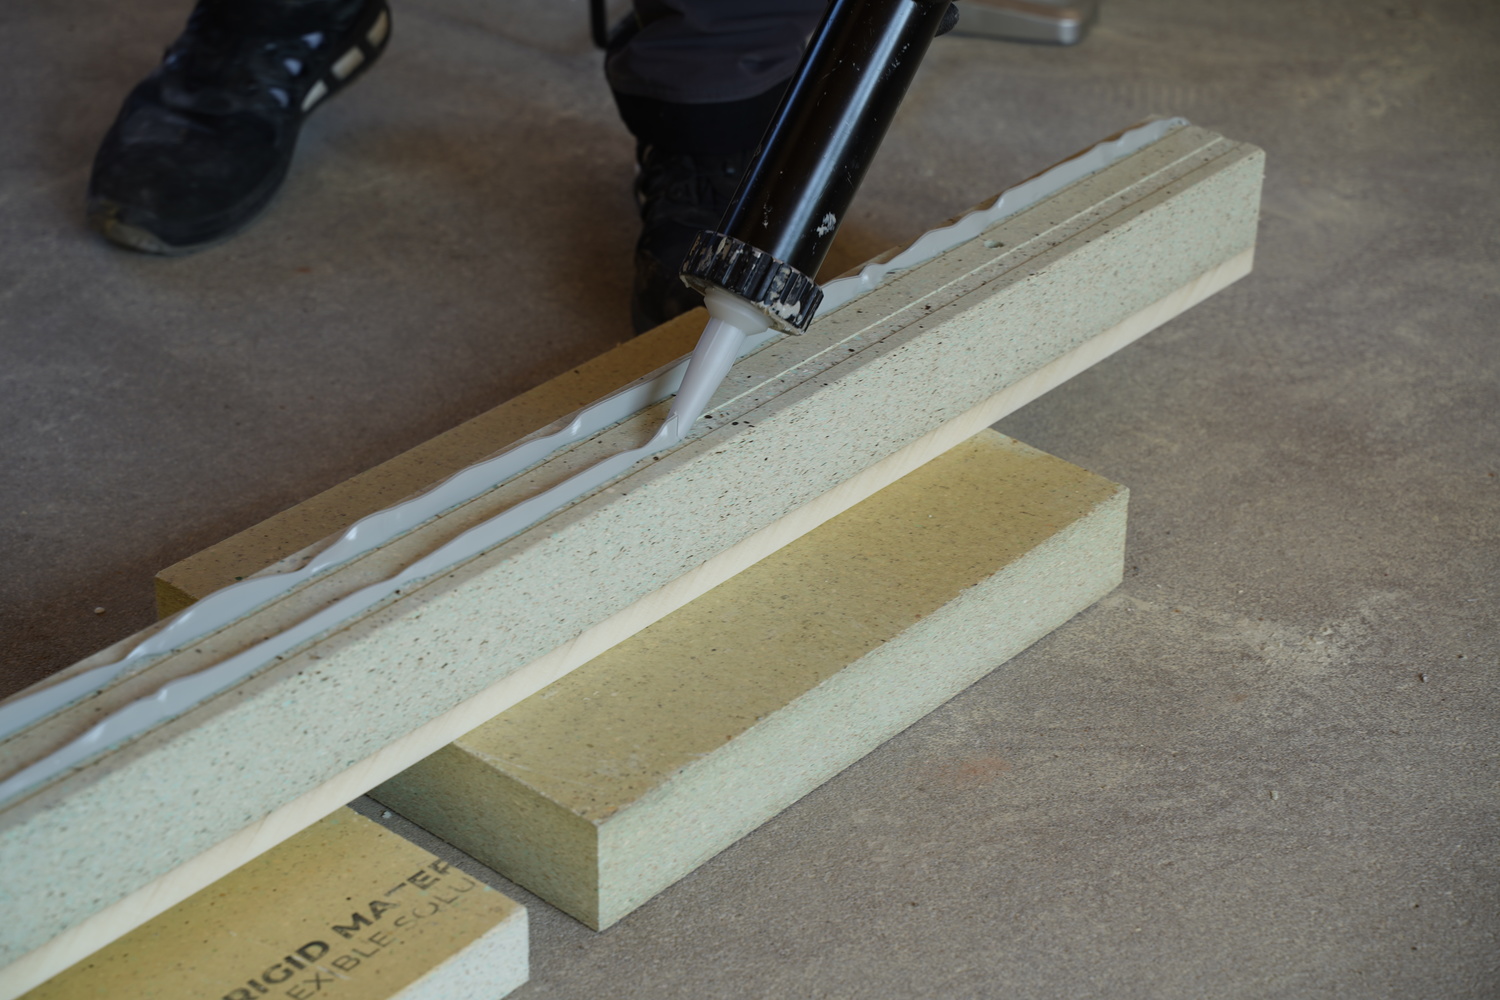
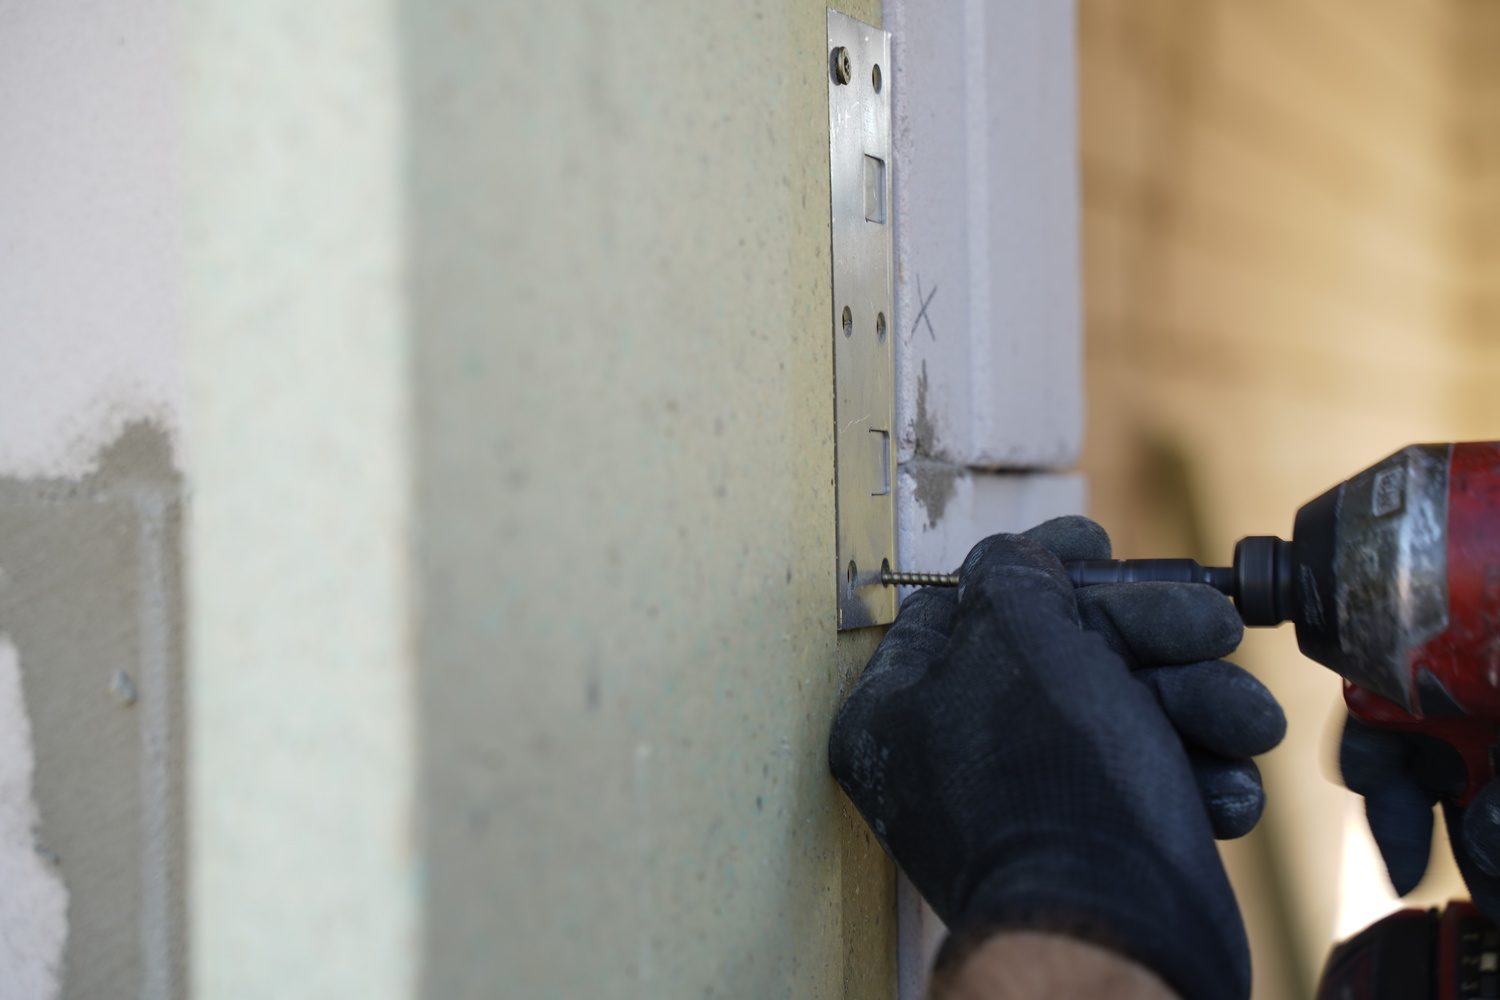
Holes for masonry screws are pre-drilled in the Warmotech Pro profile. The holes should be 15 - 20 centimeters from the edges, and the spacing between screws should not exceed 70 centimeters. Glue is applied in two thick strips from one edge to the other.
The masonry screw passes through the soft Warmotech Pro layer, and the head rests against the solid layer. It should be pressed firmly so that the glue oozes out the sides. This is often a problematic area for soft profiles made from polystyrene foam, as the head has no solid backing. Therefore, a large washer is added, and the masonry screw comes out to the surface, creating a thermal bridge.
The diameter and length of the masonry screws are selected based on the block. If the block is hollow, longer screws should be used to grab as much solid block material as possible. Otherwise, the screw may spin and not press the profile against the wall properly. In this case, an additional hole is drilled. The best place for this in a silicate block is near the block joints.
The hole and screw diameter are also selected based on the block. For aerated concrete blocks, the screw diameter will be larger than the hole. It is advisable to consult with block sellers for suitable screws. Many may offer non-standard fastening solutions.
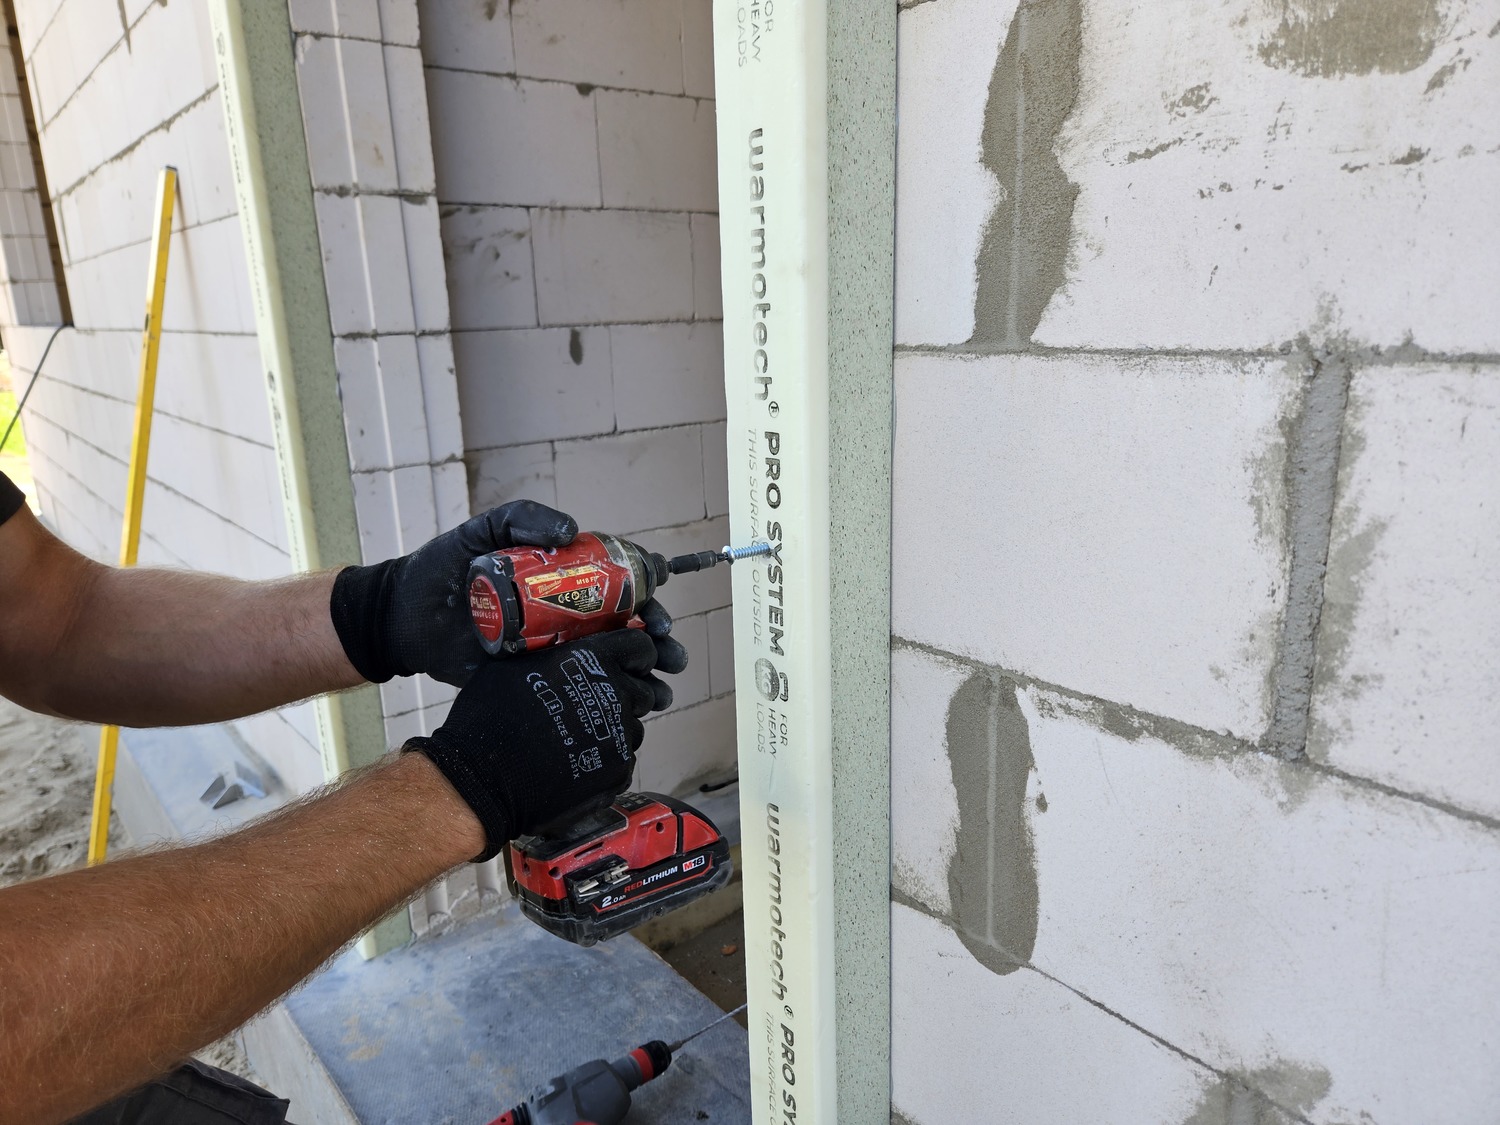
Warmotech Pro projectable casings are suitable for windows and doors.
Installation of Extended Projection Profile
To achieve an A++ class, the external thermal insulation layer is typically around 250 - 300 millimeters. With a short projection profile, the window will be deeper in the wall, resulting in additional finishing work. In thicker insulation layers, specialists recommend using longer projection profiles that align with the surface of the insulation layer.
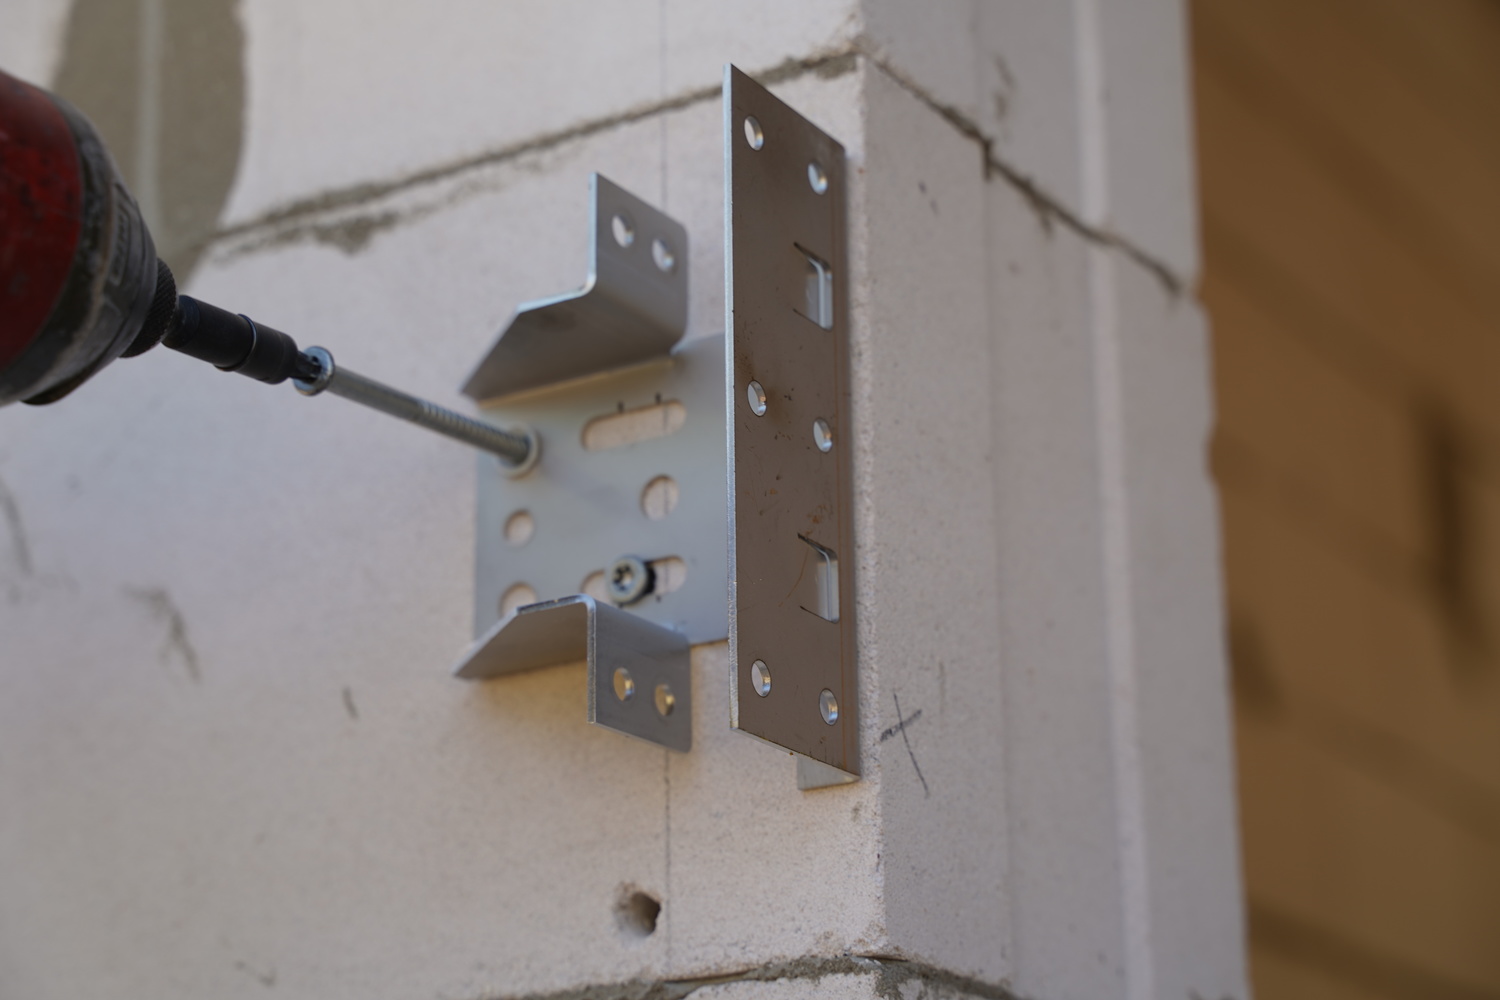
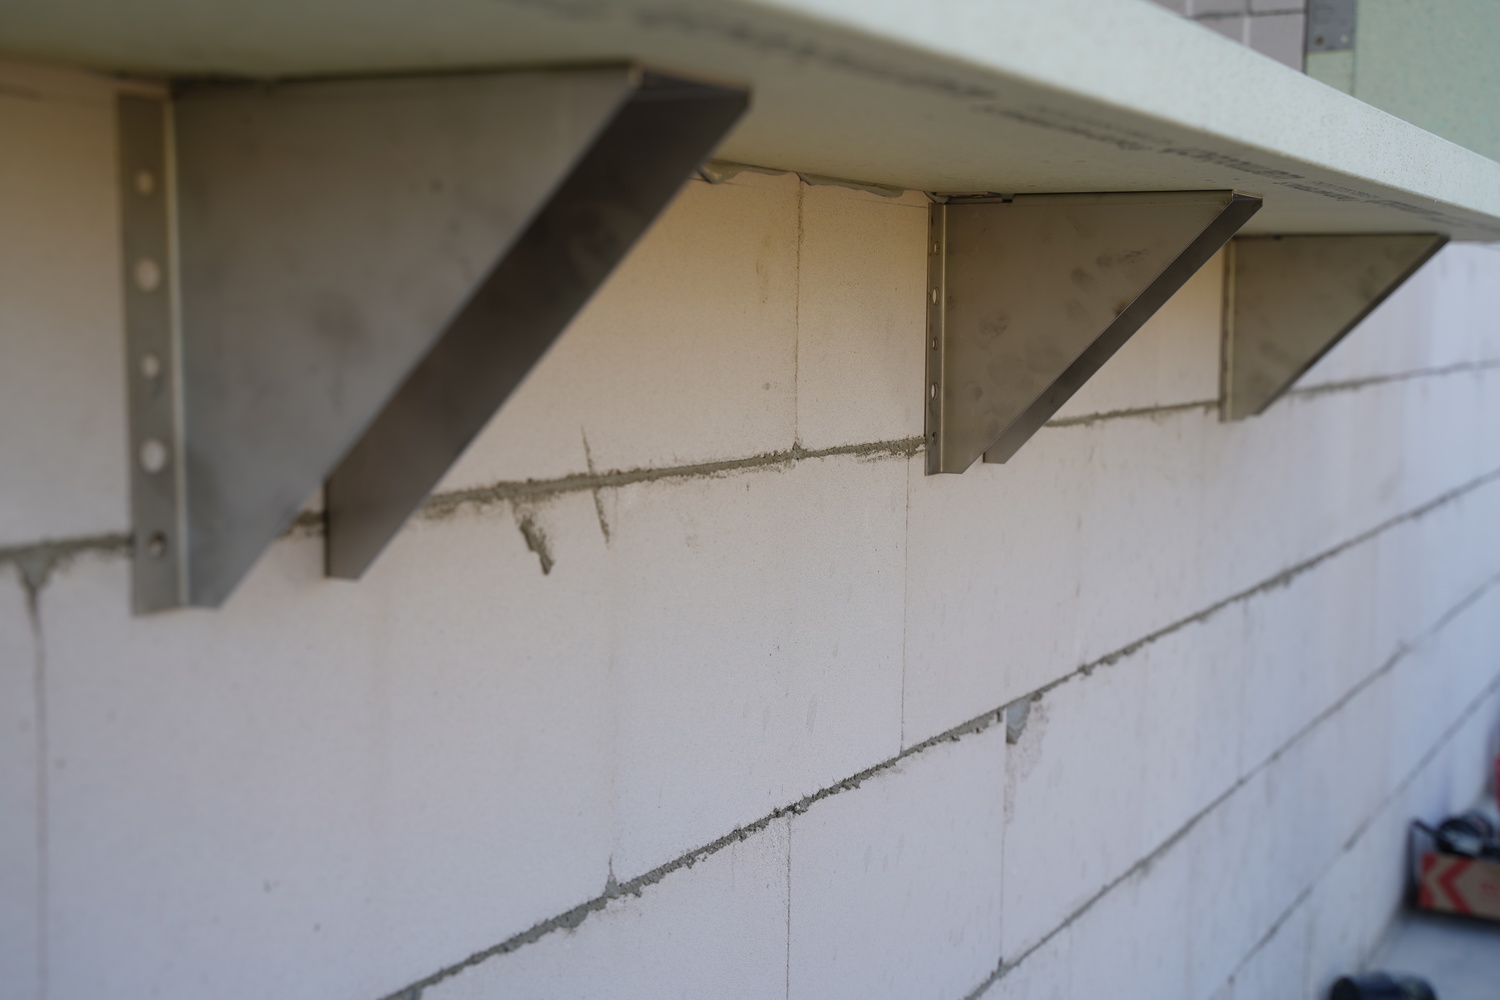
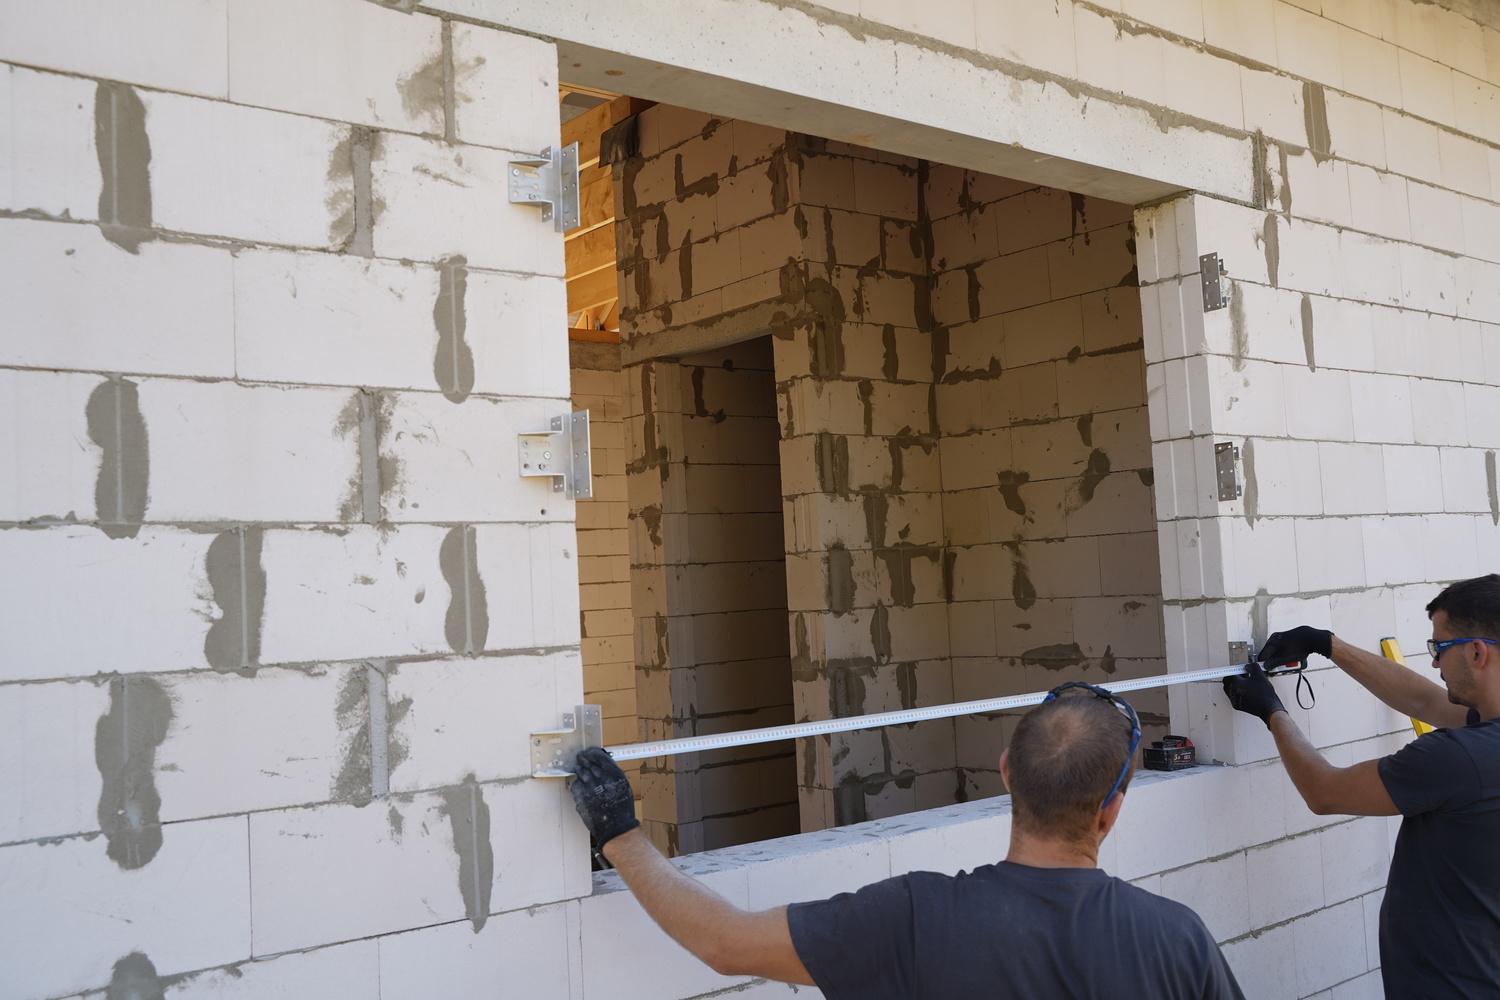
The extended Warmotech M Frame profile is mounted into brackets. A line is drawn with a level, aligned with the bottom hole. Holes are drilled, and the anchor and masonry screw are inserted but not fully tightened. Once all window brackets are placed, they are leveled and secured again. Then, a second masonry screw is finally secured. In some cases, depending on the blocks and other situations, a third screw may be needed.
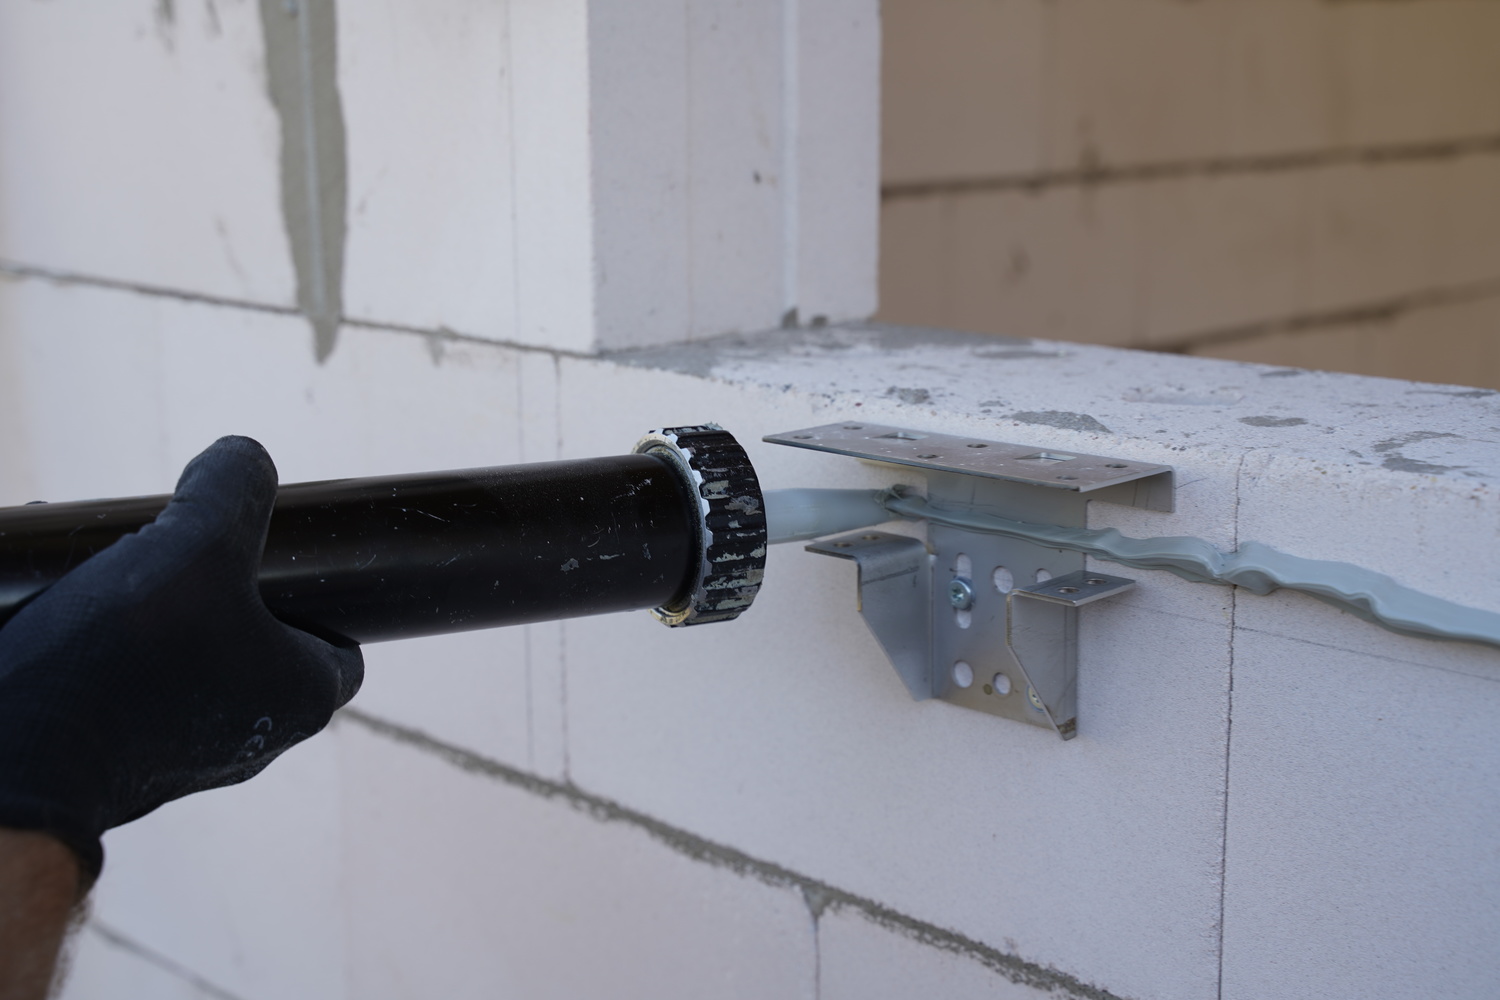
Warmotech M Frame profiles are secured in brackets and additionally glued. A thicker layer of glue is squeezed through the wall, and a thinner layer is applied on the brackets, as shown in the picture.
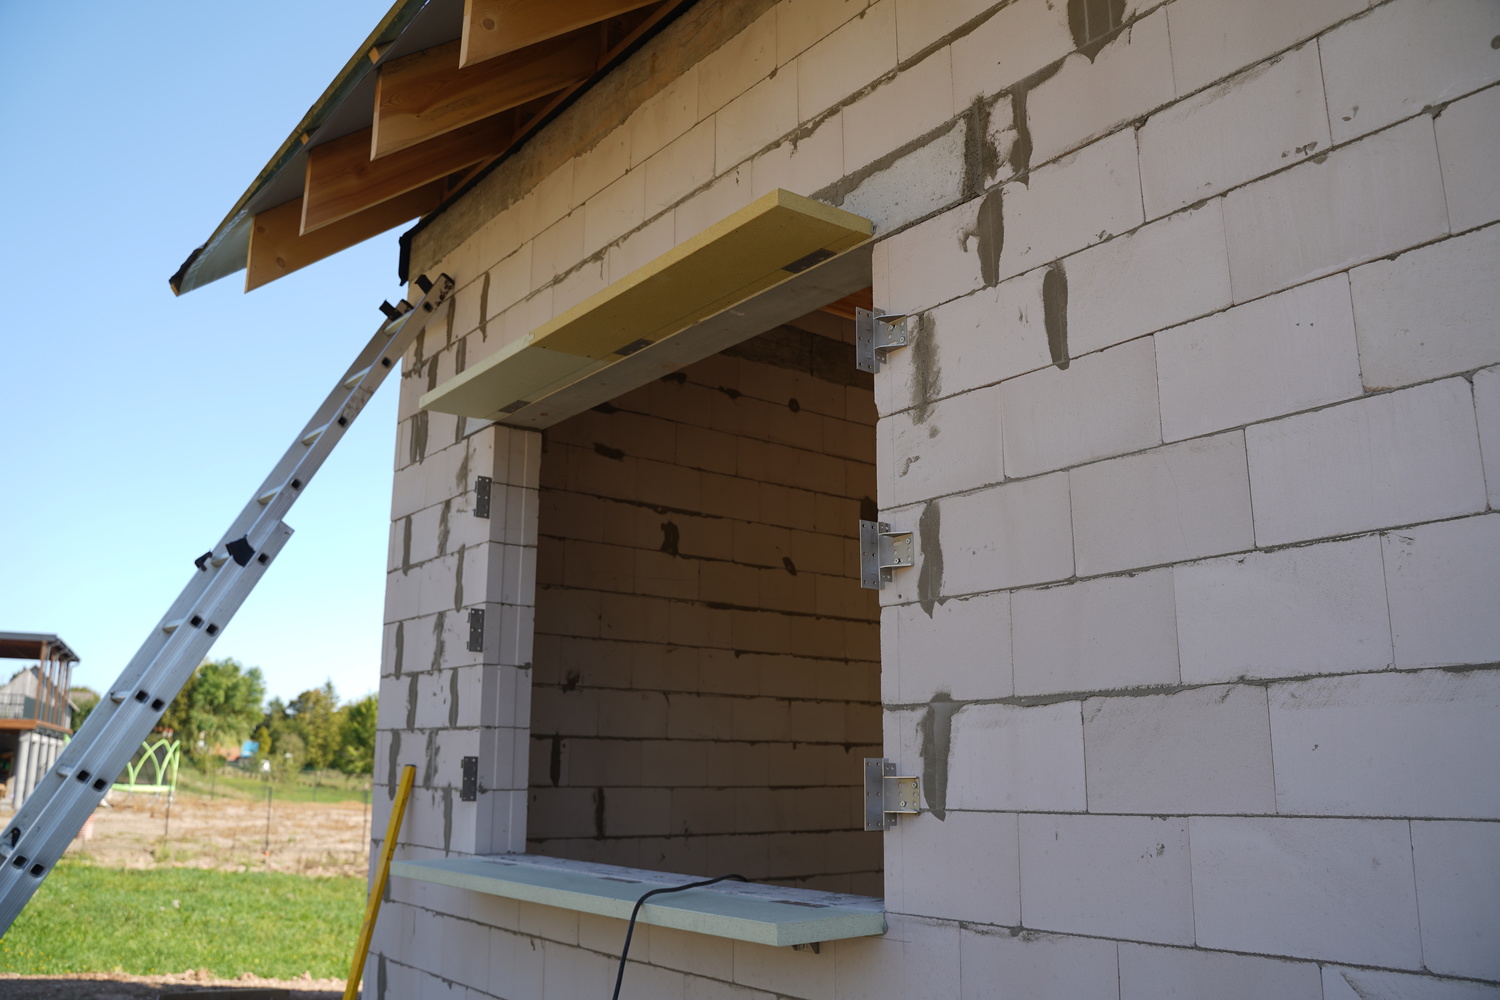
Installation of Projection Profiles. The projection profiles are installed and cannot be removed afterward because they are secured by special clips in the bracket. They can still be slightly adjusted sideways. The bottom profile can be placed so that the side profiles can be mounted on it. This option is suitable when the windowsill is quite high and tightening it will not be difficult. When the sill is low, the bottom profile is placed between the side profiles.
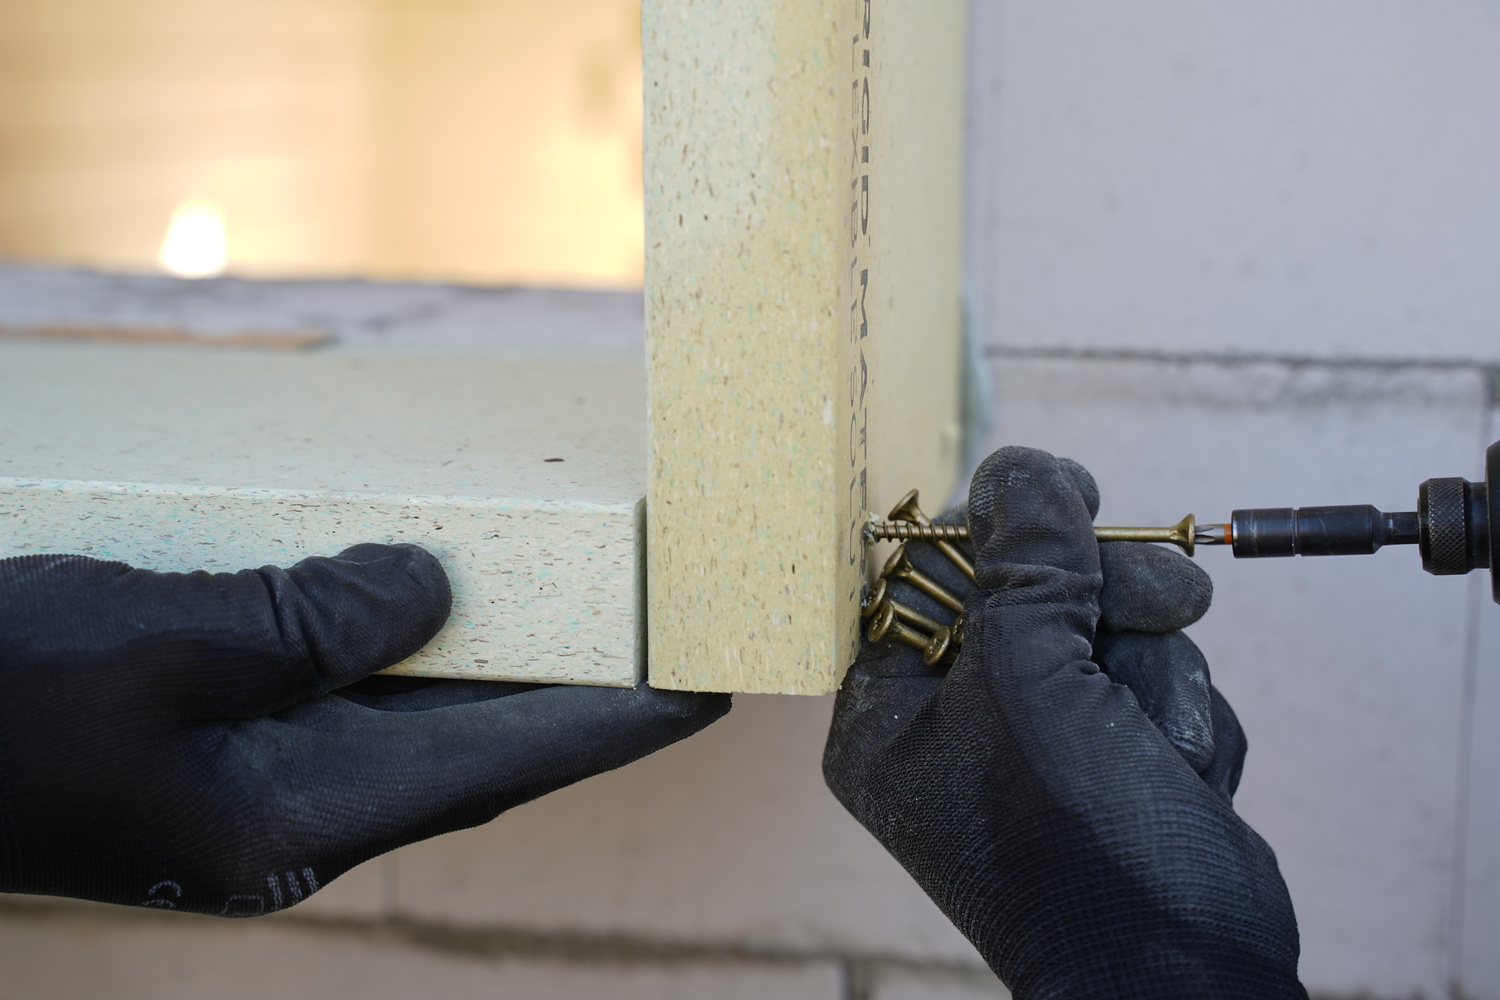
The projection profiles are connected to each other with wood screws.
Profiles are screwed to the brackets with 2 screws from one side and 2 from the other.
Large windows, up to the foundations, are being used more frequently. One of the most complex junctions is the connection between the window and the foundations. Good thermal insulation and stability must be ensured here.
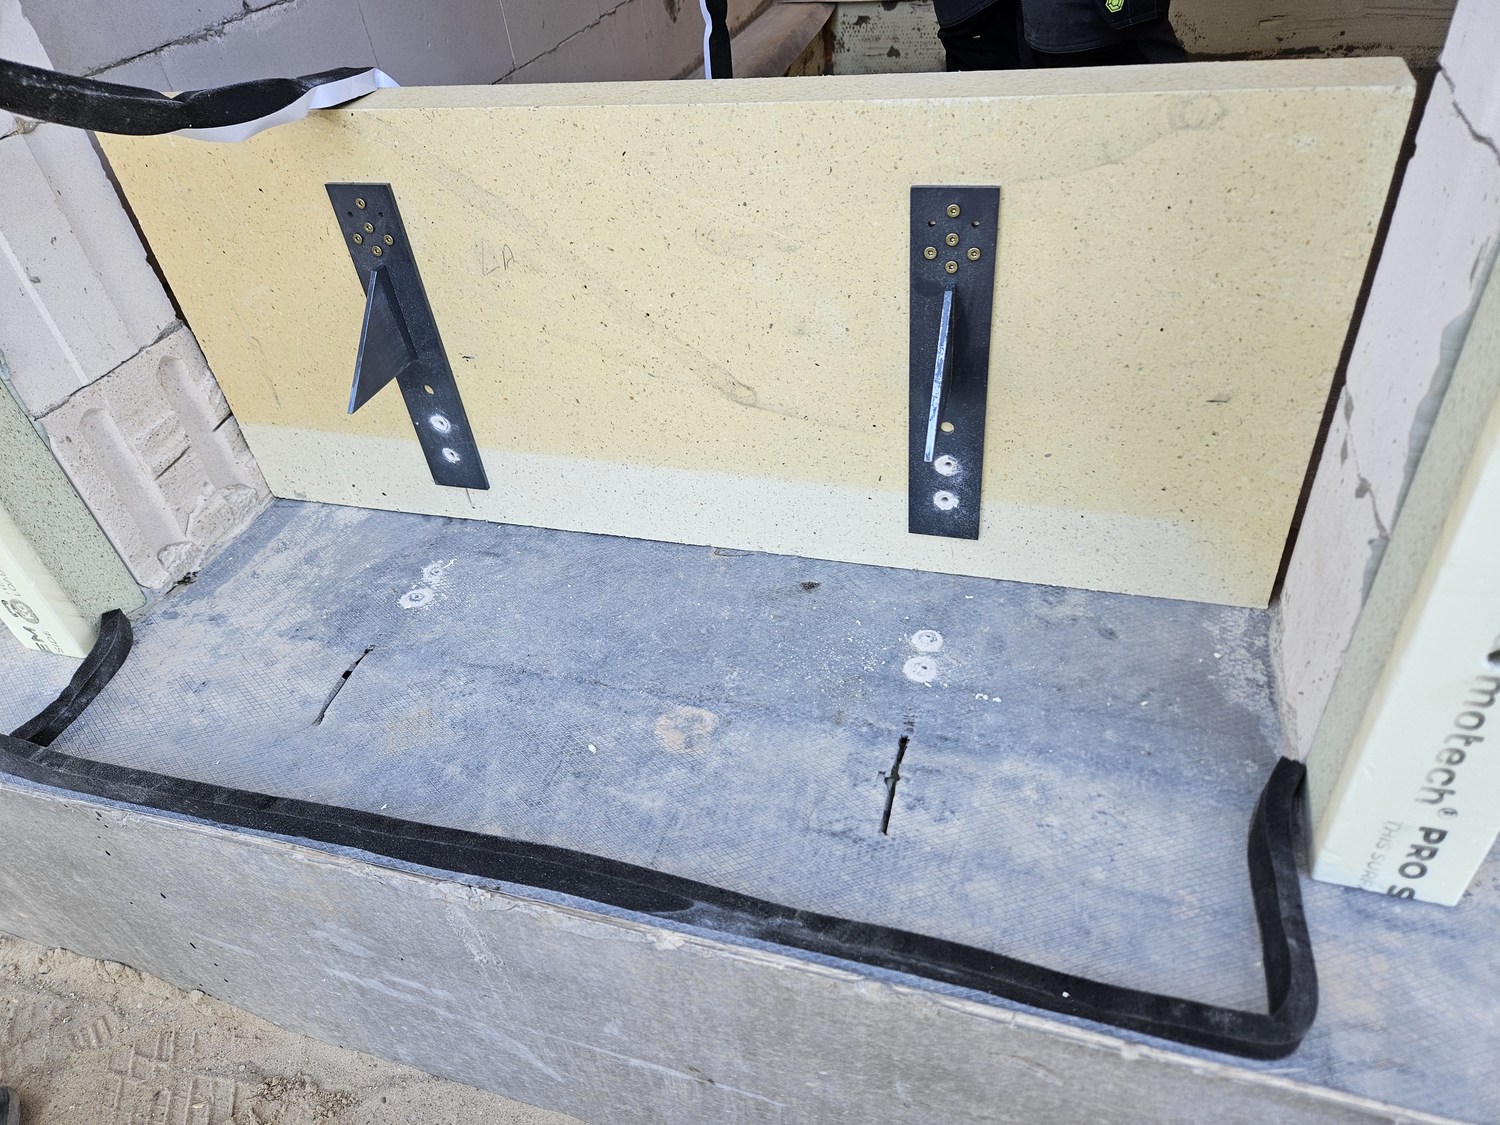
A non-standard bottom profile for the window made from Warmotech M Frame panels. Black expanding tape - Soudal (soudaband) PRO BG1.
The bottom profile is screwed onto the supports.
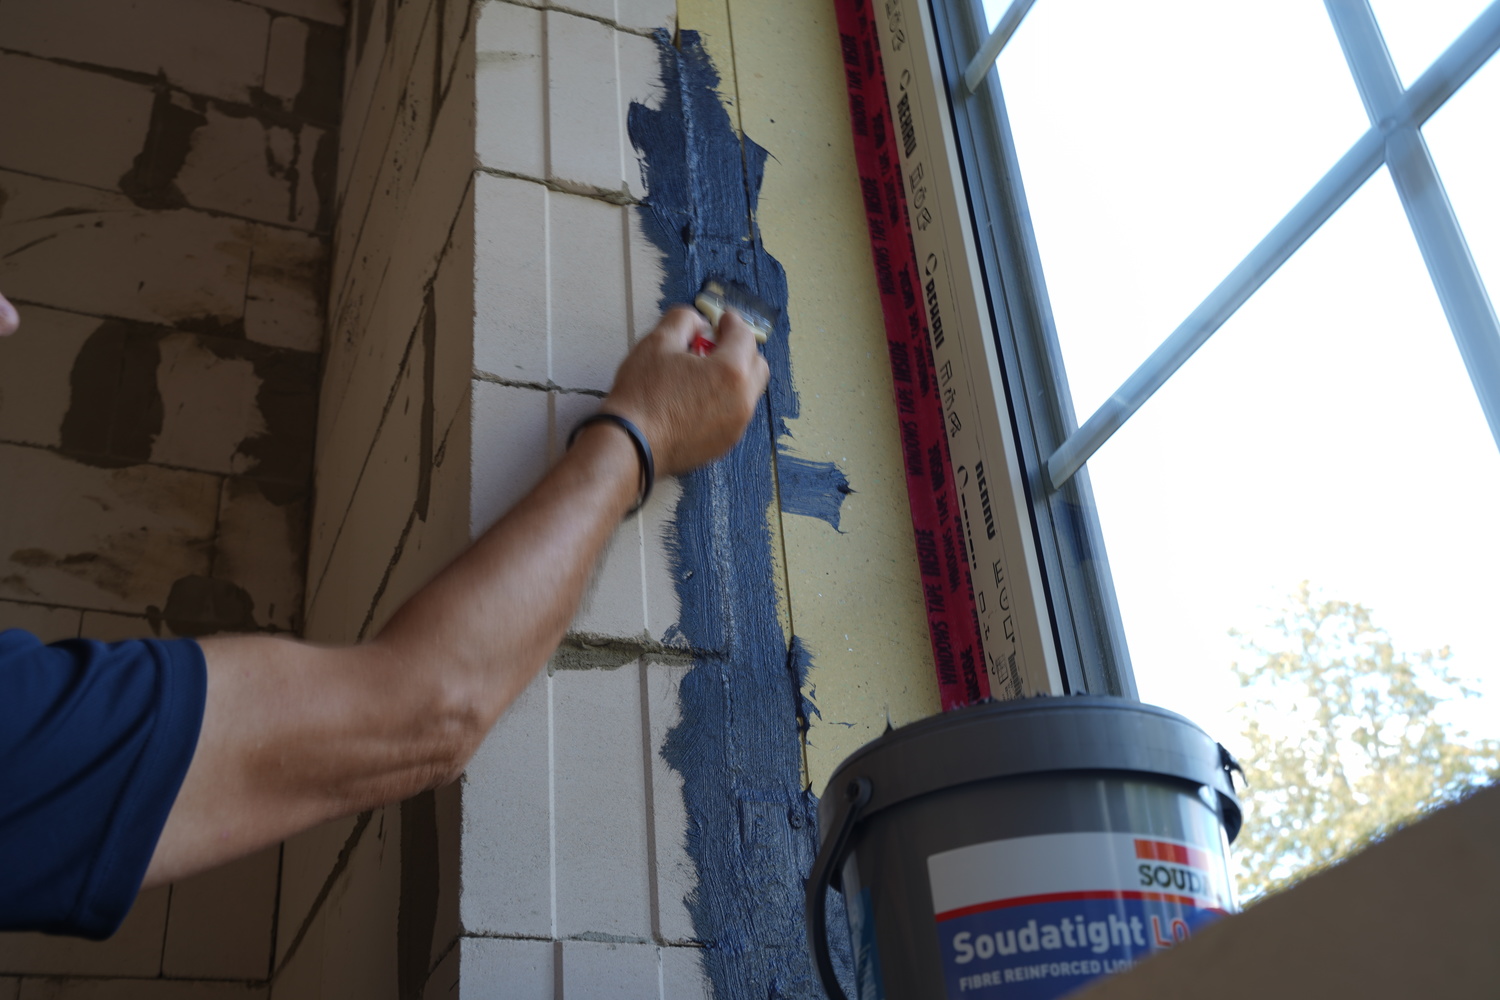
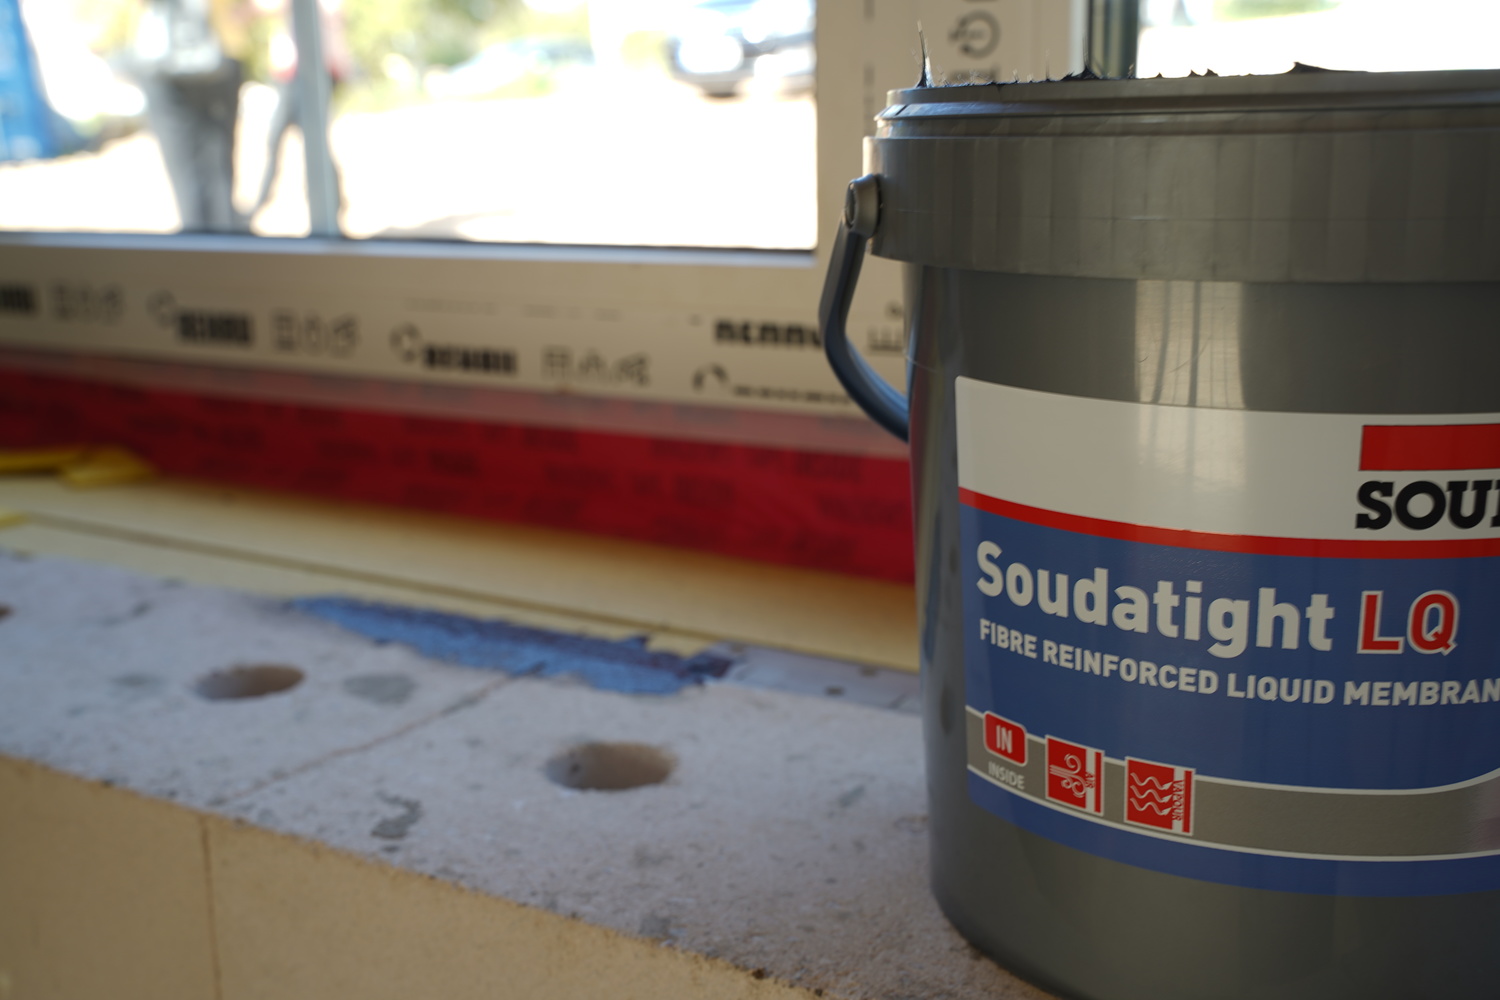
The connection between the projection profile and the wall is covered with vapor insulation. A curing vapor insulation mastic, Soudatight LQ, is used for this purpose. It is recommended to apply two layers. It can cover holes up to 4 mm wide.
Soudatight LQ mastic contains reinforcing particles. The mastic can be applied to dusty surfaces, and the dust can enhance the reinforcing layer.
The mastic can be purchased at building material retail centers.
Preparation of the PVC Window for Installation
The assembled windows are usually delivered to the site itself. And often, the windows need to be checked and prepared for installation on-site. Windows are transported with a transport profile, which is a plastic that is heat-conductive. It is removed and replaced with a profile that has good insulating properties.
At the site, the windows are disassembled, holes for fastening are drilled, and the transport profile is replaced with a warm profile.
Holes for fastening windows can be drilled in the factory, but Windalux specialists are accustomed to drilling holes on-site. Holes are drilled with a 6 mm metal drill bit. The holes are made 150 mm from the edges. Similarly, holes are made in the same principle near the window partitions. The distance between fastening screws cannot exceed 700 mm.
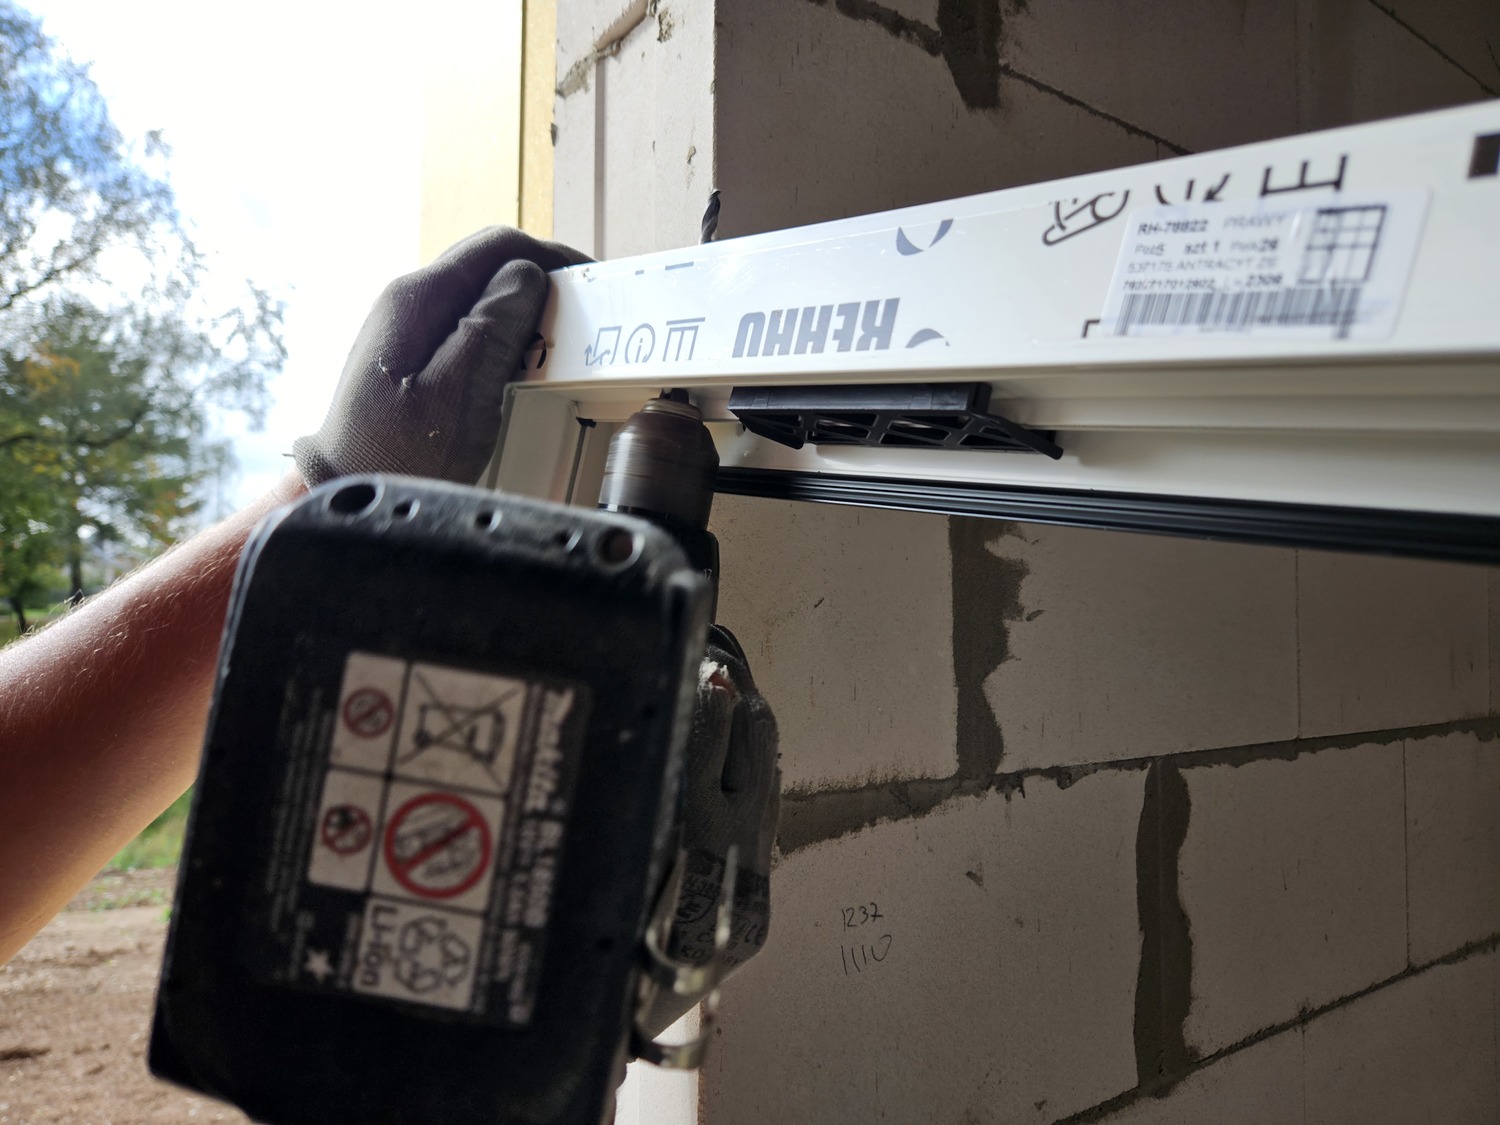
Profiles are drilled with a metal drill bit.
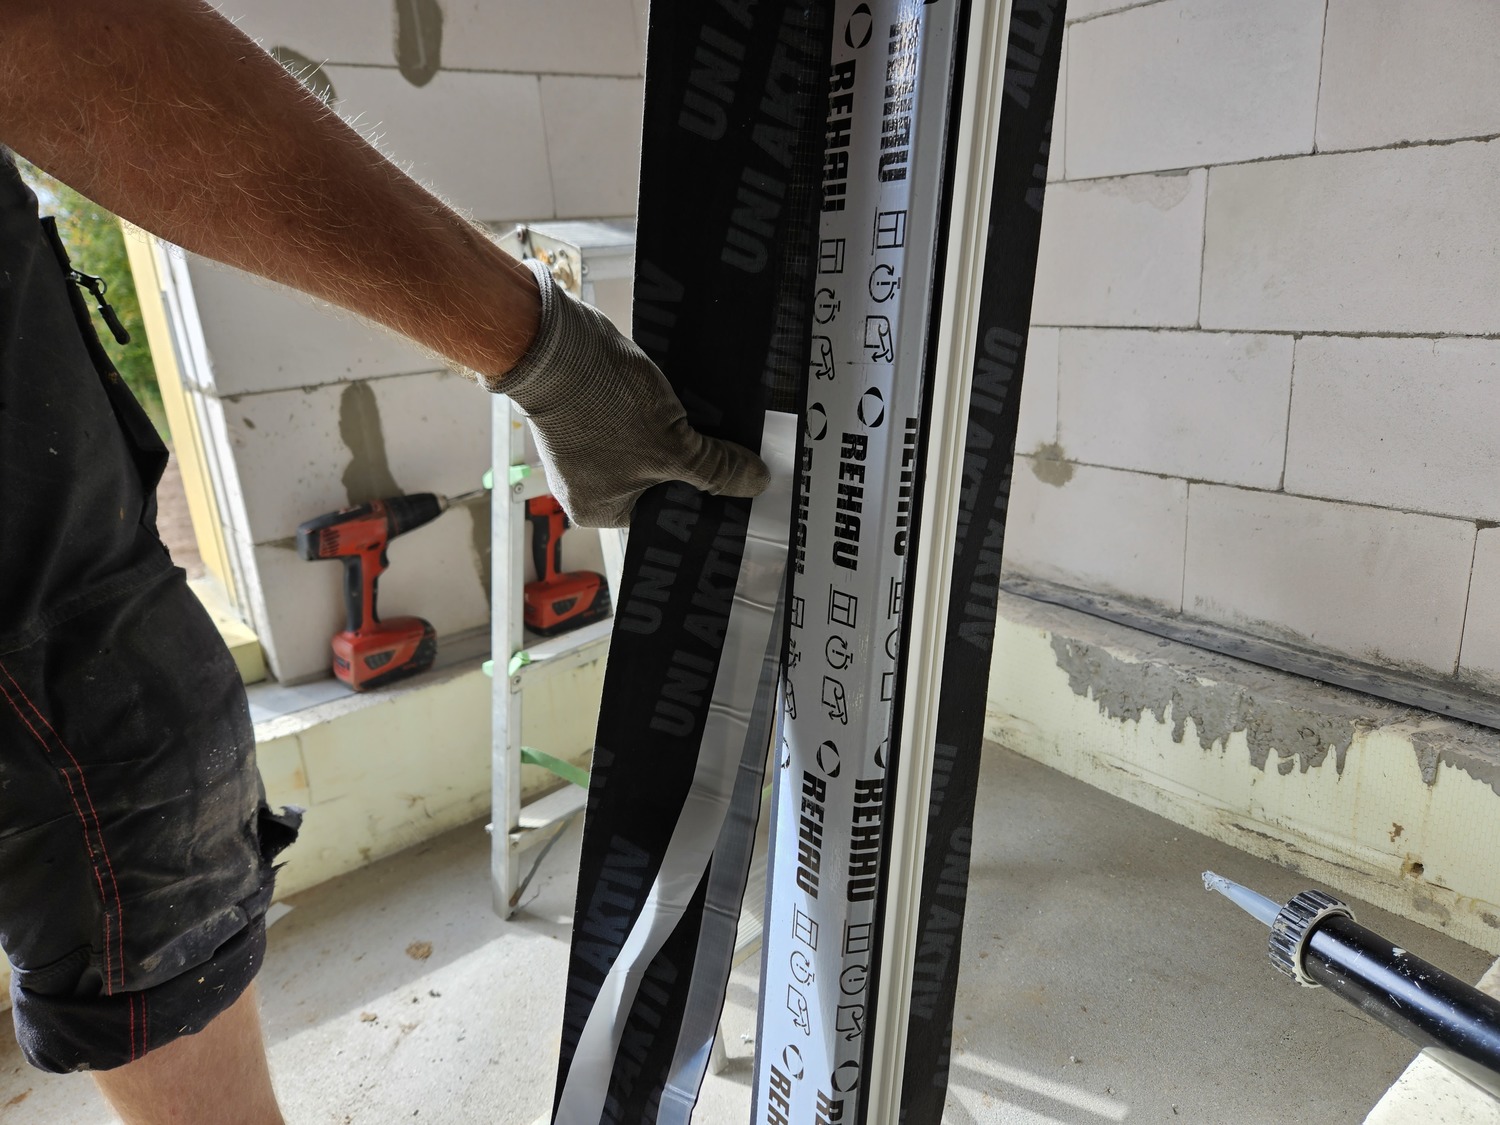
Before placing the windows, protective tapes are glued around the frames. The tapes protect the installation foam, which will be sprayed into the gap between the window and the wall. Protective tapes are glued from the sides and the top, on both sides.
Installation of the PVC Window
Precision in installation is very important for plastic windows. It will determine how smoothly the windows operate.
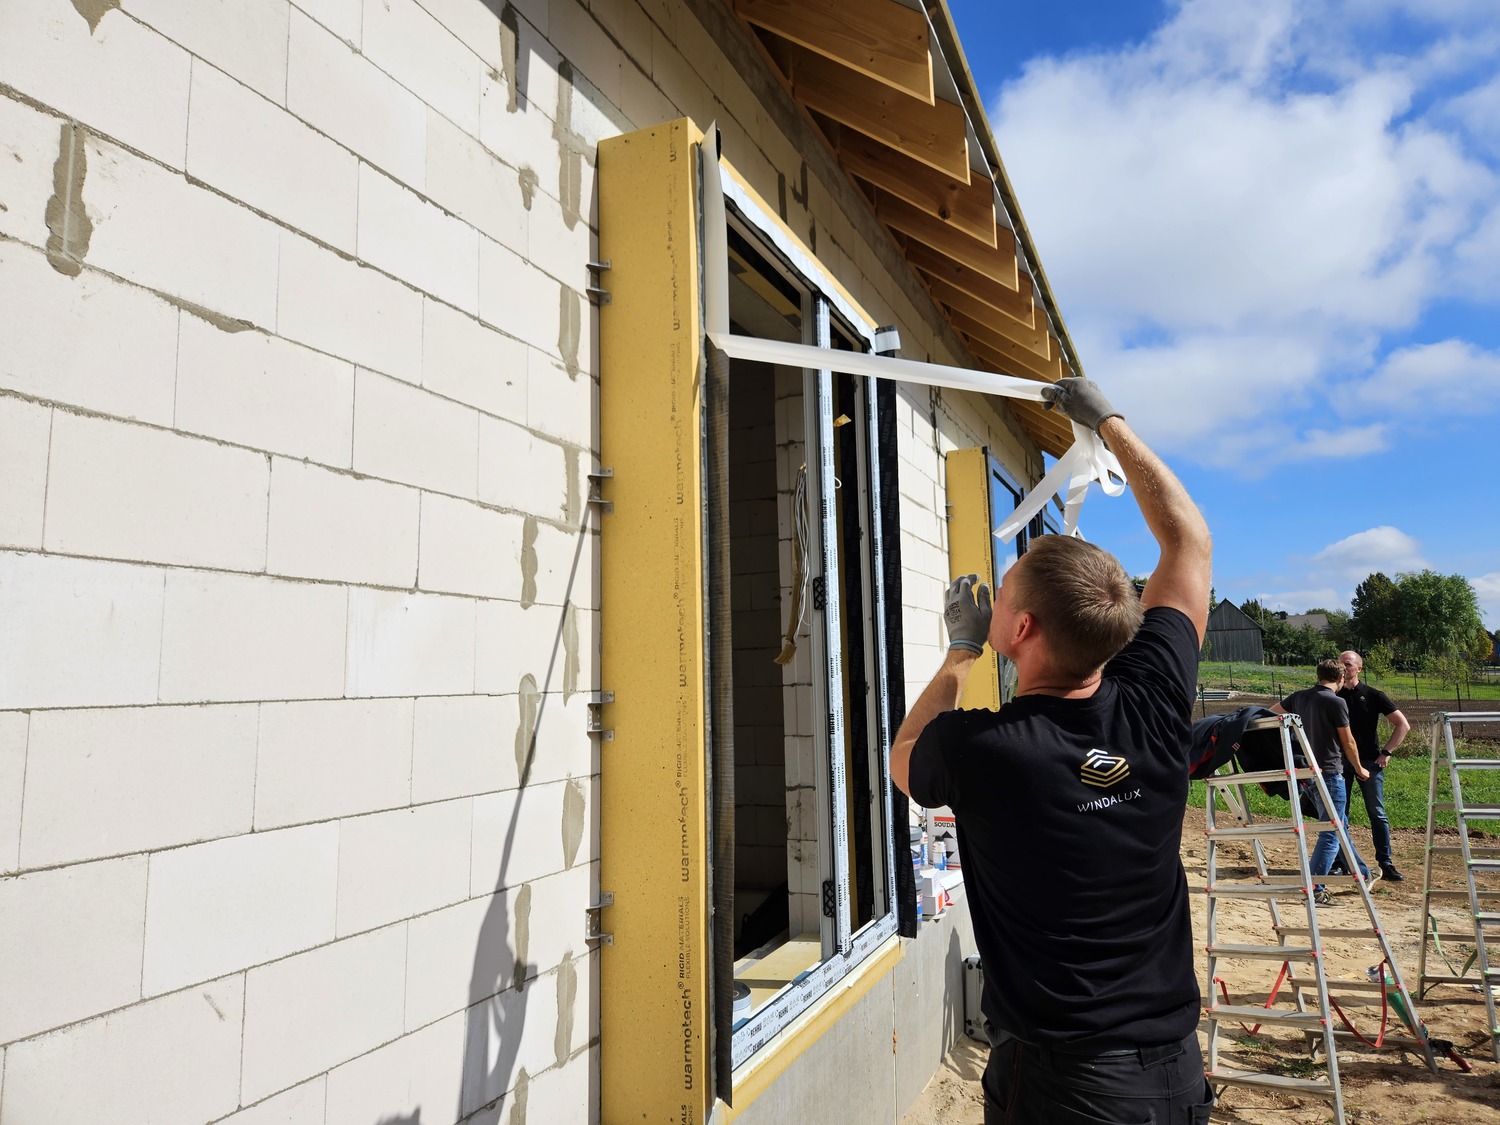
The Windalux craftsmen installed all the windows in the house. The work was coordinated and quick, making it hard to capture moments of the work. The window is set, leveled, and the bottom is fixed. Later, the top is leveled, and the entire window is secured. After that, the plastic window is secured in the middle.
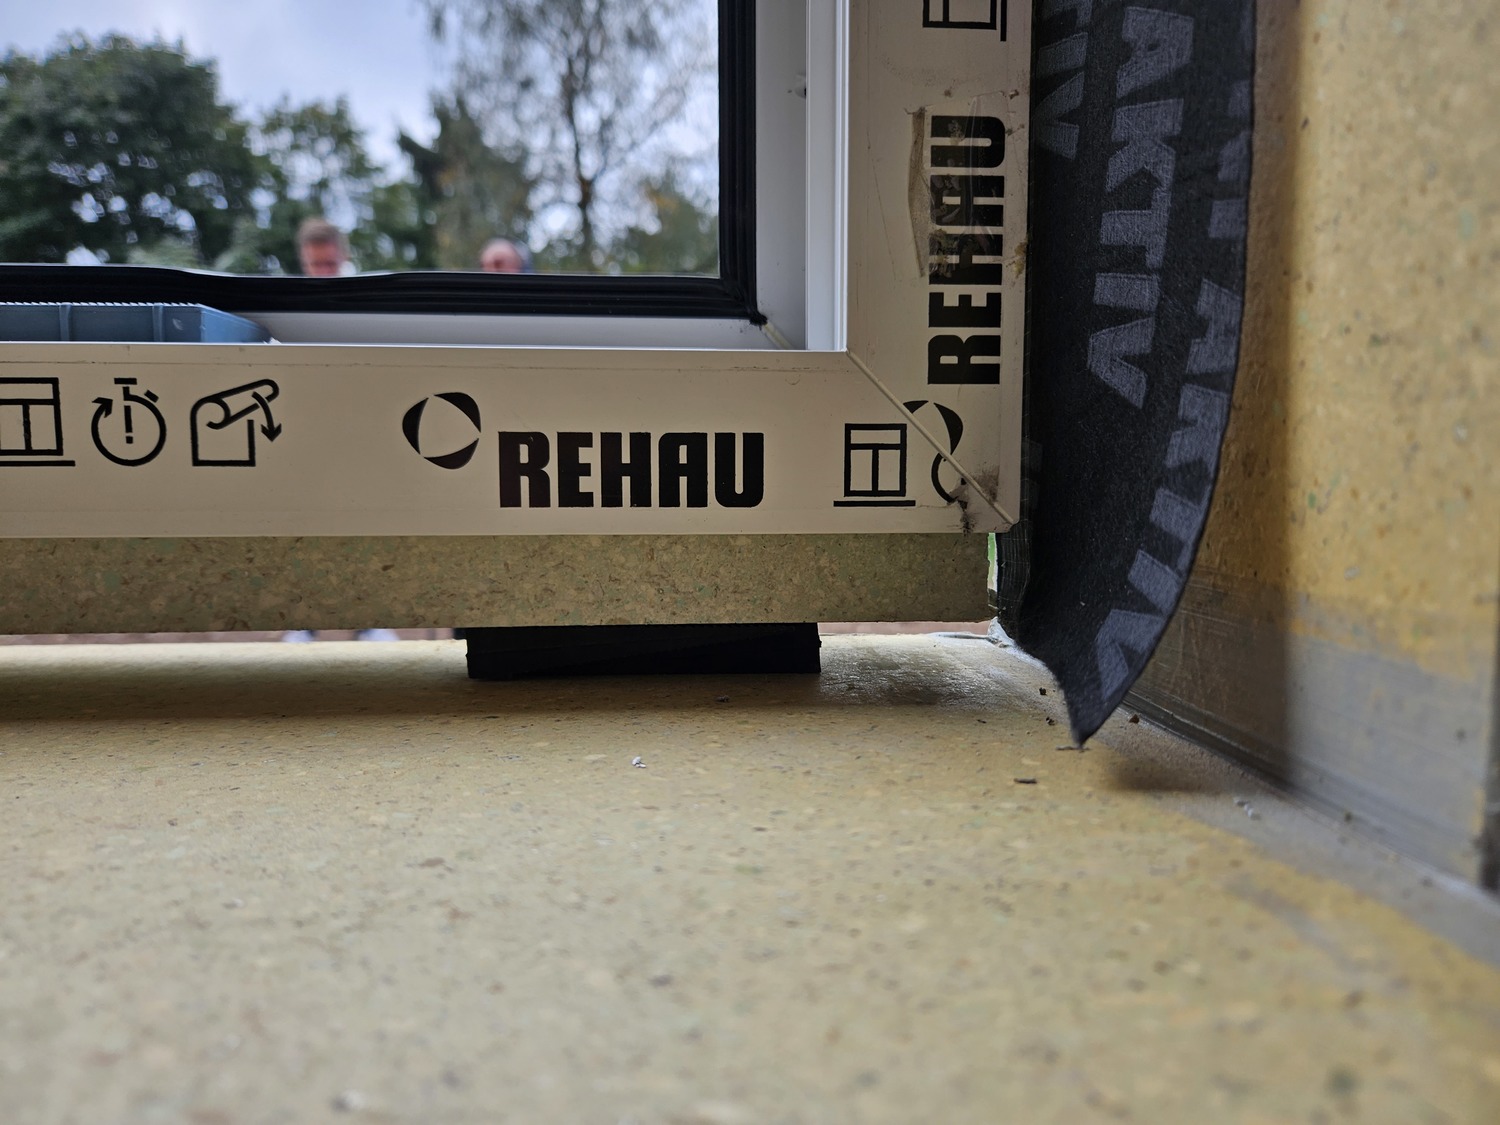
The window is leveled on blocks. About a 20 mm gap is left at the bottom, and 15 mm gaps on the sides. The top can have a 20-30 mm gap.
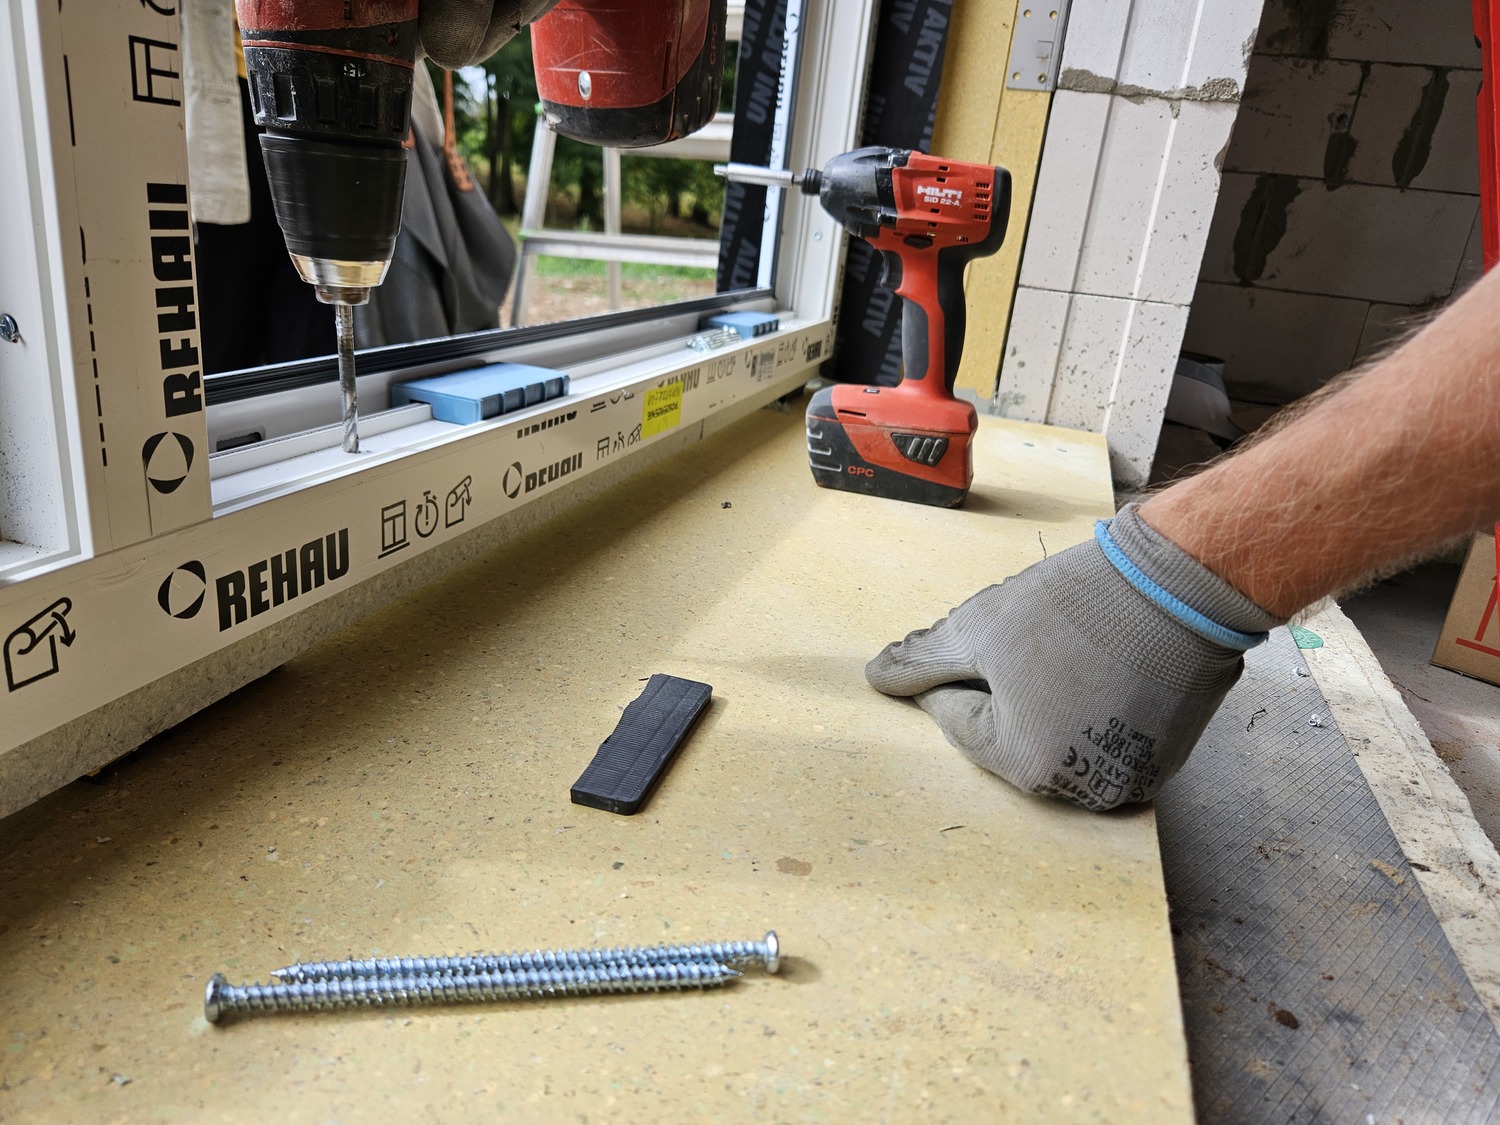
Thw window frames are screwed in with special window screws.
Sealing the PVC Window
An extremely important stage in the installation of PVC windows is proper sealing. Most of the issues that arise are due to incorrect sealing. Small mistakes can cause significant problems in the future. There are many materials available for sealing, making it difficult to choose the right one. In the market for sealing plastic windows, Soudal sealing materials are recognized as a leading authority.
Soudal offers a complete line of window and door sealing products:
- Soudal Vaseline Spray – for hinge protection.
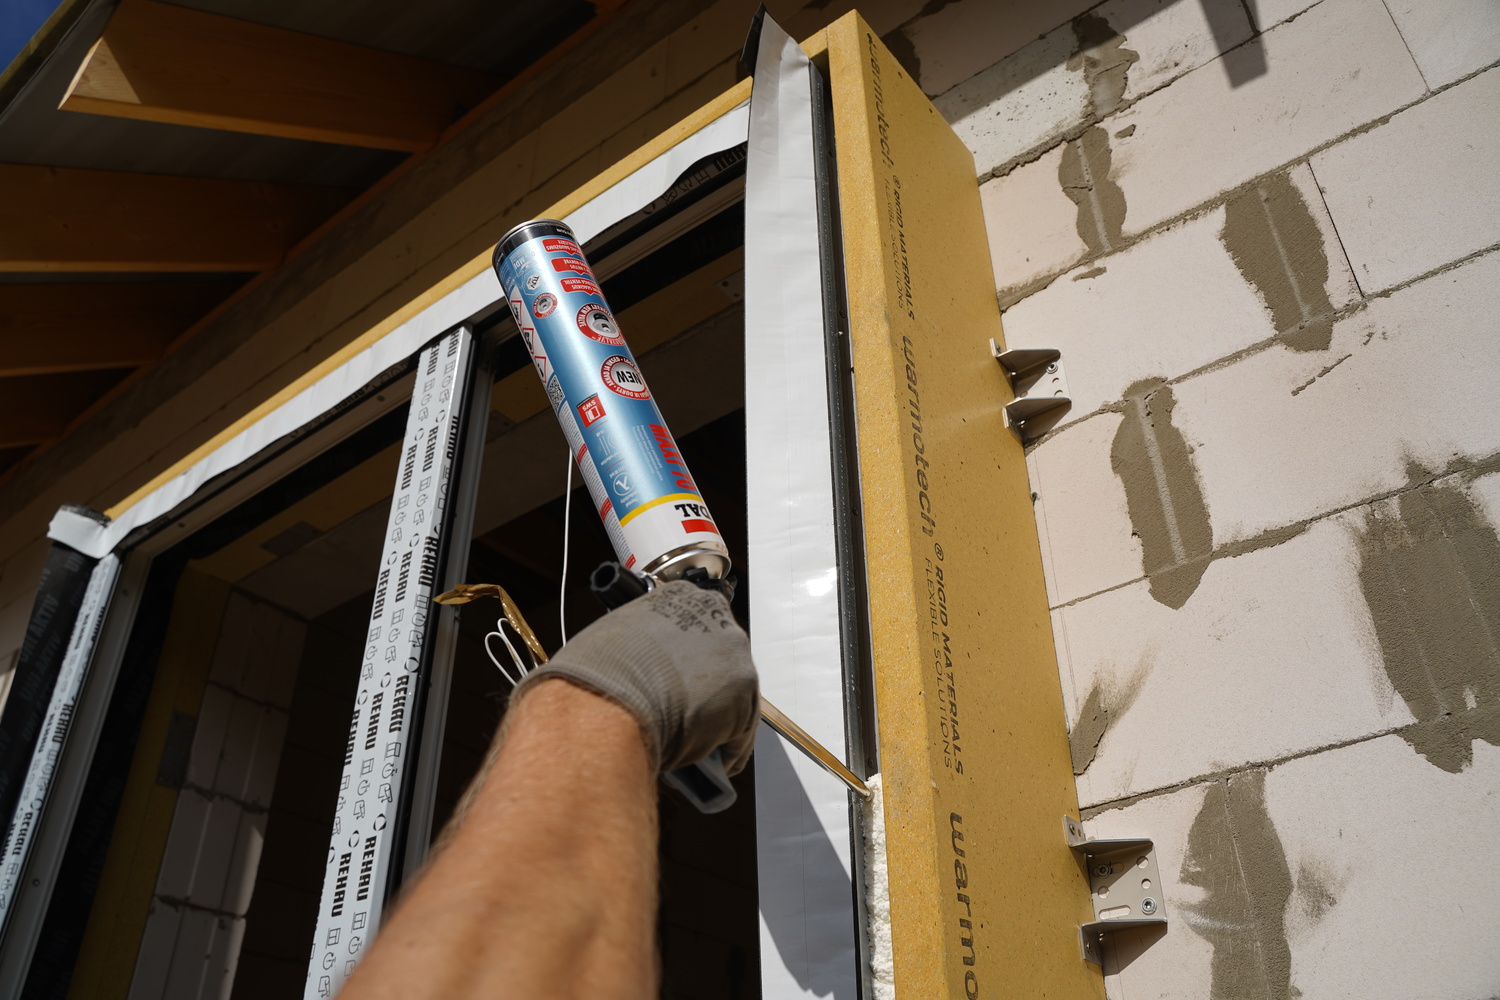
- Soudalfoam Maxi 70 Installation Foam – characterized by high yield and no secondary expansion (no pressure on the frames) or shrinkage after drying. These properties are particularly important during the window installation process and for many foams.
- Soudatight Hybrid Polymer Membrane – protects against wind and water. This mastic can be used both externally and internally. It bonds well to various surfaces and forms a strong film when set. It is UV resistant for a limited time.
- Soudatight LQ Polymer Paste – once set, it becomes impermeable to air and steam. Used for internal insulation. This paste is fiber-reinforced, allowing it to fill gaps up to 5 mm wide. It appears blue when applied and turns black when dry. It is typically applied in two layers.
- Expanding Tape – used to seal external gaps.
- Protective Tape for Windows – applied externally.
- Protective Tape for Windows – applied internally.
Soudal’s range of sealing products is much broader, with different products designed for various conditions.
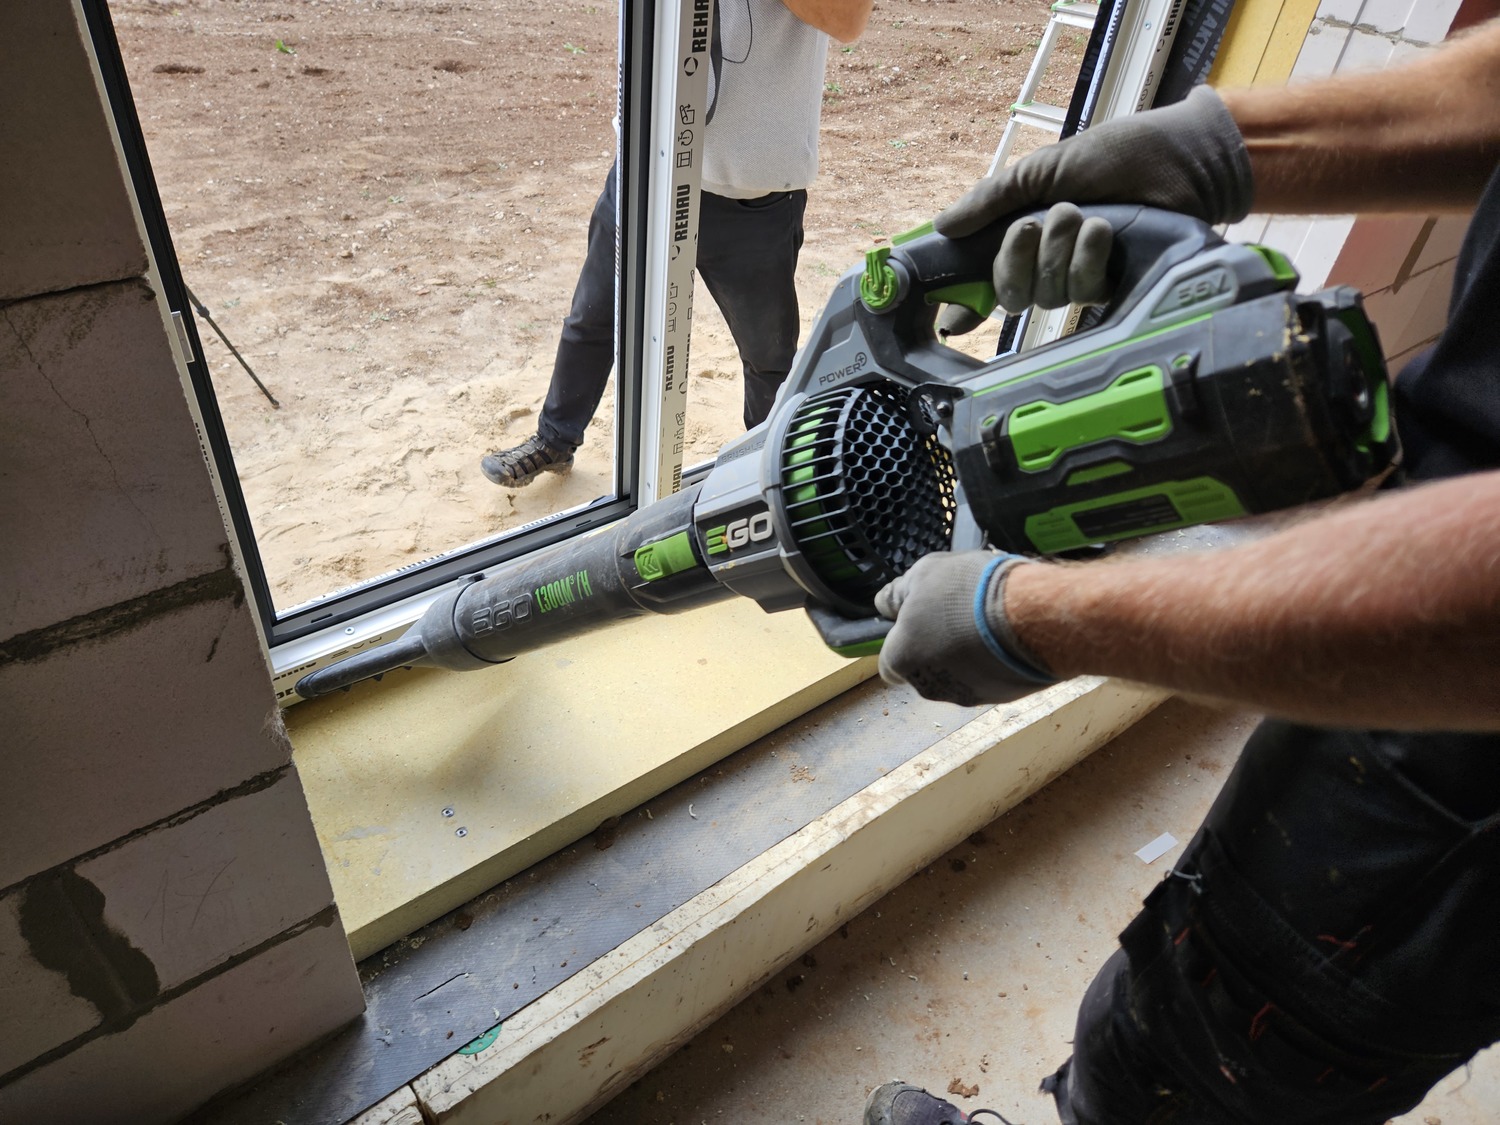
Before sealing, dust is blown off the surfaces.
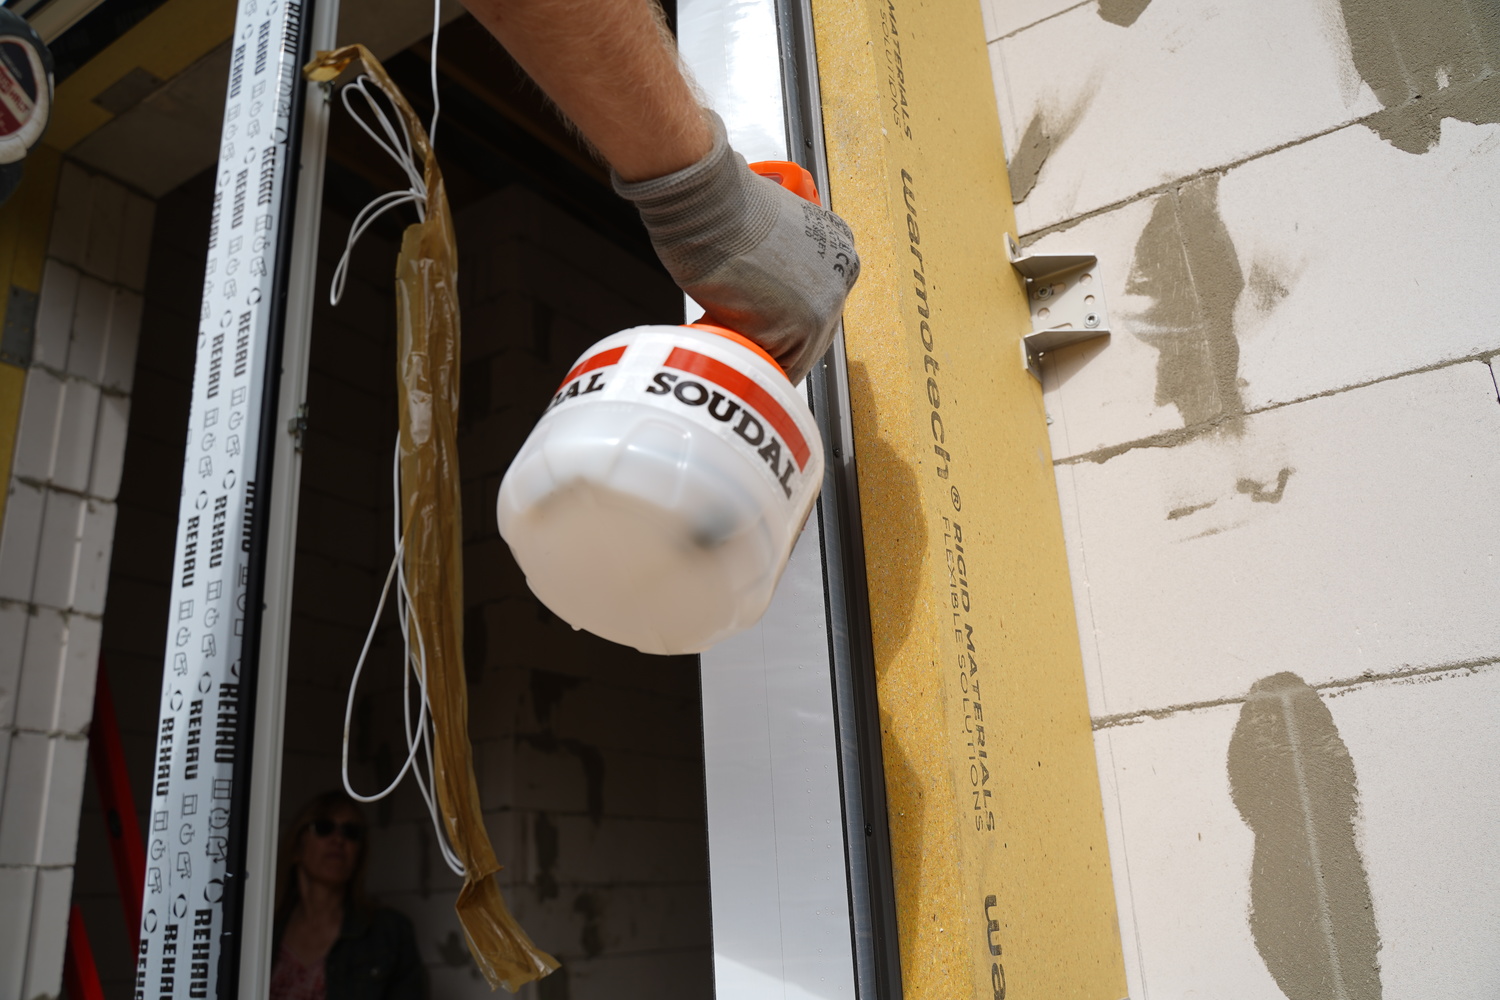
It is necessary to moisten the gaps where installation foam will be sprayed. The foam expands better and fills the cavity more effectively when applied to dampened surfaces. On dry surfaces, the foam doesn’t expand as evenly, with some areas becoming denser and others forming bubbles.
When spraying foam, the nozzle should move from one edge to the other. Installation foam is sprayed from both sides. Soudal offers various installation foams tailored to different conditions.
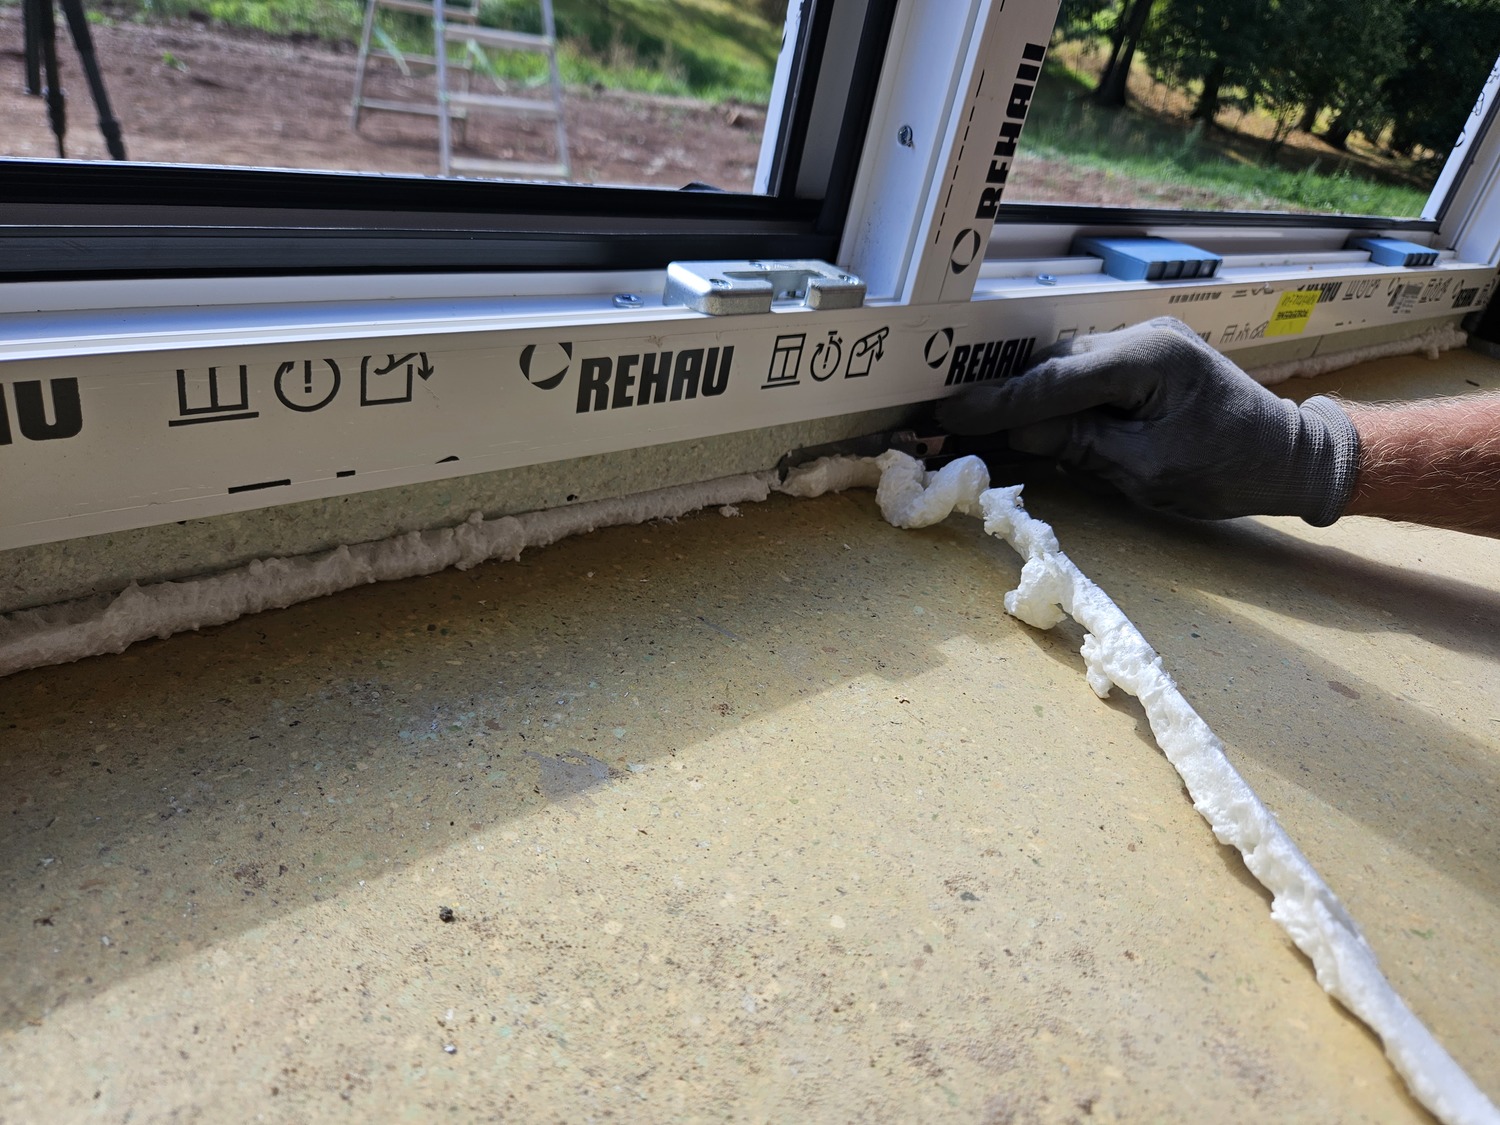
Once the foam has set, excess foam is trimmed to create an even surface.
A common mistake is pressing protective film against the foam before it has set or pressing the foam too soon, either when it is still soft or after it has slightly hardened. This damages the foam structure and reduces its thermal insulation properties. Foam should be cut with a sharp knife about an hour after application (depending on temperature and humidity). No lumps should remain visible.
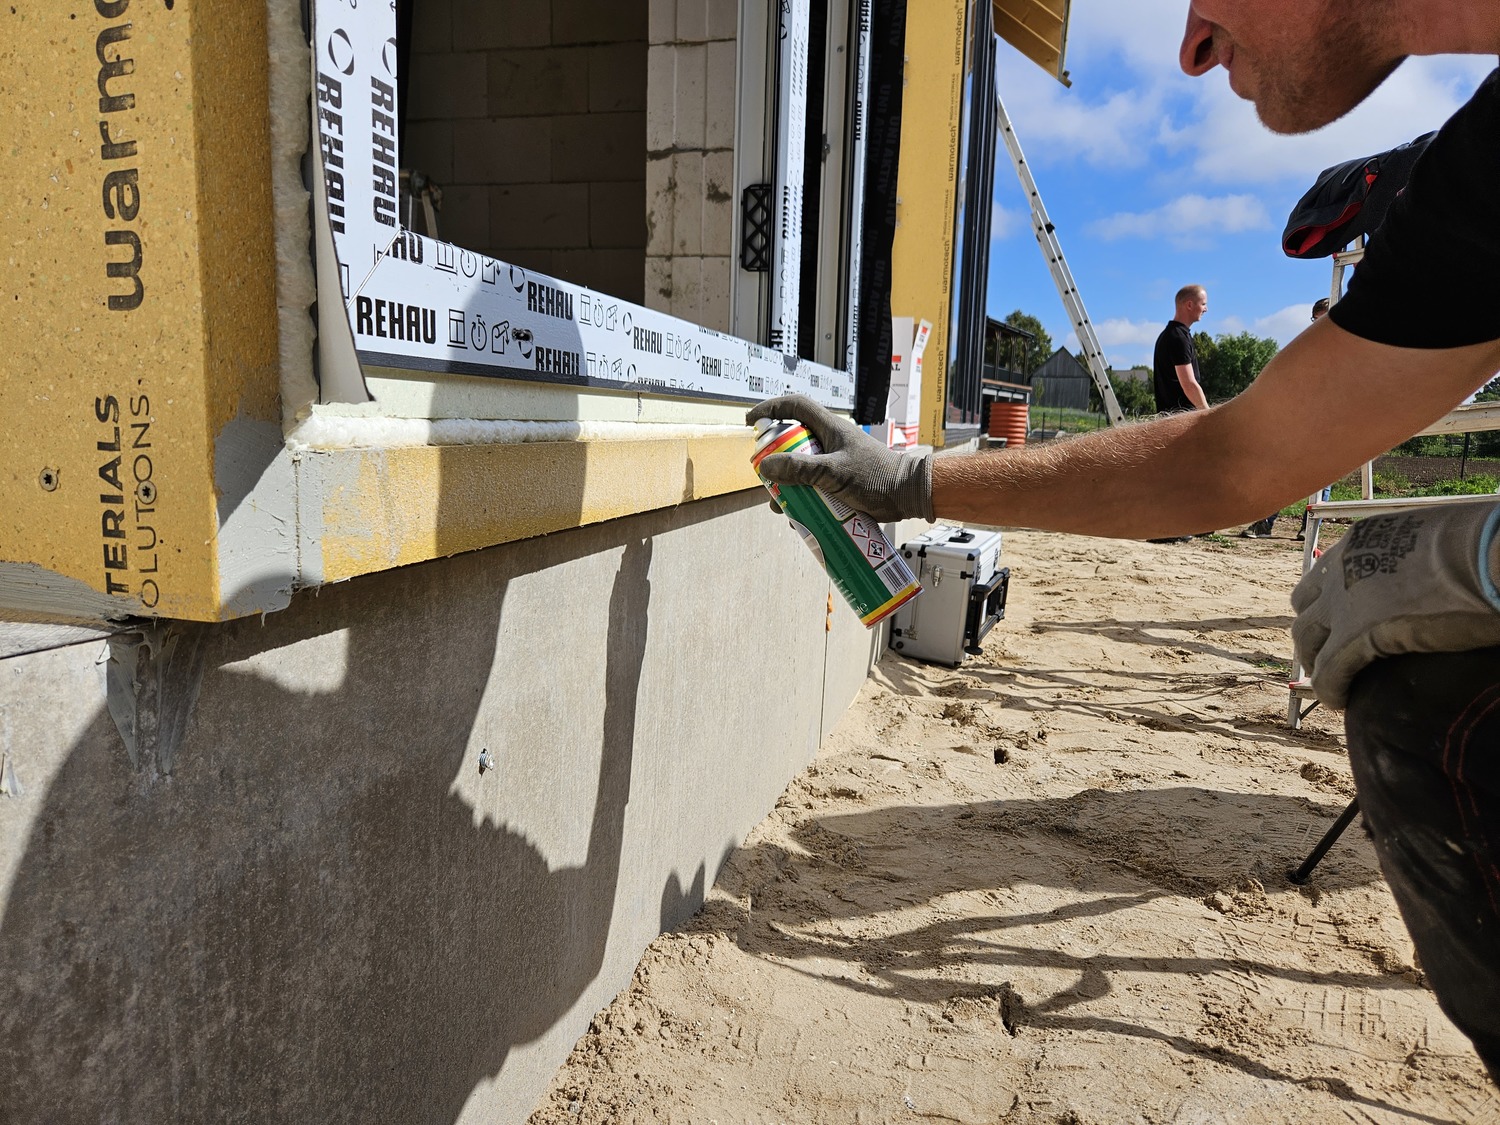
Before applying protective tapes, the surface of the foam is coated with a spray primer. It should be applied in a thin layer and dries quickly.
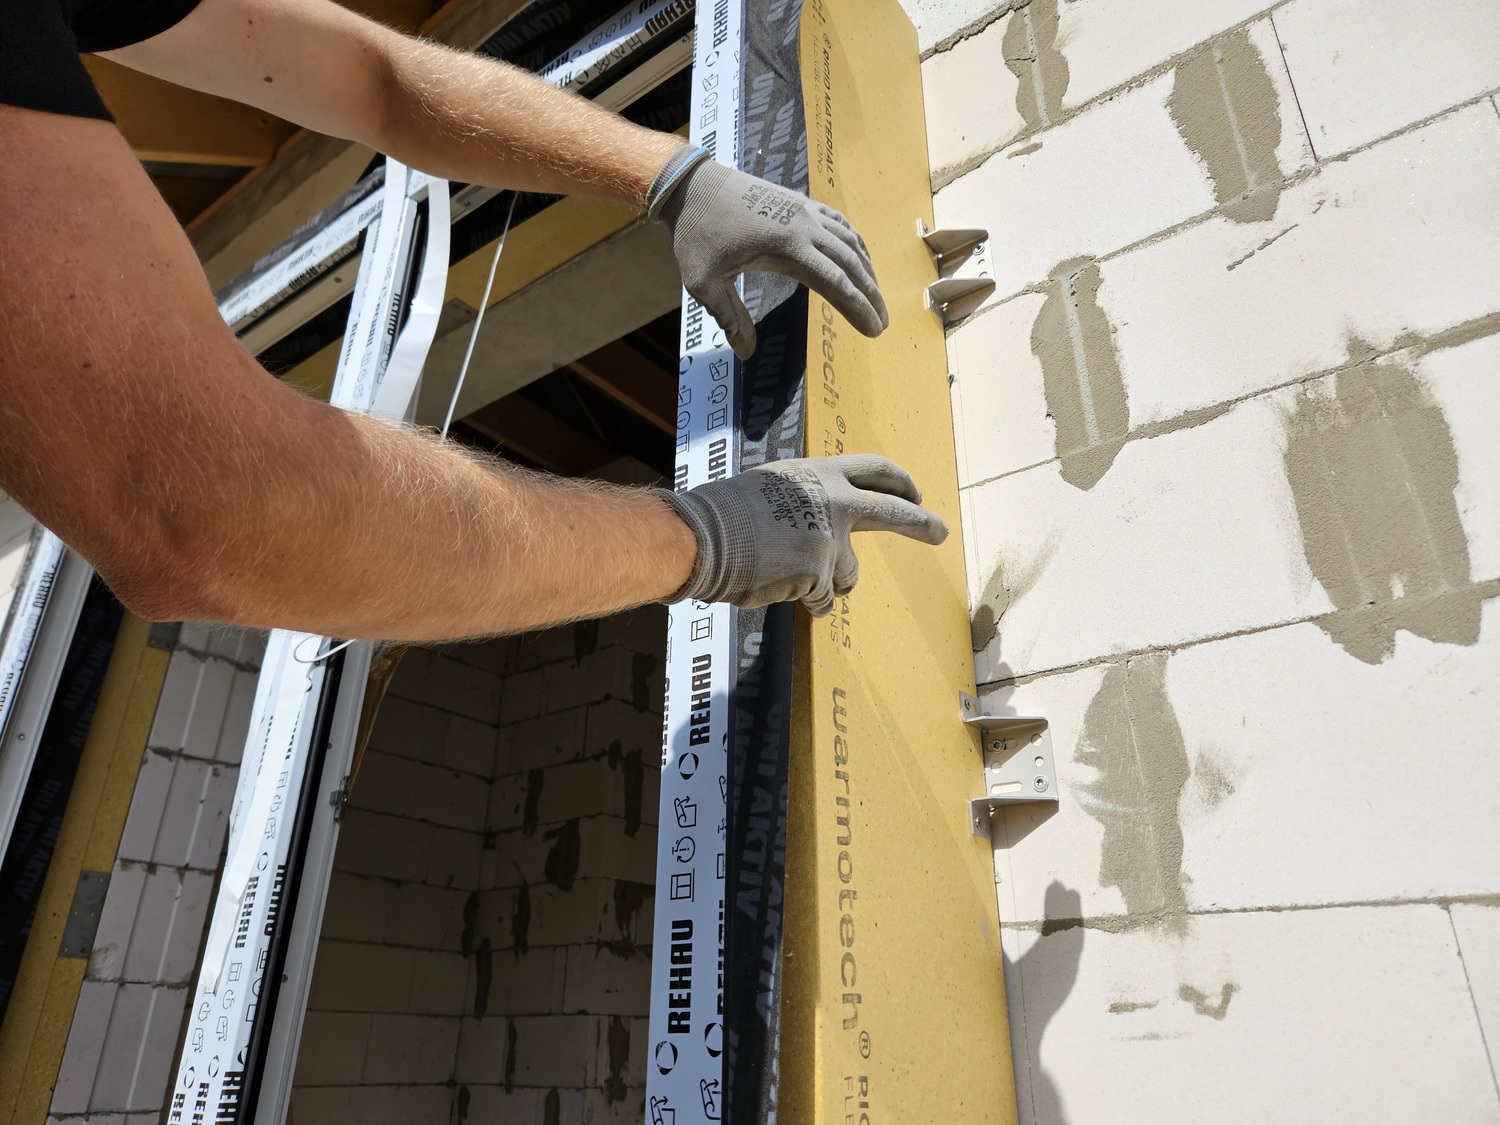
The protective tape is applied to the primed foam 1–2 hours after spraying.
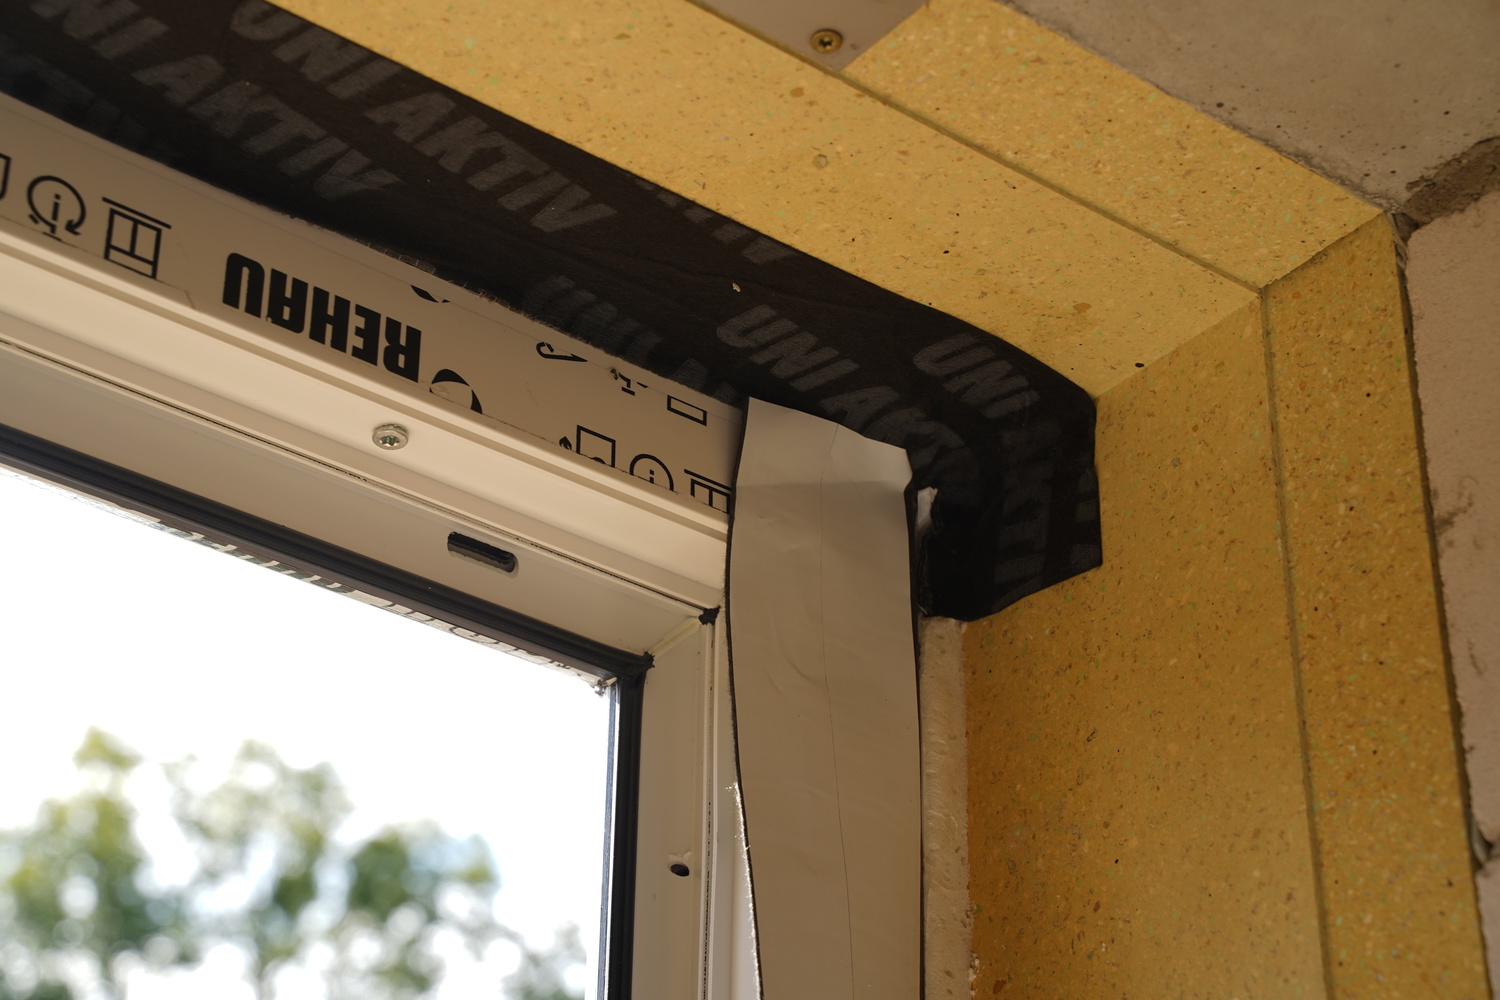
Soudal UNI Aktiv Total is a universal protective tape that can be used both externally and internally. It adheres well to Warmotech profiles.
The most complex place to apply tape is at the internal corners. Windalux specialists cut the protective tape and applied it so that it looked like one continuous strip. They also used Soudal UNI Aktiv Total protective tape.
An alternative to protective tapes are curing membranes, which bond well with all surfaces. Soudatight LQ is intended for indoor use. Soudatight Hybrid can be used for protecting installation foam both internally and externally, as well as for sealing joints.
At the location where filming and photoshoots took place, 5 large and 4 smaller windows were installed, started from 8:00 AM and finished by 12:00 PM.

