Replacing a Bathroom Faucet
Updated: 2022-01-21
By Paul Bianchina
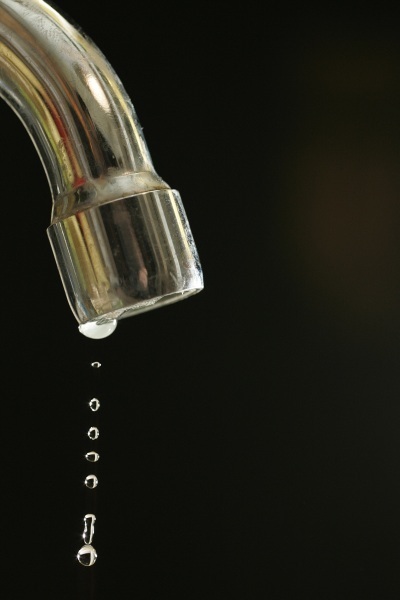
One of the easiest ways to make a useful improvement in the bathroom is to replace the old faucet with a new one. A new faucet will stop those annoying drips, and makes a surprising difference in dressing up an older room.
The first step is selecting the right faucet. While there are literally hundreds of types, styles and combinations on the market, the main thing you need to be worried about is whether the new faucet will fit the old sink.
The first step is selecting the right faucet. While there are literally hundreds of types, styles and combinations on the market, the main thing you need to be worried about is whether the new faucet will fit the old sink.
Every faucet has two threaded posts that fit down through holes in the sink and are secured from underneath with nuts and washers. The distance between these holes, called the center set, needs to match up to the distance between the holes on your sink. Fortunately, almost all bathroom faucets and sinks utilize standard 4-inch post and hole spacing, which is 4 inches between the centers of the faucet posts and also between the holes in the sink. So, except for some odd or fairly old sinks, almost all new faucets will fit your existing sink.
The only exception to this is the "single set" faucet, which utilizes individual pieces that each fit into one hole in the sink. If you have a sink with an odd center-to-center spacing, single-set faucets may be the only option; since they interconnect with hoses underneath the sink, they can easily adapt to hole spacing that is more or less than standard. A word of warning though: because of the numerous hose connections and the limited clearance under the sink, some single-set faucet components may be difficult to connect to an existing sink that's still in place in the cabinet.
Changing a Faucet
Step one is, of course, to shut the water off. You should be able to do this using the stop valves under the sink, which supply and control hot and cold water to the individual faucets. After closing the stop valves, be sure to check that they have shut off the water flow completely-older valves that haven't been used in a while may stick in the partially open position. In this case, shut the water to the entire house, and plan on changing out the stop valves as well as the faucet.
When the water is off, remove the water lines between the faucet and the two stop valves. Disconnect the vertical arm that comes down through the faucet and connects to the horizontal drain stopper arm, which is done by loosening the thumb screw or spring clip on the stopper arm and sliding the two arms apart.
The secret to removing a faucet from an existing sink is a tool called a basin wrench. Basin wrenches consist of a long metal arm with a curved, pivoting claw at one end and a T-handle at the other. The claw, which has teeth along the inner side of the curve, grips the nut on the faucet from below and is designed to work in tight quarters. Basin wrenches can be purchased inexpensively - around $10 - or they can usually be rented at rental yards and some plumbing stores.
To use the wrench, you'll need to lay on your back under the sink, so that you're looking up at the faucet. Maneuver the wrench, claw side up, toward the faucet until the claw can be worked around the nut that holds the faucet to the underside of the sink. By rotating the wrench handle, you'll see that the claw pivots closed around the nut, allowing you to put pressure on the handle and rotate the nut off. By flipping the claw to the other side of the wrench shaft you can use it in reverse, to tighten the nut during reinstallation.
Remove both nuts, as well as the two washers, and lift the old faucet off the sink. Clean the top of the sink, then, if necessary, assemble the new faucet according to the manufacturer's instructions. Slip the new faucet in place and install and tighten the nuts and washers from below, again using the basin wrench. Reconnect the stopper arm and the water lines, and you're all set.
Comments (0)